NRA Shooting Series: How to Sight-In a Scope
Dave Maas 12.22.16
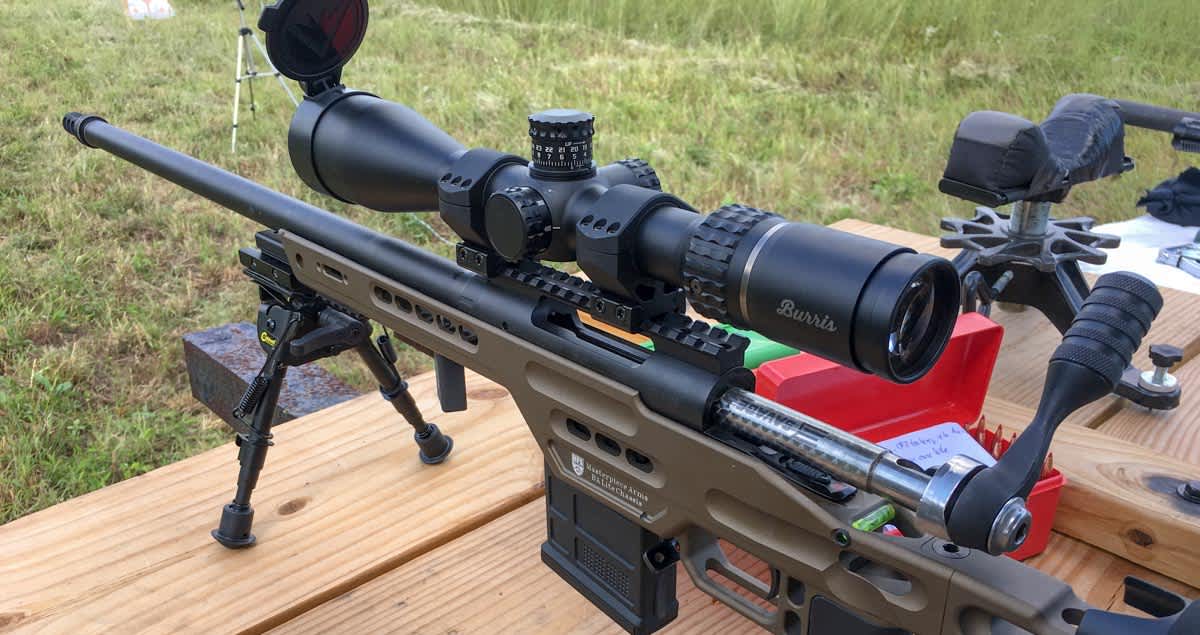
Fact: There are some proven ways to zero your scope in only one shot. Those methods will get you close, but you won’t attain the full accuracy potential of your rifle. Why? Every rifle and ammo combination has a little bit of imprecision. No matter how carefully you perform a series of shots, you’ll always see a grouping of bullet holes downrange.
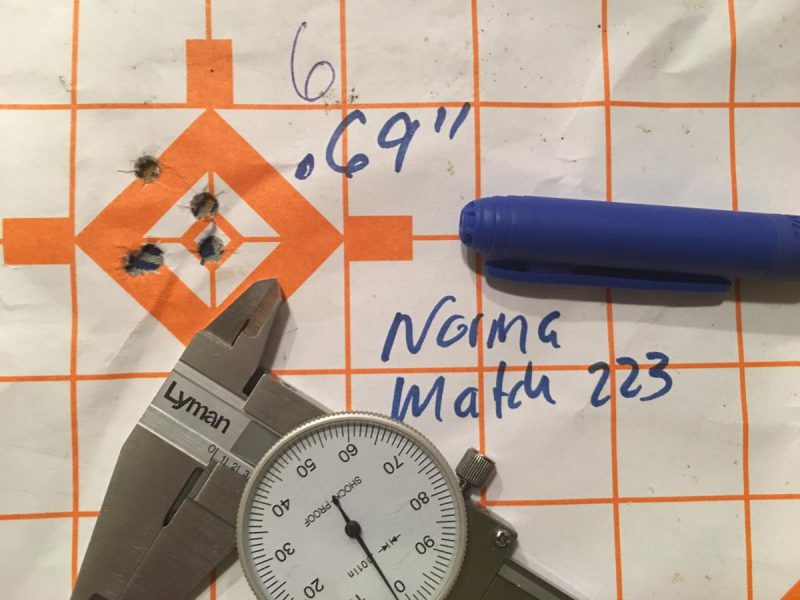
For example, using an AR-type rifle and a 100-yard target, you may see a group of shots measuring 2 inches in diameter, give or take. If you choose one single hole as your basis for zeroing the scope, you could end up with a rifle/scope/ammo combo that’s a couple of inches off.
The best way to account for this variability is to carefully shoot three-shot groups and then use the center as your official measurement point for zeroing. Let’s take a look at how to get a perfect zero.
Get on Paper
If you’re mounting a scope on your rifle for the first time, you need to make sure your shots are in the general vicinity of the crosshairs before putting a target far downrange. Called “getting on paper,” this process makes it easier to identify the initial relationship between the crosshairs and the actual point of impact. If you start with a target 100 yards away, and the scope is way off, the shot might not even land on the paper, and you’ll have no idea what adjustments to make to the scope.
By placing a target at 25 yards and aiming at the center of a small bullseye, the shot will almost certainly impact the paper somewhere, and you can make some initial rough scope adjustments before completing the zeroing process at longer range. Read on, and we’ll talk about how to make those adjustments the right way.

Fire a Group at Your Zero Range
As an example, let’s assume you’re zeroing your rifle at 100 yards. After you have your target set up, fire three shots with extreme care, focusing on perfect stability and technique. Use sandbags or another type of solid rest, watch your breathing, and concentrate on perfect trigger manipulation with each shot.
Next, find the approximate center of this three-shot group. We’ll use that as the official point of impact to determine how much adjustment we need to make to the scope.
Math, Good. Random Scope Dial Spinning, Bad
When zeroing, I like to use targets with a 1-inch grid pattern. That makes it really easy to calculate scope turret adjustments because you can quickly see, even through your scope or a spotting scope, how many inches of adjustment need to be made.
Here’s where the math comes in. (Don’t stress – I promise there will be no algebra.) Let’s assume that the center of our three-shot group is 5 inches below and 3 inches to the right of the bullseye. To think of the adjustment required in scope terms, that means you need to move the bullet impact point up 5 inches and left 3 inches. Always think in terms of moving the bullet’s impact point because that’s how the scope dials are marked.
Now, rather than using trial and error and randomly spinning the elevation (up and down adjustment) and windage (side to side) dials and then shooting again, we’re going to calculate exactly how many clicks on each dial are going to get us on the bullseye. That way, our next group will be a verification that we got it right rather than another experiment.
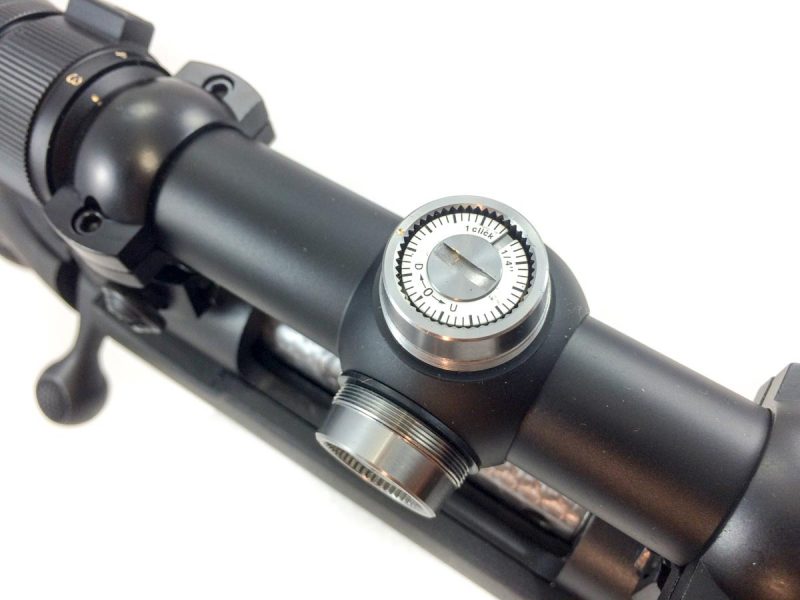
Every scope dial has a fixed calibration. Most will have something like “1/4 MOA” or “1/4-inch at 100 yards” printed on the dials or caps. What that means is that each click of a dial will move the bullet’s point of impact 1/4 of a minute of angle. As you might have guessed, 1/4 of a minute of angle (MOA) is 1/4 of an inch at 100 yards. So, if you adjust the elevation dial one click up, then the bullet will impact 1/4 of an inch higher on the target at 100 yards.
You’ll also notice that most scope turrets are marked with an “Up” indicator on the elevation dial and a “Right” indicator on the windage dial. These marks show you the direction to turn the dial to move the impact point. Easy, right?
Now, let’s get back to our 5 inches low and 3 inches to the right initial impact example. Because the target is 100 yards away, four clicks will move the point of impact a full inch. Rotate the elevation dial 20 clicks in the “Up” direction to move the bullet impact up 5 inches. Then rotate the windage dial 12 clicks in the “Left” direction. If you counted clicks correctly, and your scope is of reasonable quality, then you should be right on the bullseye.
Fire another careful three-shot group to verify that you made the correct scope adjustments. If you’re still a little off, repeat the adjustment process and fire another verification group.
Remember that close 25-yard target we used earlier to get on paper? You can use the same math with that one, too. Since you’re shooting at one-fourth of the distance of 100 yards, each click will move the bullet impact only one-fourth of one-fourth of an inch, or 1/16th of an inch. In other words, if you’re 1 inch off at 25 yards, then 16 clicks on a dial will move the impact point 1 full inch at this range.
Different Scopes and Dials
While most scopes are calibrated with 1/4 MOA elevation and windage turrets, you’ll see others. Some will move the point of impact 1/2 inch or even 1 full inch with each click. If the calibration is not printed on the turrets or caps, just check your owner’s manual.
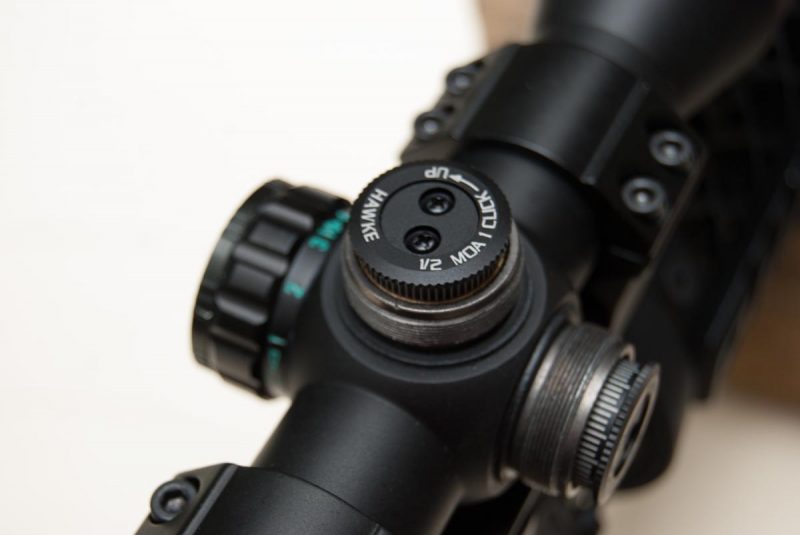
You also might find a scope with turrets calibrated in mils (milliradians). A milliradian translates to 36 inches at 1,000 yards, so at 100 yards, a mil is 3.6 inches. Most scopes of this type will move have a .1 mil calibration, so each click moves the point of impact .36 inches. The process to zero is identical.
Turrets and Reticles
There are two basic approaches to scope adjustments, and depending on which type you have, you might do things a bit differently. Most traditional hunting scopes have adjustment dials covered with protective caps. When zeroing the scope, you remove the caps, make the adjustments, then replace the caps. The idea is that tinkering with the adjustment dials is a one-time thing – at least one time for each particular load you might use. With these scopes, you make “on the fly” distance compensation while shooting using marks on the reticle. It wouldn’t be practical to take off the caps and make adjustments for each shot.
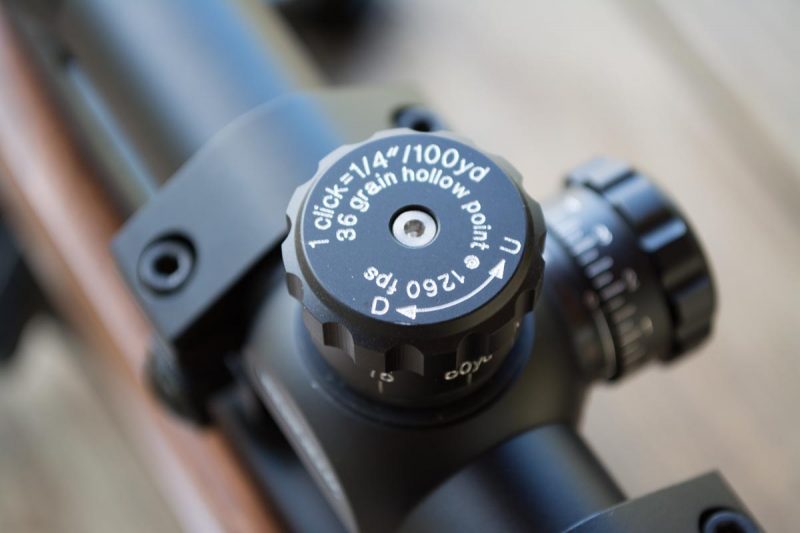
Exposed turrets, sometimes called tactical turrets (photo above), are always visible and intended to be adjusted with your fingers. The idea with these is that you adjust turrets each time you want to make a shot at different distances. However, you still have to establish the initial zero by making some adjustment. When you do this, the “0” on the turrets may not be at the “0” starting position. These types of turrets allow you to adjust for zero, then re-calibrate the caps so zero on the dial corresponds with your actual zero position. It’s kind of like calibrating a bathroom scale. If the dial on your scale reads 3 pounds when you’re not standing on it, you need to adjust the scale so it reads zero when not being used. Different scope models handle this in different ways. Some have a release screw to disconnect the turret, while others allow you to pull out on the turret and move it to the correct position.
Tricks for Different Zero Distances
Sometimes you may need to zero your rifle for a longer range than you have available. For example, you might want a 200-yard zero, but you only have a 50- or 100-yard range in which to make your adjustments. No worries, you can use some basic ballistic math to solve this problem, too. If all you care about is “close enough,” then you can use the fact that many common calibers such as .223 Rem. or .308 Win. have nearly the same zero at 50 yards and 200 yards. That means that if you make your adjustments so the crosshairs and point of impact align at 50 yards, then you’ll be pretty close at 200 yards as well.
If you want or need more precision, you can use a free ballistics calculator to look at the trajectory of your specific cartridge. For example, you can use the online ballistics calculator by Federal Premium (below) to see exactly how your .30-06 round will fly. Enter a few pieces of information and you’ll get a ballistics chart like the one shown below. As you can see, if you set your scope to impact .8 inches high at 50 yards, it will be right on target at 200.

The good thing about optics is that everything is predictable. If you have a top-notch scope, a solid mount, and take care with your zeroing groups, it’s quick and easy to get a precise and repeatable zero.

