Creating a Hunting Club: Trail Cams and Field Prep
OutdoorHub Reporters 10.12.17

Editor’s note: This is the third installment to a 12-part, comprehensive series about building a hunting club with buddies from nearly the ground up. Author Thomas Allen will share what he learns as he learns it. His hope is that anyone who reads this series can learn from his successes and failures, and apply them to a one-day fruitful hunting club. Click here to read the first installment, and here for the second.
There just aren’t enough hours in the day.
From the get-go, we knew getting this hunting club up and running in time for Alabama’s 2017 season would demand commitment, dedication and a substantial time investment. I’m not sure any of us fully realized exactly how we would accomplish our objectives — but that didn’t stop us.
The first installment we talked about the vision, and every time you encounter a hang-up or an obstacle, remind yourself why you started this journey in the first place. Rest assured, there will be obstacles, but if you’re committed, you’ll find a way to accomplish your goals.
Just press on.
After signing the contract, locking the gates, collecting soil samples and posting the property, the next step was preparing the food plots for planting, putting feeders out, and getting trail cameras positioned for herd inventory purposes.
And that’s what Part 3 is all about.
Field Preparation
Creating a lush, green food plot that attracts deer from all corners of the property requires detailed planning and hours of tractor time. Our first step was to determine how much we wanted to plant, and then make ready the fields.
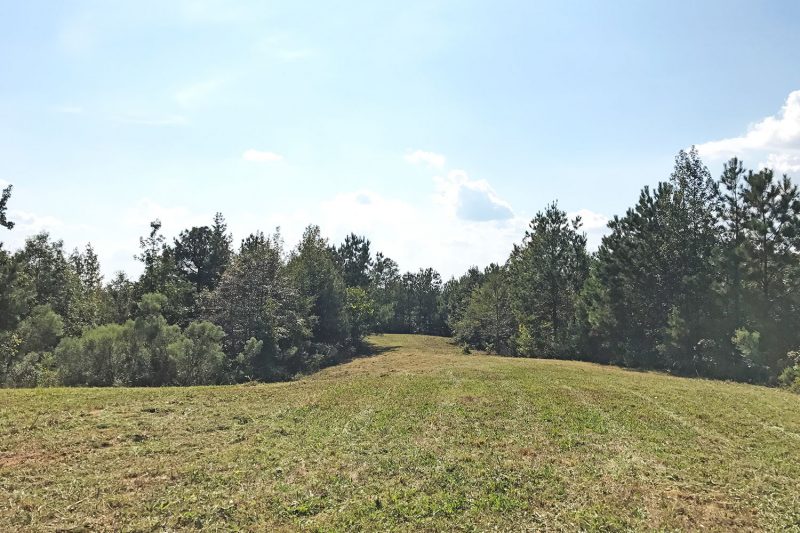
After some very rough estimation, we figured there was little over 16 acres of tillable dirt that could potentially produce food the local deer population would find irresistible.
Mowing:
We decided to skip spraying this year, and instead run over the fields with a disk a few times to break it all up and turn the mowed grass under the dirt. The decaying material generates more nitrogen, right?
If it were only that easy.
The result was a challenging situation that you’ll hear more about later, but next year I think we’ll spray Roundup earlier in the summer to reduce the amount of dead grass that separates the disk from the dirt. A hard lesson learned: You don’t just mow chest-high grass and weeds, and then expect to run a small disk over it effectively.
One of our members owns a tractor, mower, disk and provided the needed diesel to accomplish our tasks of prepping and planting. Without each of those items, we don’t grow any food this fall. Period.
Thanks, Paul!
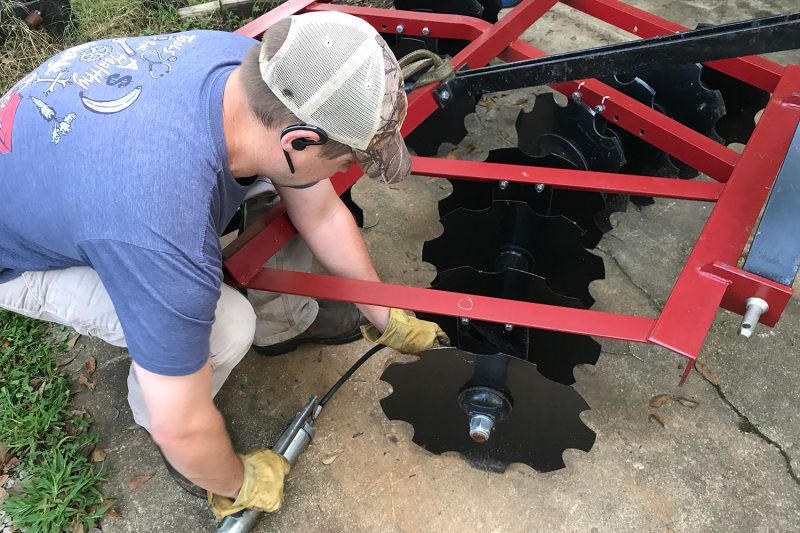
Keep this aspect of your club in mind. If you don’t have access to a tractor and the needed implements to create food plots, you’ll have to rent the equipment, or pay a buddy who is set up to tackle these projects, which isn’t cheap. Plan ahead in your membership fees to cover this expense. It is absolutely critical.
It took a full day and a couple of mornings before work to get all the fields mowed. But we got it accomplished with zero hang-ups.
Raking:
As I mentioned before, we decided against spraying Roundup due to time and resources, so we went straight to mowing. That left plenty of grass on the fields, which we had to remove to get seed into the ground. We didn’t have a rake, or the money to buy one . . .
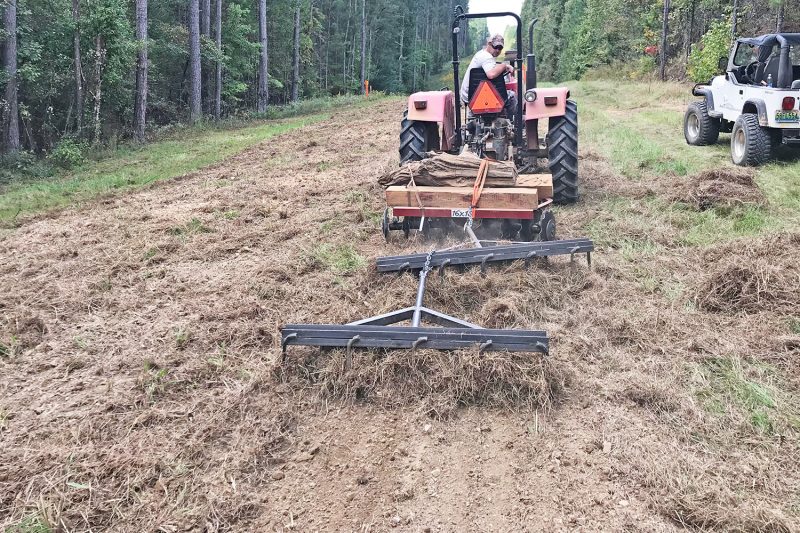
Paul, who is our conquering hero, also has experience behind a welding machine, and he had a bunch of junk steel lying around his shop. So, after a long night of cutting and welding, he built two rakes that sufficiently helped us remove much of the mowed, dead grass.
In one night he built these things. I mean, who does that?
Check this out: The Rake Build
Disking:
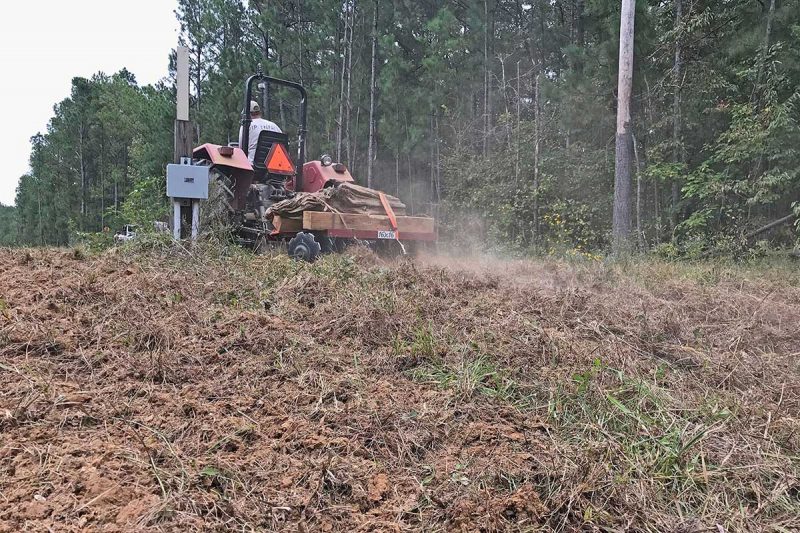
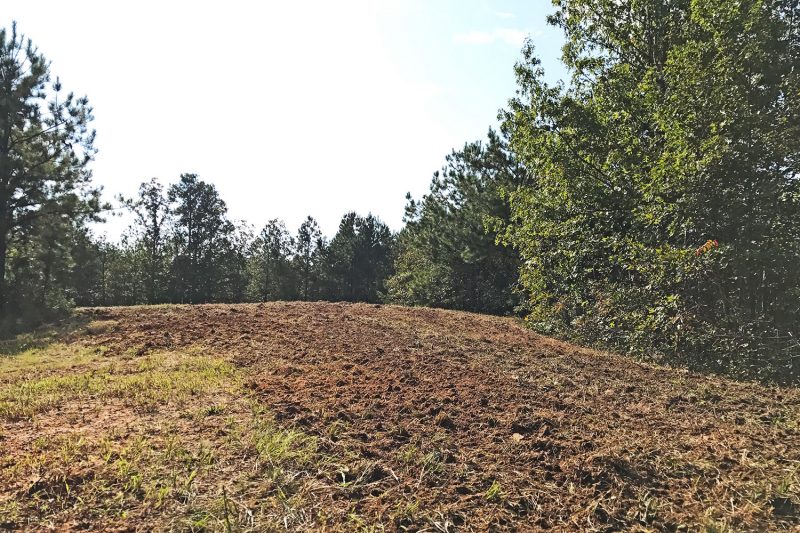
After everything was mowed, we gave the place a week before going back over the plots with the disk, and that was far more effective than trying to disk over green grass. Once the cut grass has dried and crisped up a bit, the disk will chop through it better and adequately cut the dirt.
It took two trips over each field with the disk to expose and loosen the dirt to a point where we were ready to plant.
To start, there were six existing food plots, and a gas line that ran through the middle of the property. The previously existing food plots were far from easy to make ready, but they were “cake” compared to prepping the gas line. That ground was very hard, rocky and was a challenge to break open. But we got it accomplished with multiple passes with the disk.
If you have a gas line or power line running through your lease, make sure you know the rules about planting there.
Planting:
Our next task is to get seed in the ground. In Alabama, our food plot growing season extends into November and December. As an Iowa boy, I live for those crisp Midwestern November mornings like I can’t explain. But in the South, that month is more about growing food than chasing rut-crazed whitetails.
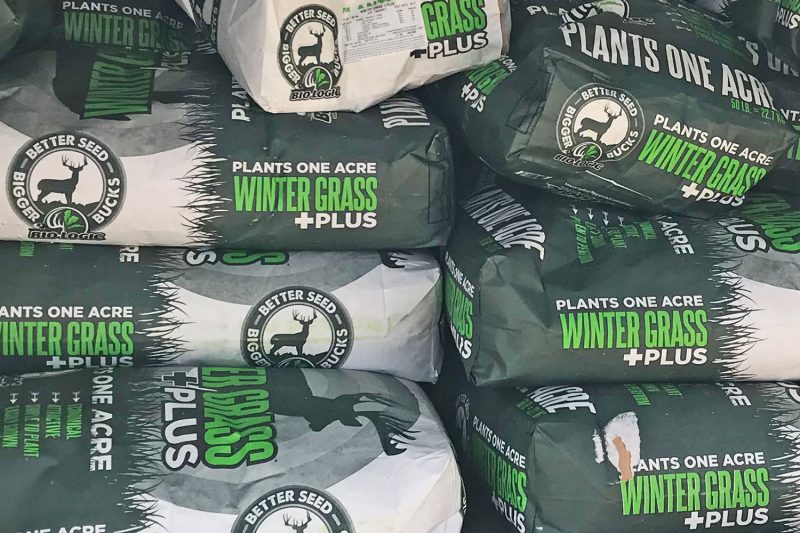
After some deeply experienced insight from the food plot innovators at Mossy Oak BioLogic, here’s what we decided to plant in our dirt:
- We bulk planted BioLogic Winter Grass Plus.
- Biologic’s Deer Radish is a proven candy bar for deer. We planted a total of 1 acre.
- The classic and proven formula of Biologic Maximum was planted in a few locations.
- Finally, we put in a half-acre of BioLogic Non-Typical Clover in two separate locations.
We’ll get into detail about our planting experience in the next installment. So, stay tuned.
Trail Cameras
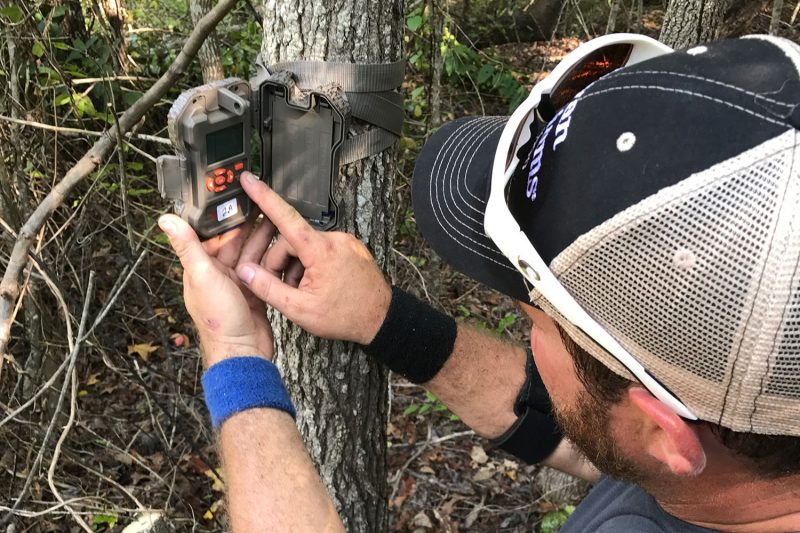
On the same day we signed the lease contract, I set up a Wildgame Innovations Silent Crush 20 overlooking an existing mineral site. I sweetened the site with some of WI’s Reactor, which is like the epoxy of deer attractants. You mix the two ingredients together and BAM, you have applesauce for deer.
Seriously though, this stuff is cool, and the deer LOVE it.
Want proof? How does 1,200 pictures in 7 days sound? Check this out:
Bringing Deer Close:
So, there’s a lot of opinions and options out there about how to effectively use trail cameras. Here’s what I’ll tell you about getting deer, especially bucks, in front of every lens you’ve got strapped to a tree. It’s about attracting them in and getting them to stop long enough to become a superstar.
I’m a trail-camera junky.
However, in an effort to stay married, I’ll avoid mentioning how many cameras I manage annually, but I’ll tell you they are the single greatest scouting tool a modern hunter can employ — if you know how to be effective. You’d be wise to take the same approach.
I believe there are three ways to consistently gather files upon files of deer pictures: feeders/mineral sites, scrapes and travel corridors.
Feeders:
Check local regulations before putting feeders on your hunting property. Feeders are most effective if put out during early summer to capture velvet rack development as you determine who’ll make your hit list in the fall.
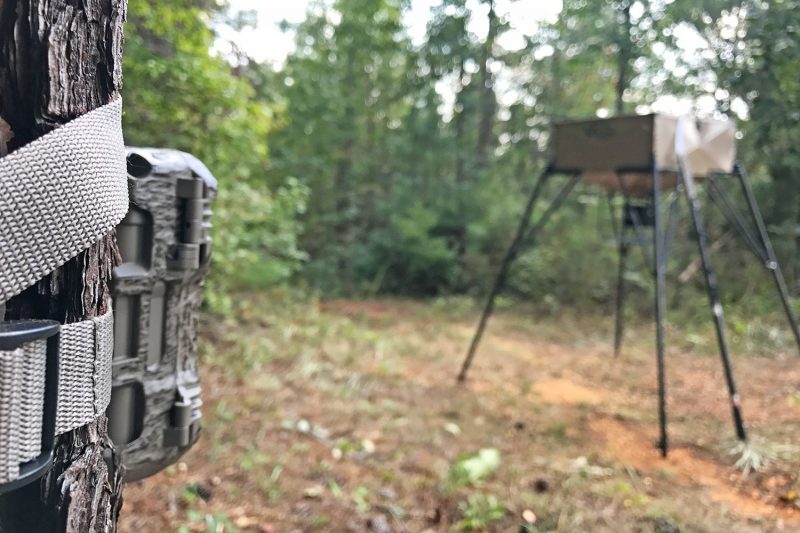
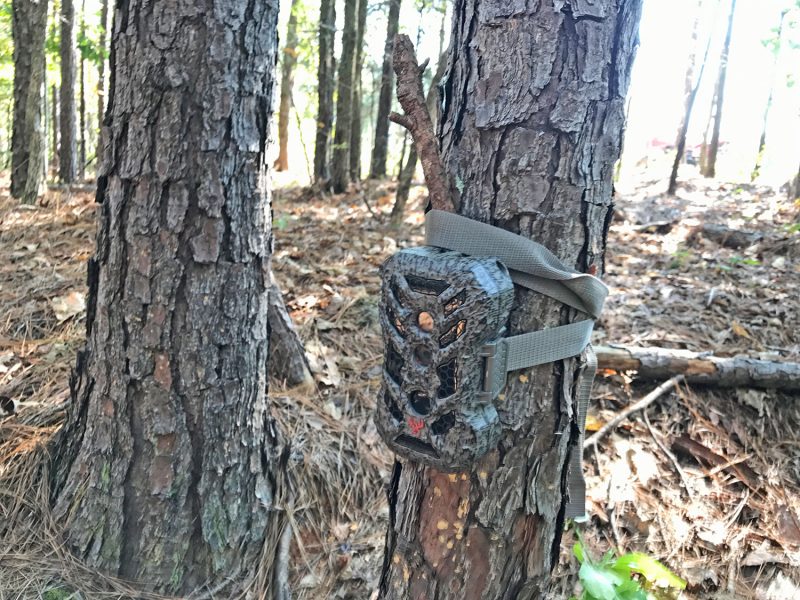
Feeders are important because without a timer or cover, corn — as is most commonly used — will rot and turn to waste if it gets rained on. Use a covered feeder or an electronically driven feeder, such as what Wildgame Innovations offers.
For the time being and the sake of this discussion, we’ll address travel corridors at a later date.
Mock Scrapes:
Let’s move to scrapes. The minute a buck sheds his velvet, he’s interested in scraping behavior. And that’s not to say they won’t engage a licking branch 365, but for our efforts, let’s focus on hard-horn bucks.
Late August into mid September is typically when a white-tailed buck will shed his velvet across much of the nation. While scrapes do occur in this timeframe, they can be hard to find. Don’t fret, make your own!
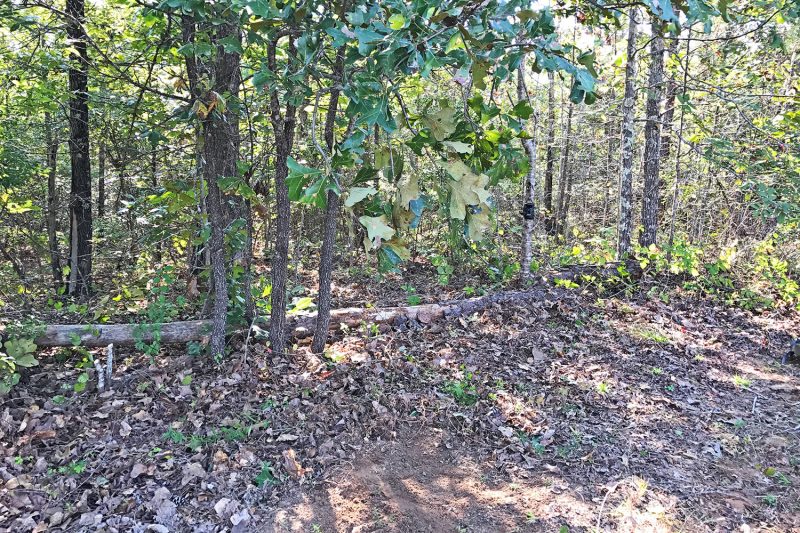
Here’s an example of my proven method: How to build a mock scrape
Do you manage a lot of cameras? Here’s a great way to keep track of every SD card and camera:
If you’re in a situation where you know deer are walking out of sight your camera, you’ve got to check out the WI 360 Cam LightsOut. This camera is a solution to capturing what lurks behind.
Up Next
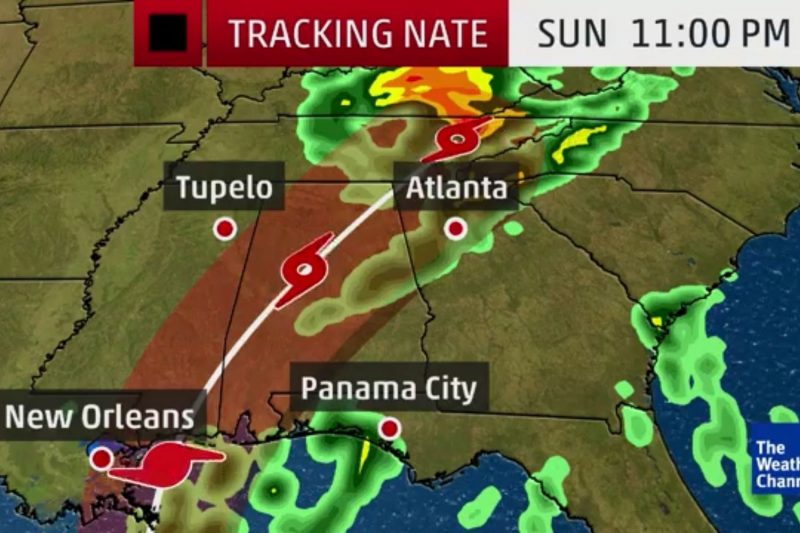
How we beat Hurricane Nate. Stay tuned!
