How to Evaluate a Pistol, Part 1: In the Store
Tom McHale 07.24.19
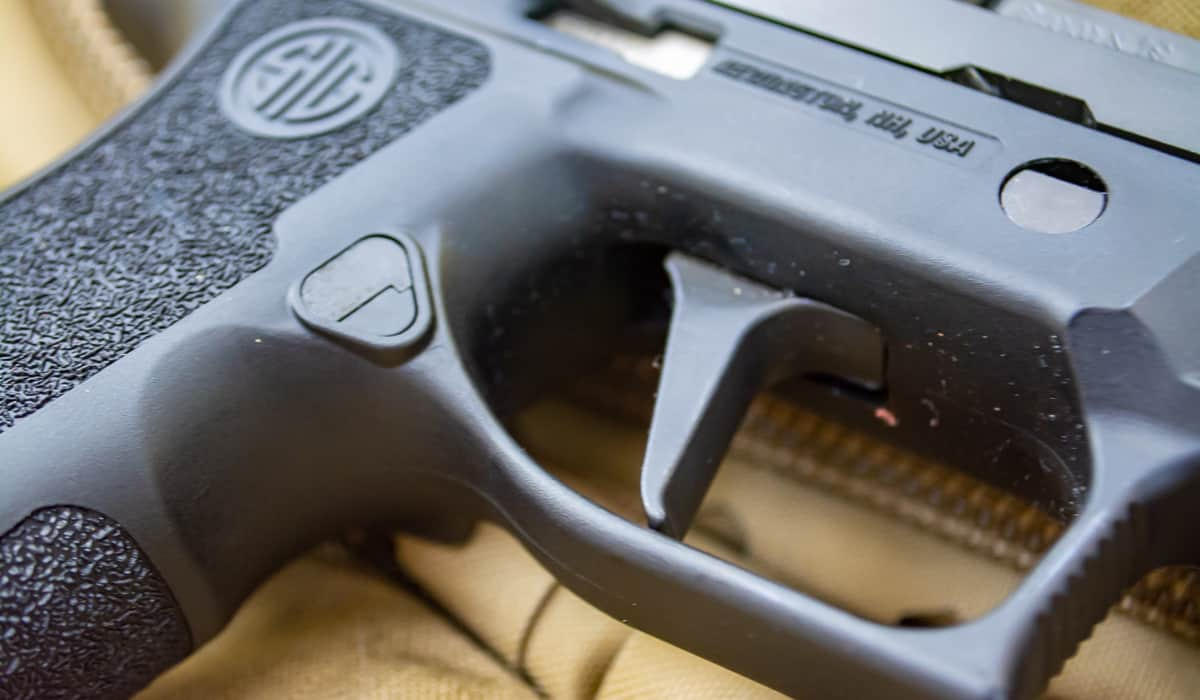
When shooting a new (to you) pistol for the first time, there’s a natural temptation to pick it up, decide whether it “feels good,” shoot it a few times, and make a judgement as to its suitability to the task at hand. Hey, it’s normal. We live in a snap judgement world. Just ask any recent victims of social outrage on the internet.
When looking at a new pistol from an editorial perspective, it’s equally tempting to rush to a subjective judgement too. We’re human and if we’re really honest with ourselves, most of us enjoy playing the Broadway role of “Judgey McJudgeyPants.” Realizing my susceptibility to human temptation to make subjective judgement, I developed a checklist of sorts to apply to new pistols that cross my desk.
Perhaps the following evaluation reminders will help you when searching for the ideal plinker, home defense, concealed carry, or competition pistol. In this part one, we’ll explore things you can try in the store. Next time, we’ll get into range work.
Triggernometry
First a confession. I’m a trigger snob. I don’t think it’s an irrational character flaw because a good trigger makes it so much easier to shoot well. And in this day and age, it’s fairly easy for companies to include a decent trigger without adding big dollars to production cost.
So, with that said, step one after taking the pistol out of the box and verifying its empty status, is to test out the trigger as follows.
Trigger Reach
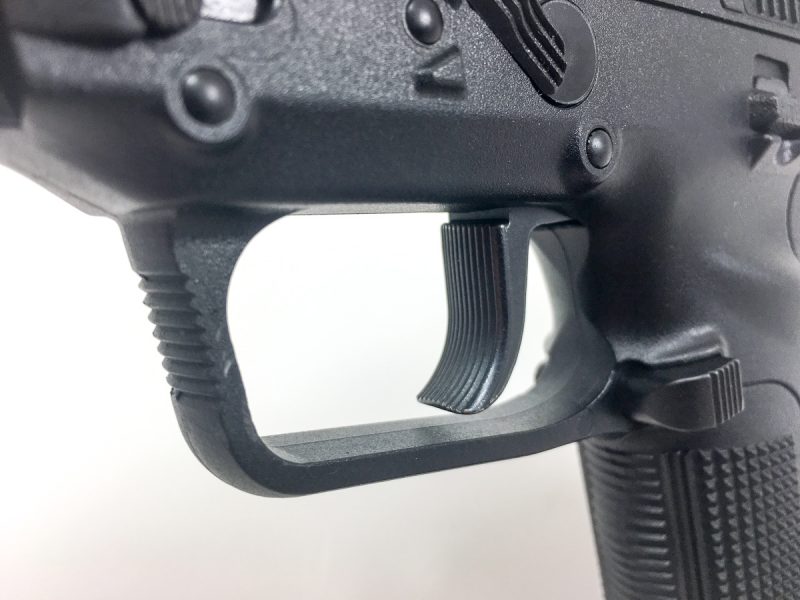
With a natural firing grip, I want to see a bit of daylight between the lower part of my trigger finger and the frame. This will vary for people as some like to place the pad of the finger on the trigger while others rest the first joint on the trigger. In either case, you don’t want the lower part of your trigger finger dragging along the frame when you shoot. That will make it more difficult to execute a perfect and consistent trigger press. To be clear, this “test” isn’t a sign of a flaw in the pistol design; it’s an indication of whether the pistol fits you. If you’re looking at a pistol with adjustable backstraps, check which one is installed to be sure that you can adjust larger or smaller if the initial default fit doesn’t work for you.
Weight
Next comes the scale. I’ll place the “hook” of my trigger scale in the position where my finger bone will most likely rest when pressing the trigger. If you place the scale hook low on the trigger, you’ll get a lower pull weight reading, but if that’s not where your finger will actually be placed, you’ll be giving yourself a false sense of pull weight. Usually I measure a trigger from the center of its vertical surface area. Be sure to take a half dozen or so measurements and calculate an average. It’s not an exact science.
Pull Sensation
I like to turn off the TV and music and place the pistol alongside my ear (with the muzzle pointed in a safe direction and not at my head!) and do a series of slow presses. I want to feel and hear the take-up and break sensations as the trigger moves from resting to break. Gritty or rough feeling triggers will certainly function, but a smooth trigger action will only help your shooting. The more easily you can press a trigger without moving the gun, the more accurately you’ll shoot. Any roughness or catching will make it that much harder to execute a consistent press.
Take-up and Break
I like to know how the take-up stage works. Some pistols have a near-weightless take-up stage while with others you’ll feel either constant or increasing pressure until the break. There’s not necessarily a “right or wrong” result here, you’re just making sure that the sensation is what you want, whatever that is.
I like to quantify the break while testing the motion. Is it crisp like the proverbial glass rod snapping? Or is it more of a mushy sensation? Can you detect by feel exactly when the trigger is going to break? Personal preference plays here. I like a crisp break myself, but your mileage may vary. Some like a real “surprise” break within a range of motion.
Overtravel
From the instant that the trigger breaks can you detect whether the trigger will continue to travel back towards the frame? Ideally, you’ll want minimal distance in that region. In a perfect alternate universe, the trigger would stop at the exact position of the break. In reality, for reliable function, you’ll want it to move every-so-slightly past the point of break so there is zero risk of the sear not releasing.
Reset
To test the reset, hold the trigger back against the frame after a press. While holding the trigger captive, rack the slide enough to cock the pistol. Now, slowly allow the trigger to move forward until you feel and hear the action reset. Without any additional forward trigger motion, pull it back again to make sure the pistol functions. Do this a bunch of times. You’re looking for a clear and preferably audible reset “click” very time. You’re also verifying that the reset click happens at a point where a subsequent trigger press will operate the gun. If the trigger sounds and feels like it reset, but it didn’t fully do that, a press may not fire the pistol.
Safety Operation
If the pistol includes a manual safety, you’ll want to make sure it works as designed while you’re testing functions with your unloaded pistol. We can’t cover all the action types and safety nuances here, so refer to your manual and consider some of these basic tests.
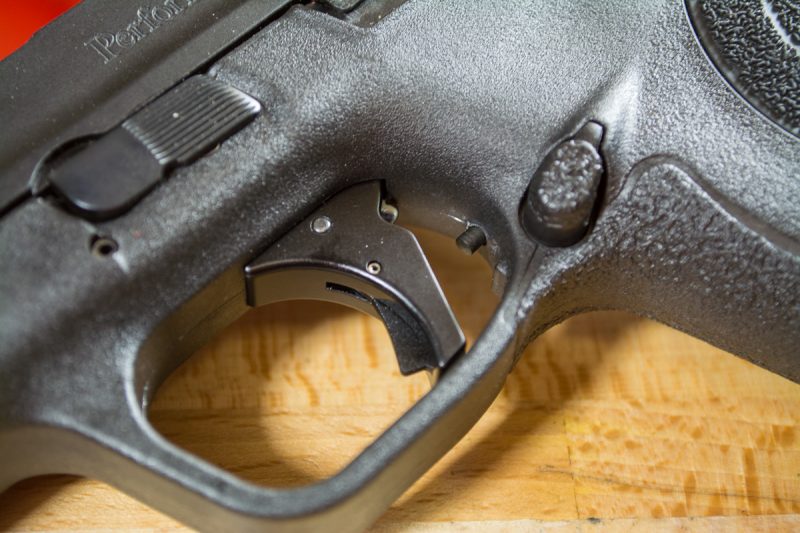
- If your pistol has a leaf insert, rack the slide and try to press the edge of the trigger to make sure it won’t operate unless you’re depressing the center leaf.
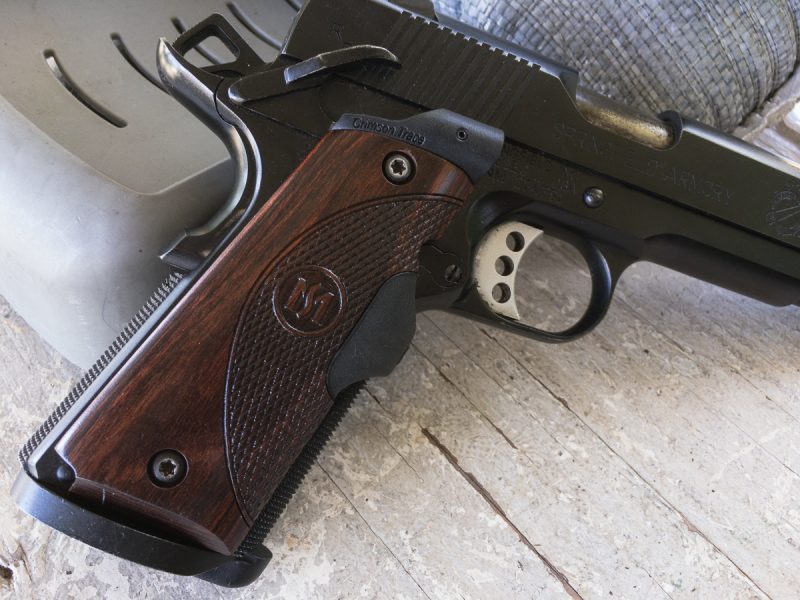
- Some pistols, like 1911 variants and Springfield Armory XD series models have grip safeties that must be depressed to fire a shot. Be sure to test the trigger without the grip safety depressed. While you’re at it, experiment to see exactly where the grip safety releases. Also try a variety of strong and support hand grips to make sure that your hand reliably releases the grip safety with less than perfect grip technique. One last important check. Be sure the grip safety works reliably if you prefer to shoot with your thumb riding on the safety lever. Raising the thumb to that position takes a bit of pressure off the grip safety. On some guns and with some hands, the safety may not disengage when you expect it to.
- If your pistol has a magazine disconnect, meaning it won’t fire unless a magazine is inserted, then check that function.
- Hold the trigger all the way back against the frame and rack the slide. Did the sear catch the striker or hammer? If so, good. If your pistol has a hammer, try to press it forward after the slide rack when you’re still holding the trigger captive. It shouldn’t release until you cycle and reset the trigger.
- I also like to pull the slide ever-so-slightly back and out of battery to make sure the trigger won’t “fire” when the slide is in that condition.
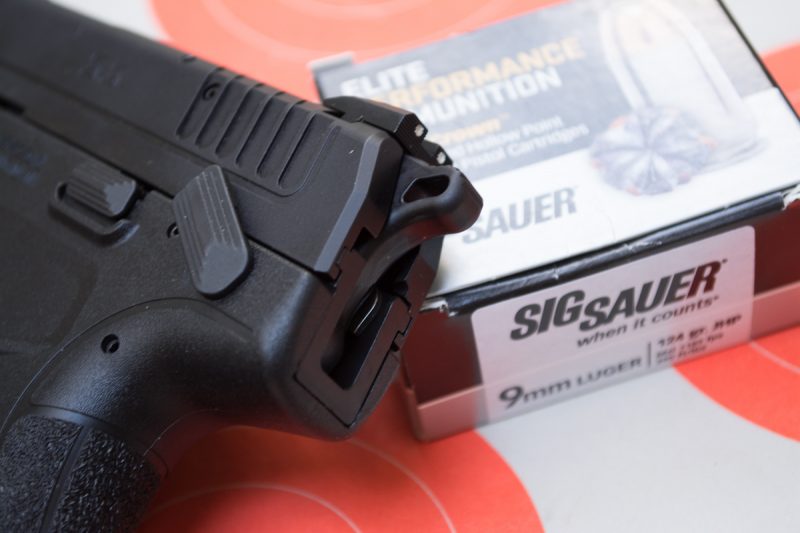
Pointing
This test isn’t an indication of gun quality or accuracy, but it tells you if it will be easy for you to shoot.
Different guns have different grip angles. By just looking, it’s hard to tell as the angle of the barrel relative to your hand depends on some complex geometry involving the front of the grip profile, the back profile, the overall contour, and the shape of your hand. With that said, there are significant differences between pistols. For example, a 1911, Springfield Armory, Smith & Wesson M&P, and Sig Sauer will almost always have a more vertical grip than a Glock or Beretta APX.
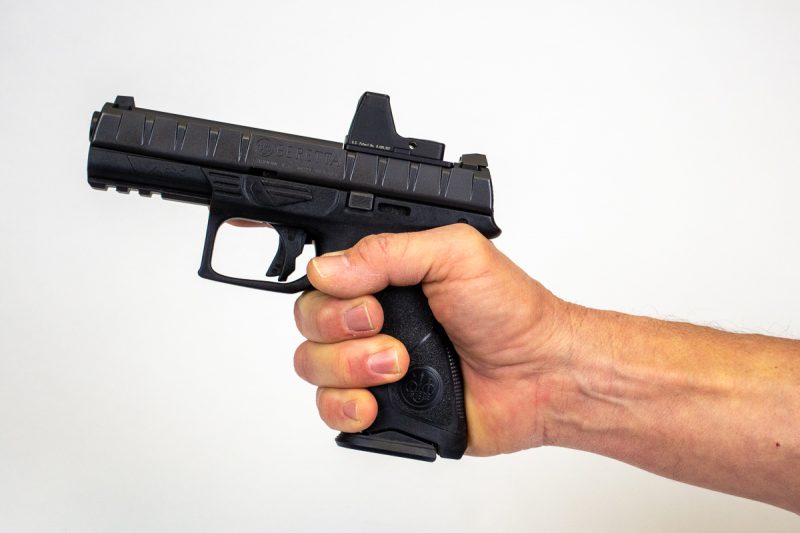
Here’s how to see how a pistol’s grip works with your hands and eyes. With the muzzle of the empty pistol pointed in a 45-degree angle towards the floor and toward a safe backstop, close your eyes and raise the pistol to what you think is the target. Now open your eyes. Is the pistol pointing above your desired point of aim? If so, the angle may be too raked for you. You’ll have to train to raise the gun without allowing the sights to rise above your target. As an example, for me, a Glock will always point high when I do this where other pistols will line up perfectly. For some of my friends, the exact opposite is true. Be sure to run through this several times to make sure you’re getting a good reading. Again this isn’t a quality issue but rather a “fit” issue. Of course, you can train to shoot any pistol, regardless of grip angle. This test just tells you the natural point of aim.
Fit & Finish
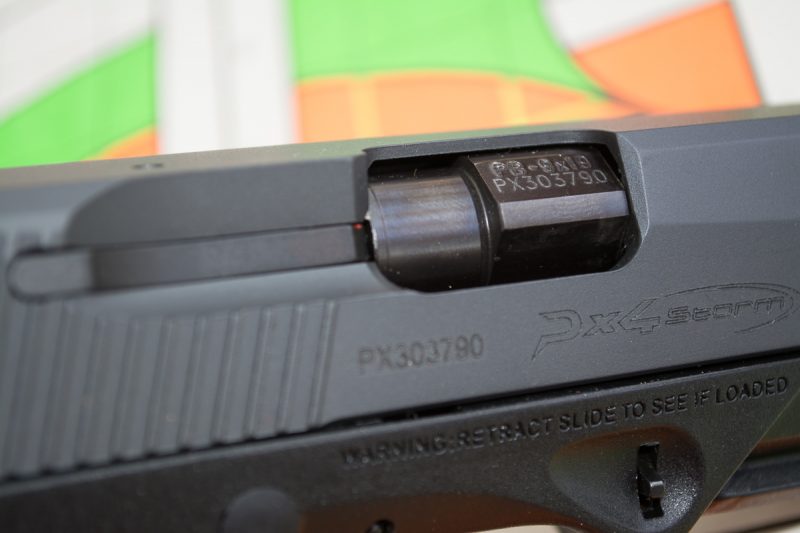
Check accuracy-robbing and reliability issues first when evaluating how pieces fit together in the pistol. The first thing I look at is the barrel hood to slide fit when the pistol is in battery. Is there any play side-to-side or front-to-back? Most production pistols will have a little bit of movement as companies have to be sure that any random barrel from the assembly bin will work with any random slide. So, a little movement is normal. If it’s too much, the accuracy tests at the range will let you know right away. I also like to see how much side-to-side movement there is for the hammer (if applicable) and trigger.
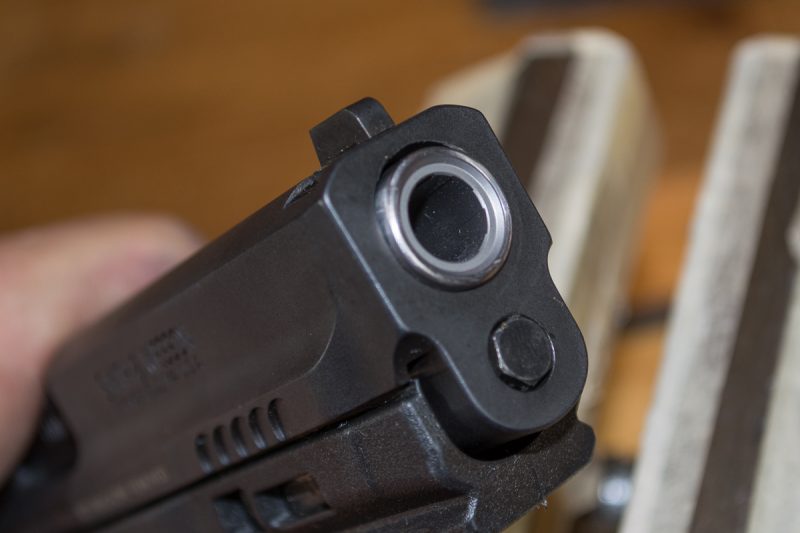
Be sure to look at the crown of the muzzle itself. Most pistols will have a slight bevel all the way around the inside of the muzzle, or at least a smooth transition from exterior to interior. You want to make sure that there are no nicks or dents (even small ones) in that area. That transition from rifling to open air is the last thing that a bullet touches on its way down range. There can be a dramatic impact on accuracy if there’s any damage or machining mistakes in the crown area.
All of the preliminary inspections are things you can do in the gun store or at a show assuming you’ve gotten permission and have a safe direction for the muzzle. Do keep in mind that these “checks” are new gun testing exercises and aren’t intended to inspect the complete function of a used firearm. There are whole separate sets of procedures for that which we can explore in future articles.
Stay tuned. Next time we’ll continue with the range work for evaluation of a pistol.

