How To Build a Budget-Friendly Garage
Derrek Sigler 12.09.19

My wife says I have way too many toys. It’s all part of being an outdoor enthusiast, though. I have ATVs, an Alumacraft boat, my truck, and piles of hunting gear that can’t be left just anywhere, right? The money I have invested to waterfowl decoys alone is kinda nuts. I needed more storage space and lucky for me, ShelterLogic has some amazing storage solutions that cost a fraction of what a regular pole barn-type building would cost. Putting one of these portable garage type buildings together only required a weekend, some site prep and a couple pizzas with frosty beverages for my friends.

You’re probably familiar with ShelterLogic from the shed packages they sell through various retailers.The company is well known for making the best portable garage-type buildings. For a few hundred bucks, you get an easy-to-build shelter for your stuff. There’s nothing wrong with these sheds. For the money, they are one of the best options when you don’t have any budget room. In fact, I have one, however, the winters and the wind have not been kind to it. I used the wrong anchors when I first put it up, and the first major winter storm knocked it into my neighbor’s maple tree. I needed something bigger and more permanent without the hefty price tag. ShelterLogic has exactly what I, and you, need. They offer a custom-built, permanent building that is made to order from the best materials, all for a price that will blow you away. Yes, it’ll cost more than the ones you get at the retail shops, but it’s certified to be wind and snow rated with materials that will last.
It helps with winterizing your toys, too. You can take your boat to a marina and have them winterize your motor and boat, shrink wrap it and store it, or you can take care of it yourself. Winterizing your outboard isn’t all that difficult and if you have a storage solution like this, you’re all set.
How Big Do You Need It?

ShelterLogic has a building for every need and budget.There are tons of prefabricated kits available that will meet most needs. Or you can do what I did and order a premium, custom kit from the ShelterLogic website. After chatting with the excellent customer service folks at ShelterLogic, I went with ShelterTech SP 25 x 14.5 x 13 Premium Building. This will let me store the boat, the ATV, the lawnmower, goose decoys and so much more, all while allowing me extra space to let my wife store stuff in there too. Ok, that last part is just in the story in case she reads it.
Is This Better Than a Standard Portable Garage?
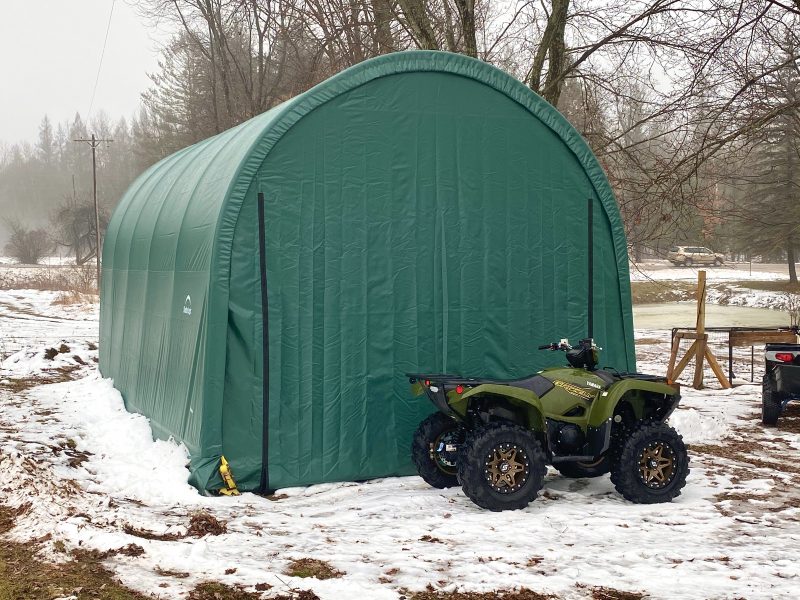
I went with the premium ShelterTech SP series custom structure. The main frame is 3-inch, Made-in-the-USA, galvanized steel tubing and the cover is made from Ultra Duty PVC 21.5 oz material that is rated to last for 10 years and longer. This building, when assembled correctly, is rated for 75 pounds per square inch snow load and 115mph winds and where I live “Up North,” that’s a serious possibility. This isn’t a portable garage in the normal sense. You’re not going to go moving it around very easily. However, it is as permanent as any stick-built storage building.
How Difficult is Site Prep and Construction?
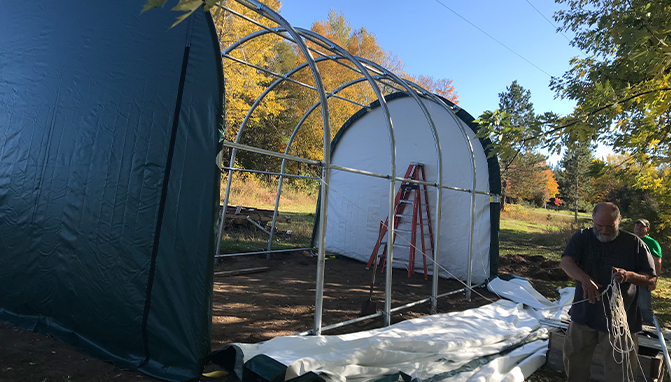
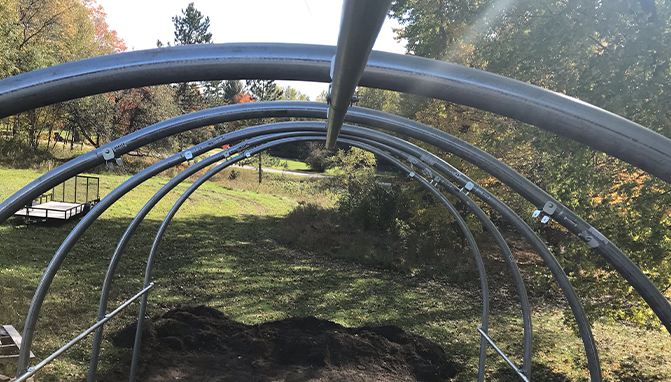
If you don’t have your building site for your portable garage selected, look for level ground, as having the building set on level ground is imperative. My building site was close to level, but not quite close enough. I had to borrow a tractor with a back blade and a front scoop, and a transit to level out the spot. When you first get started and are staring at all the different pieces, it might seem like a daunting task. Start building the frame first by bolting the brackets on the different frame pieces. Don’t tighten anything yet, just get it aligned and have the bolt holding things together.
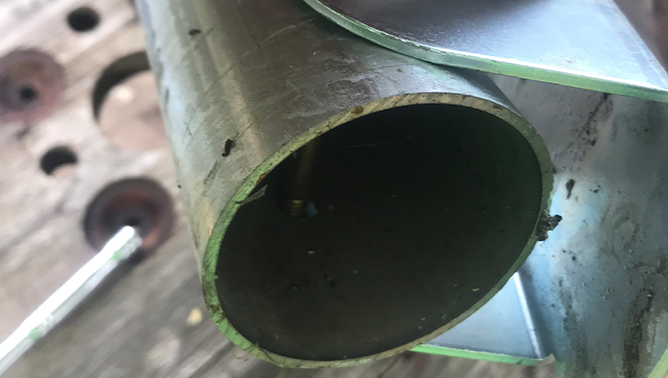
Pro tip: Have a metal file in your pocket, just in case there are any burrs from where they drilled the holes for the bolts. It’s rare to find one, but having a file on your before you start reduces swearing if you come across one.
Beer and Pizza
You’re going to need a couple extra hands to help with some things. I cashed in a couple of favors with a buddy and paid my neighbor off in beer. It also helped that I had a UTV with a 4500lb WARN winch. That really helped with the heavy lifting and holding the arches in place. The included instructions called for three people. I had five including my teenage son, so when we got to rolling on things, the whole thing went together rather quickly.
Make Sure You’re Square!
Critical to the success of this or any building project is to take measurements and ensure you’re squared up. This is a big reason to not tighten all of your bolts right away. You’re more than likely going to need to shift things a little here and there. We measured each end and then measured corner to opposite corner to get things accurate.
One more reason to not tighten all the bolts, is that you’re going to have to loosen the ends so you can put the covers on. They loop through the support poles and add even more rigidity to the structure. Having a few extra hands makes doing this easier, especially when fastening the top of the ends to the frame.
When draping the main cover over the frame, it is much easier to do if you have a winch. You start by running the support rod through the sleeves on the sides of the cover. And then attach ropes to pull it over. This would have been a bigger job if not for that handy winch. The cover and ends all secure to the frame using ratchet straps built onto the ends, and smaller straps inside securing the support pole to the frame. Once this is all up, go back through and tighten every bolt and make sure you’re all set.
Once set up, I have a little over $5,000 invested in all with concrete, the ShelterTech SP building package and a few other materials. I now have a really nice building to store my ATVs, the boat and other gear, like my waterfowl decoys. There’s plenty of space to add more toys, too. And now that I have permanent storage, it’ll be so much easier to sneak more decoys past my wife.


