How to Setup an Indoor Growing Space to Start Seeds
Morgan Rogue 05.26.23

Ready to grow a garden? Not every zone needs to start plants indoors, but you always can, especially if you want to extend your growing season. By starting plants indoors, once you transfer them outdoors, your plants will already have a head start.
Many plants need to be direct sowed, so pay attention to your zone, as well as the directions for each type of plant and how they’ll thrive best for your specific area.
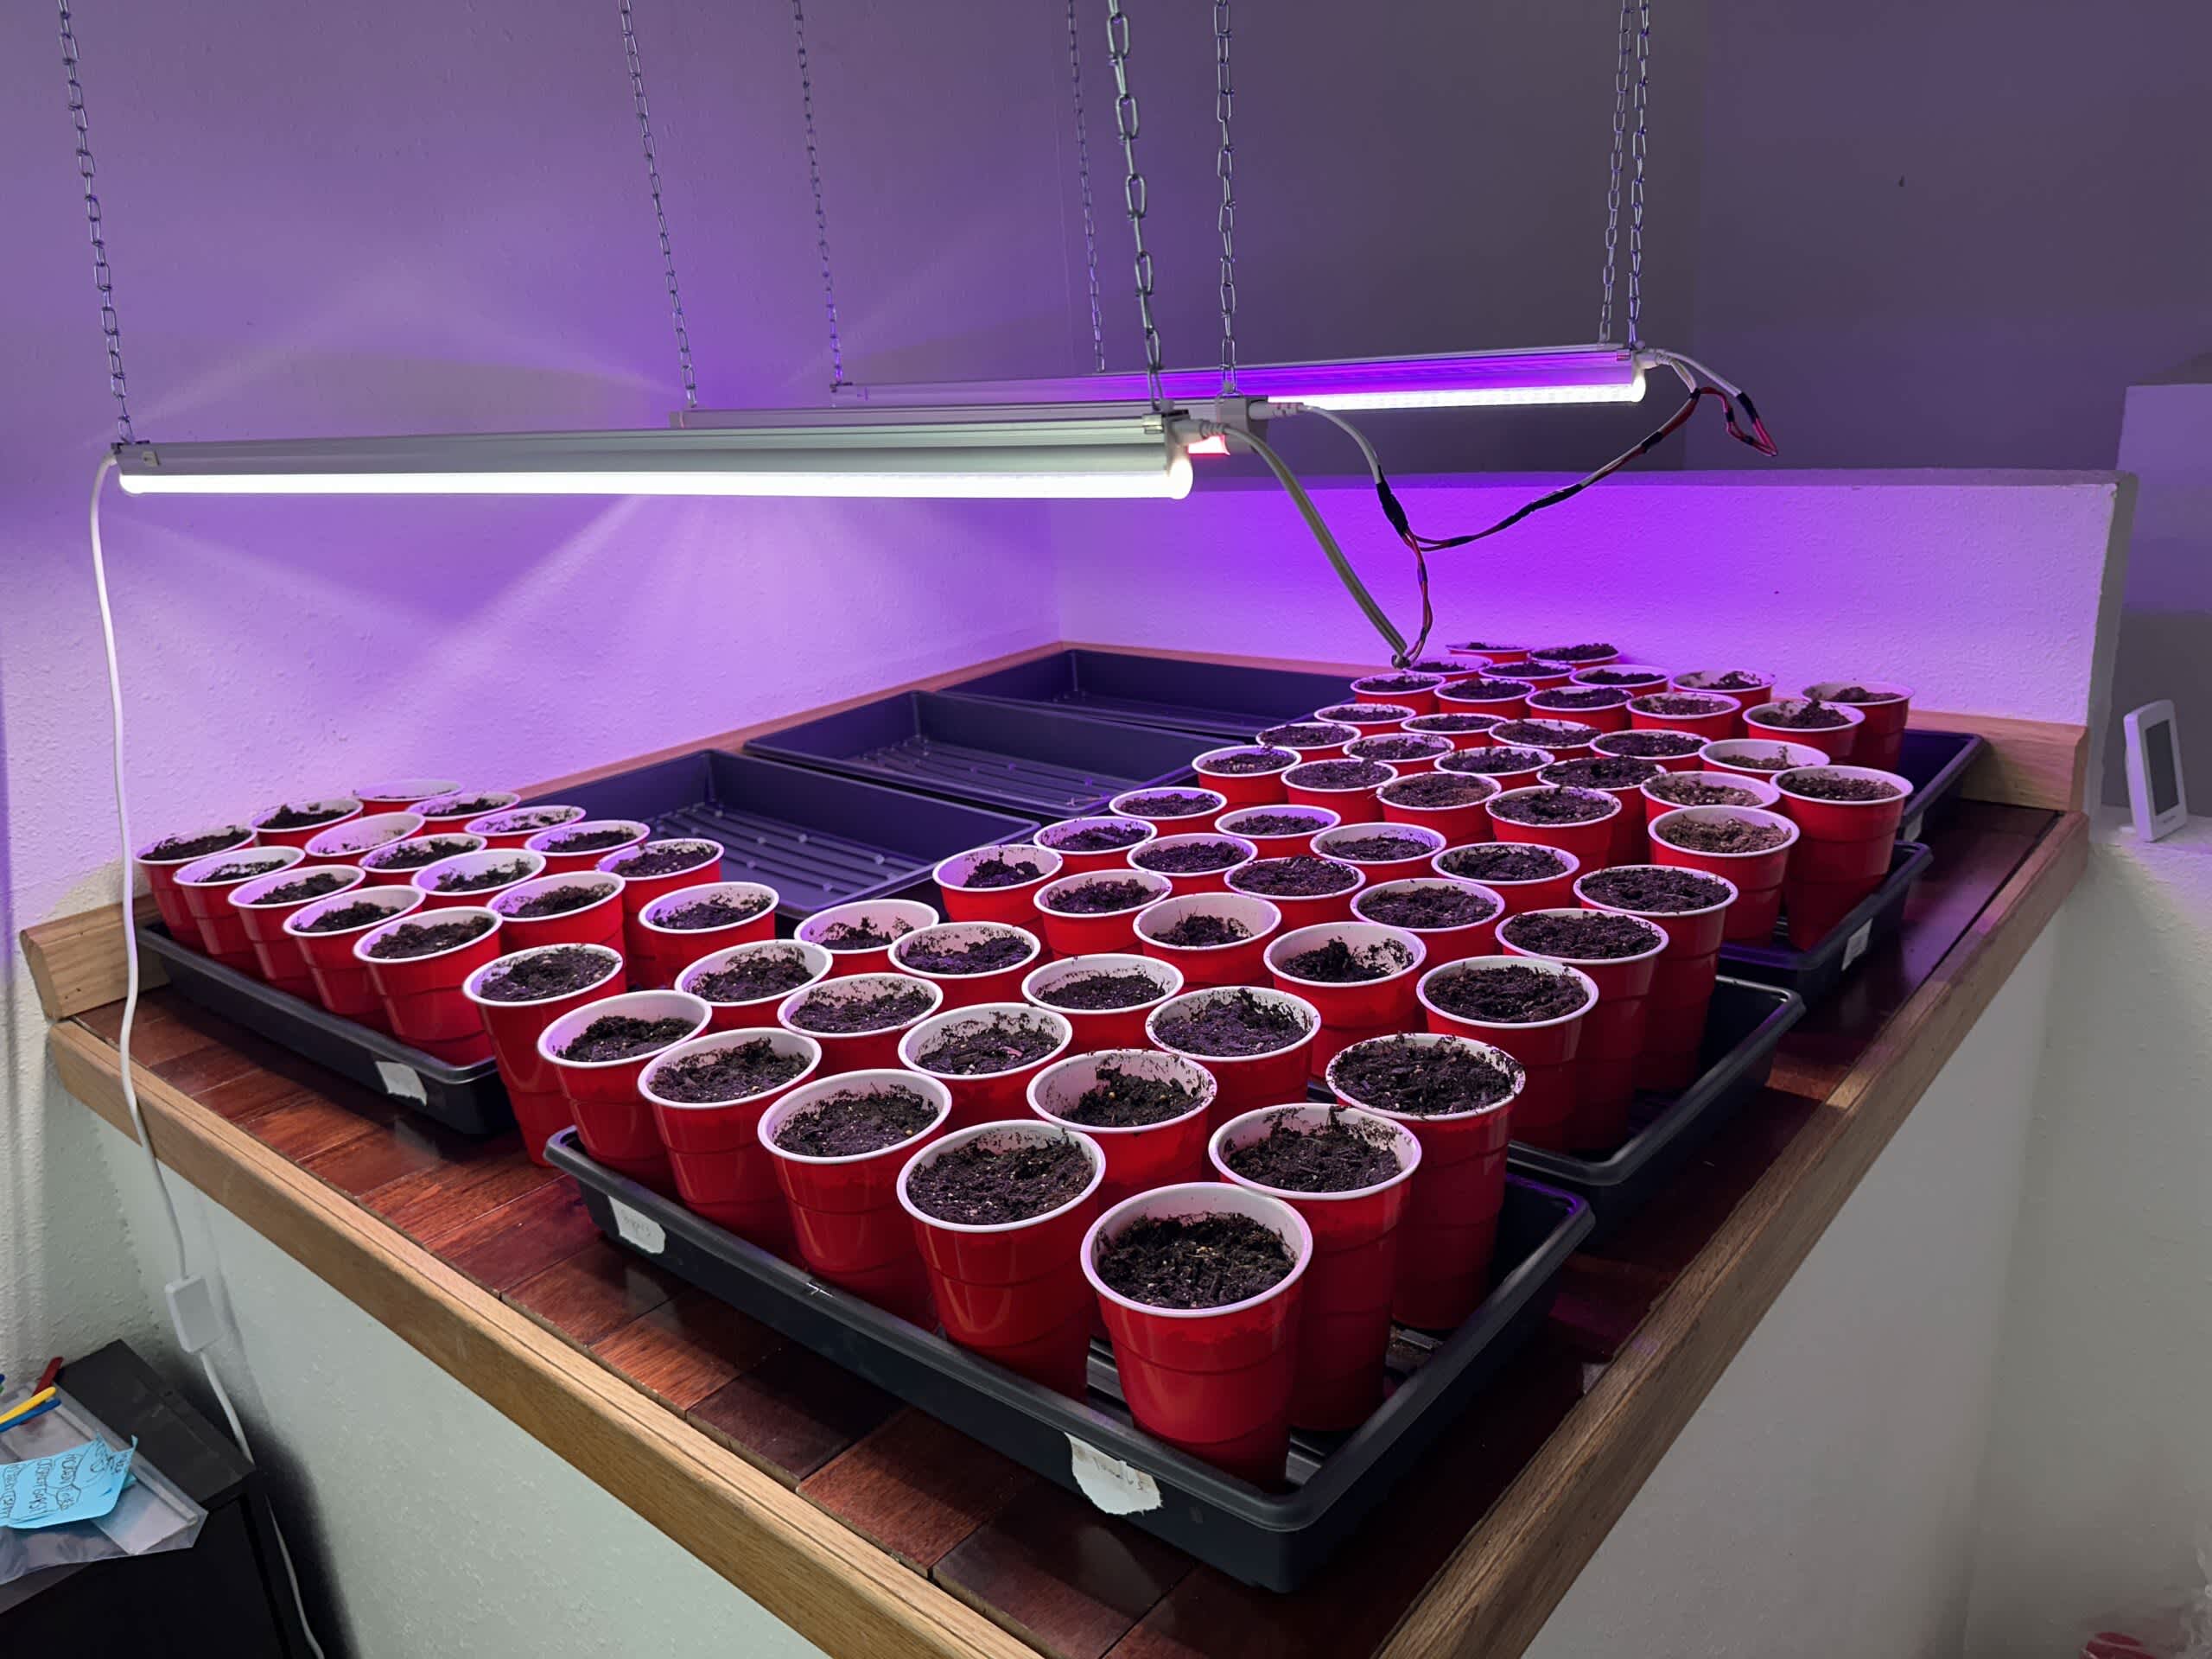
My indoor seed starting setup is going to look different than yours, but the general concept is the same. So try not to focus so much on the actual looks from my pics, but more the general idea on how to setup your own space. I’ve started seeds on al kinds of different shelves and spaces, but they all had a few things in common.

How to setup your indoor seed starting space:
Find your location. As I stated above, I’ve used all kinds of locations. Getting some wire shelves from the hardware store is an easy and affordable surface for starting plants.
Get the supplies.
You’ll need:
- Seeds – try to find seeds specifically for your area, but really, any seeds will do.
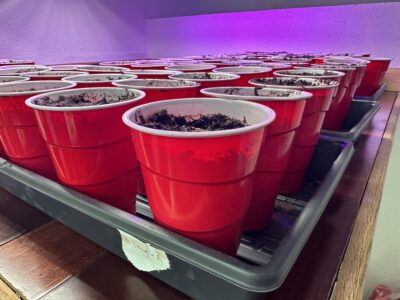
- Container – I have used professional pots to red party cups. Y\ou can start seeds in almost anything. I’ve seen people start them in rolled-up newspapers! Seeds are resilient. I also like to have pans underneath them to catch any excess water or dirt or whatever else. You can use professional pans or aluminum baking dishes work, too.
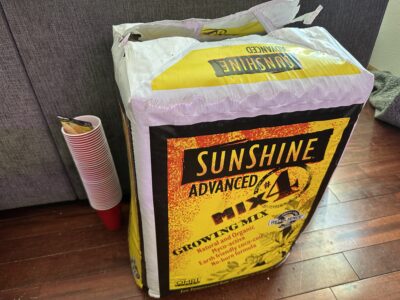
- Dirt – I buy the biggest bag of potting soil that I can as I plant a lot. I have heard a lot of people simply digging up dirt from their yard and using that, it really depends on your soil. You can always amend it later, but plants will really grow in just about anything, as long as it’s not hard-packed clay.
- Grow lights – these lights are the best deal I’ve found on large grow lights. If you don’t have the budget, you can also set them near a sunny window. They will need consistent light throughout the day, though.
Clear your space and setup the grow lights. Plants don’t need light until they breach the surface, but I like to have them on from the get-go. I don’t know, makes me feel better.
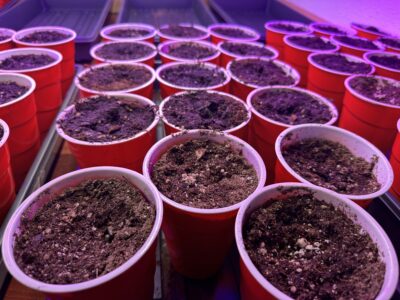
Plant the seeds. Get a seed starting mix from the store, fill your containers, wet the soil, and plant the seeds. Give it more water if you see fit.

Things I don’t use, but are optional:
- I don’t use anything to simulate a greenhouse. No domes, no indoor greenhouse, no wrapping the space, etc. You can certainly do this if you wish. Making a greenhouse effect is a great way to help facilitate seeds to grow, but not necessary. Just be patient.
- I don’t use heat mats. You’d be surprised what temps seeds can germinate under. As long as it’s above freezing, chances are they’ll germinate. If the soil stays moist, the soil will keep them comfy and cozy. If you feel you need a heat mat, by all means.
There you have it. That’s all you need to get seeds started indoors. There’s no need for any fertilizers at this stage. Any fertilizers can be added when you transplant them outdoors.

You don’t need to water indoor plants as often. Indoor plants generally retain their moisture a lot better. This is especially true if you’re using red party cups without drain holes. Just water less often and don’t water too much. Keep it moist, but not soaking.
Some even choose to have a fan near their plants to keep good air circulation. I usually do this after they have sprouted. This can also help get the plants ready for the real world by helping them develop strong roots to withstand mother nature.
From here on out you’ll be impatiently waiting to see your first sprouts.
Be patient, expose them to the outside world a few weeks before planting outdoors and you’ll have strong, healthy plants that should provide you with abundance. Have fun!

