DIY Rod Holders for Collapsible Pier Cart
Eugene L. 10.19.23
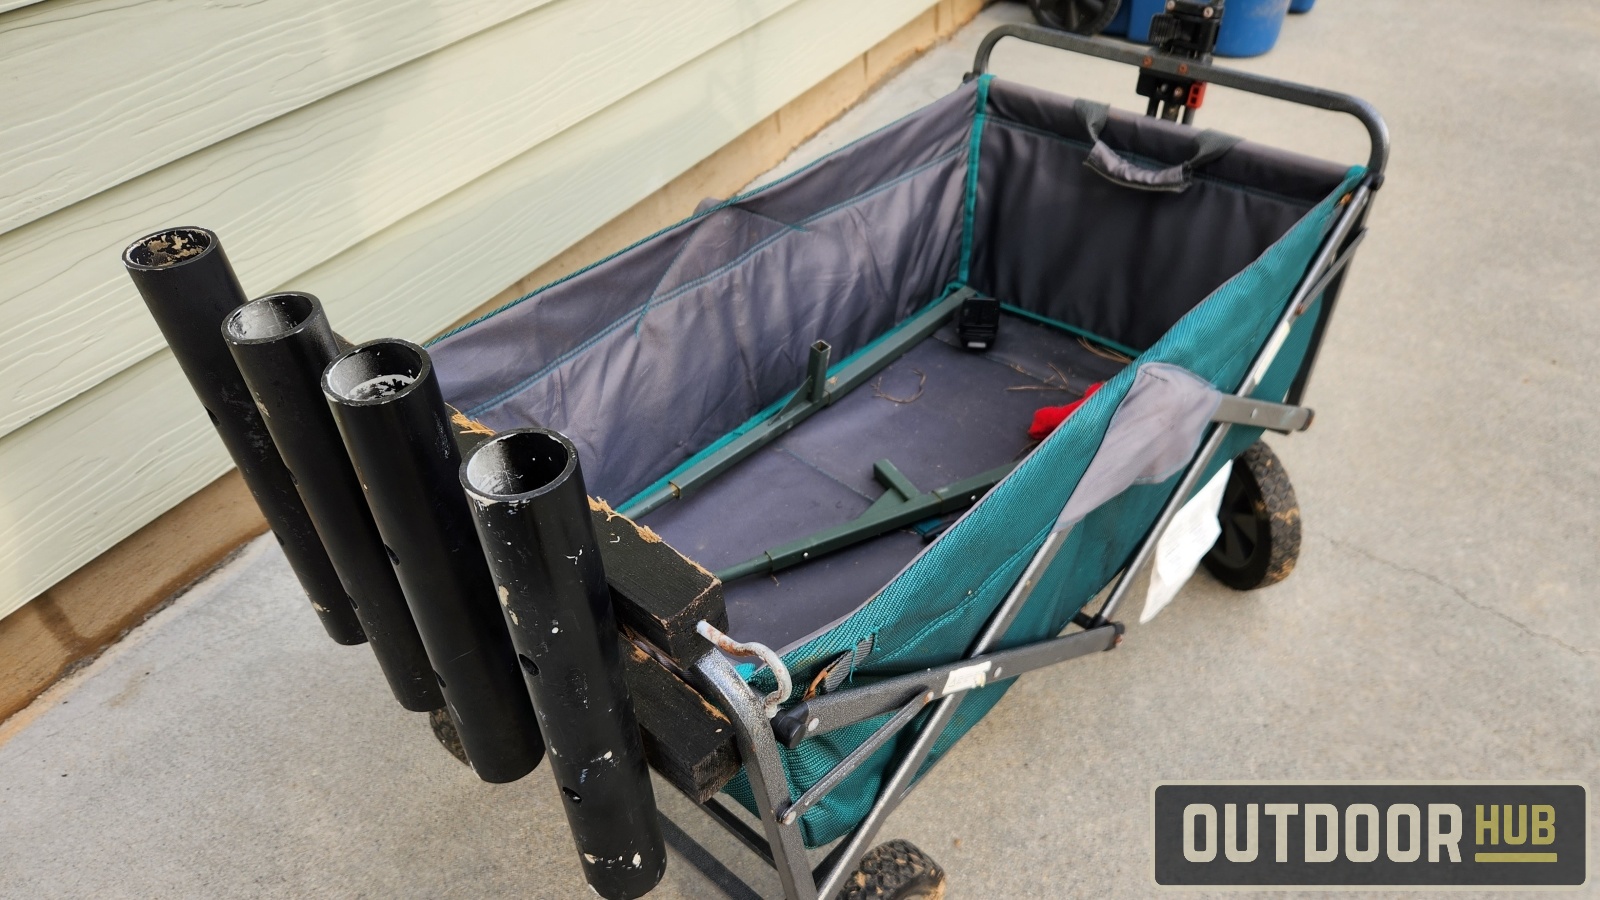
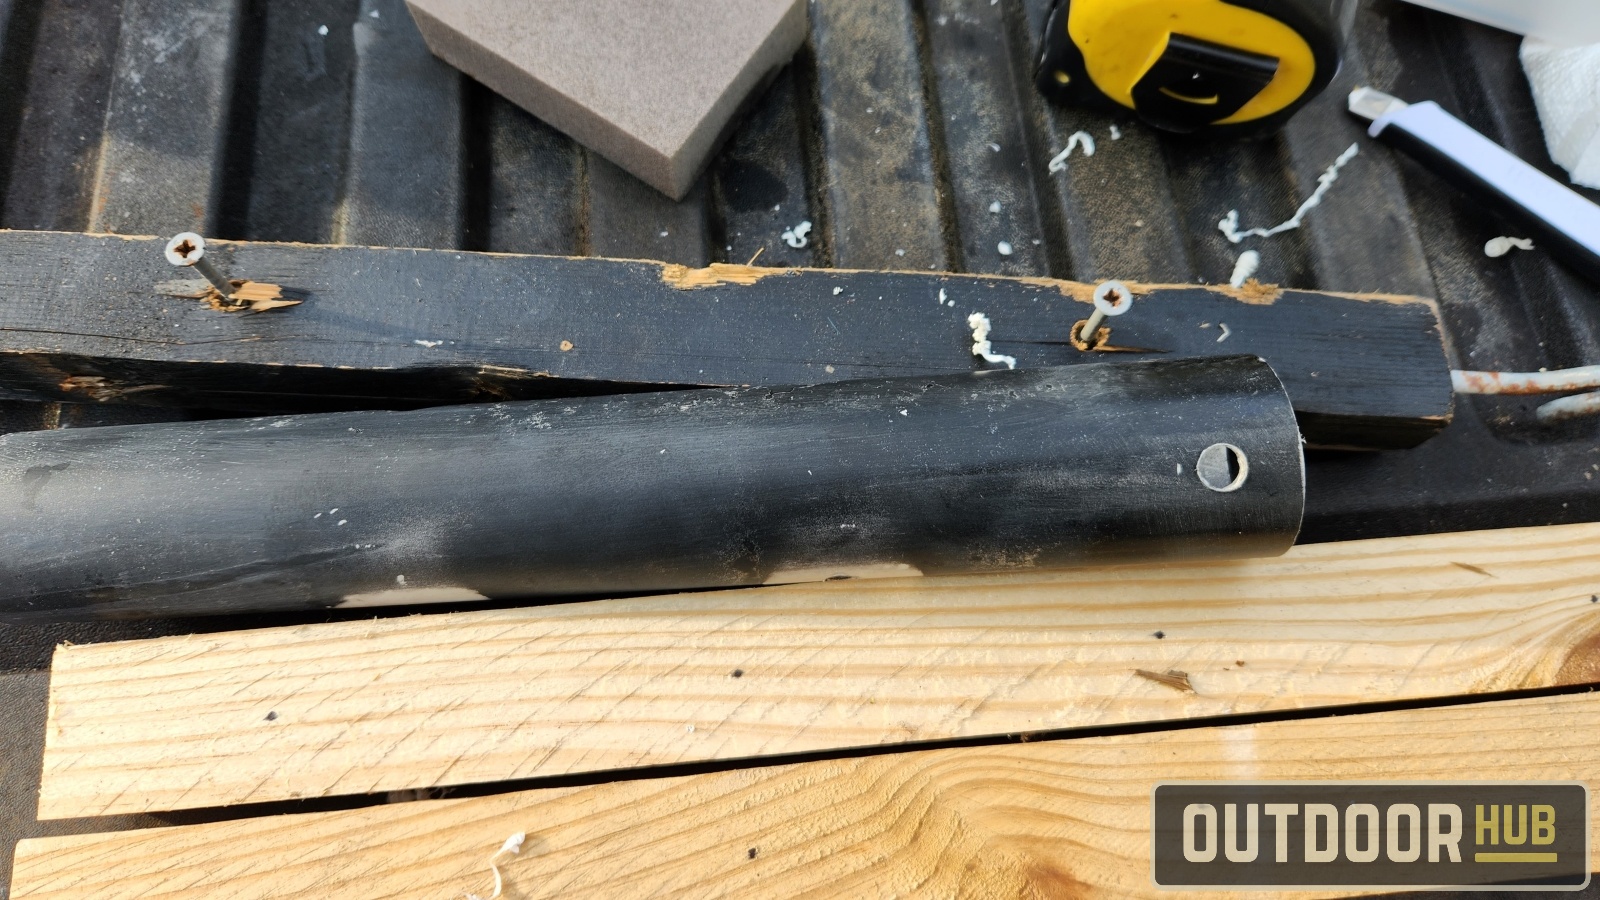
A pier cart is a must if you are going to do any sort of extended fishing trip on a pier or bridge. Especially if you plan on keeping fish, you need something to lug your cooler around, along with your tackle, rods, and landing gear. So I’m going to show you how to turn one of those relatively “cheap” collapsable carts into a pier cart. These carts are sold in a lot of sporting goods stores, or other places like Walmart, for anywhere from $50 to $100 depending on how fancy they are. You want to just go bare bones as possible for this build though. Along with the collapsable cart you will need around $20 in materials to build out your budget pier cart. The collapsible cart I’m working on today is one I’ve actually been using for several years now. Just the sun, salt, and moisture has finally gotten to the rod holder so it’s time for a rebuild.
To make this rod holder attachment for the cart all you will need is a saw and drill, both preferably electric. Materials-wise for this project you will need at least 4ft of 1.5″ PVC pipe, at least 3 ft of 2×2 lumber, 8 – 1.5″ screws, 2 – 2″ screws, a screw-in utility hook, a 2.5″ Lock Pin, black spray paint, and black Plasti-Dip.
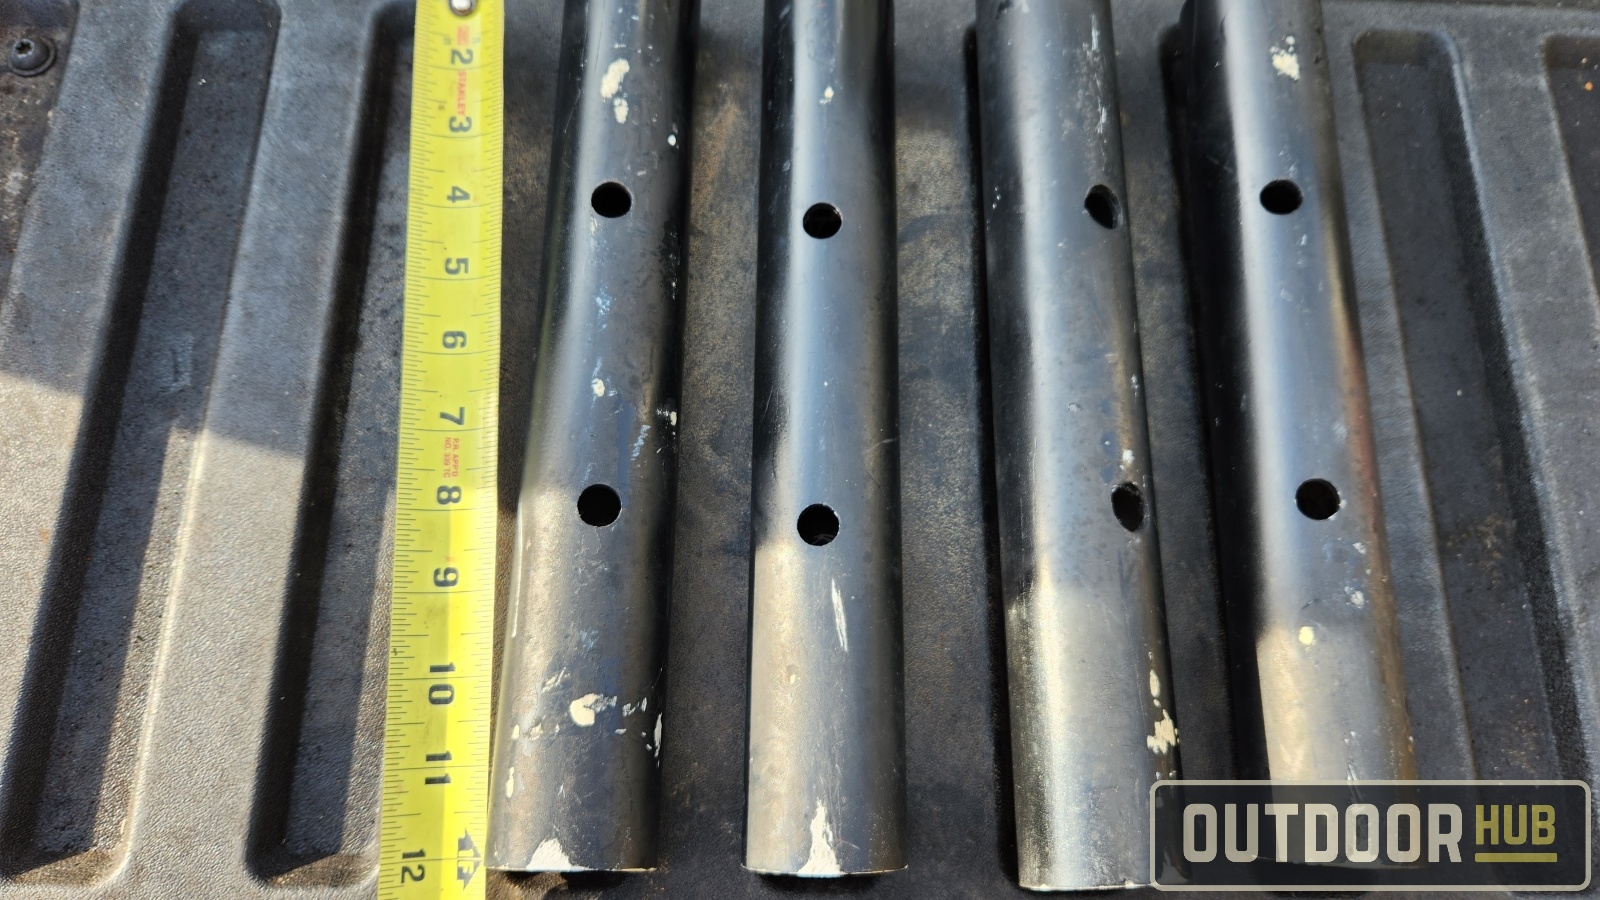
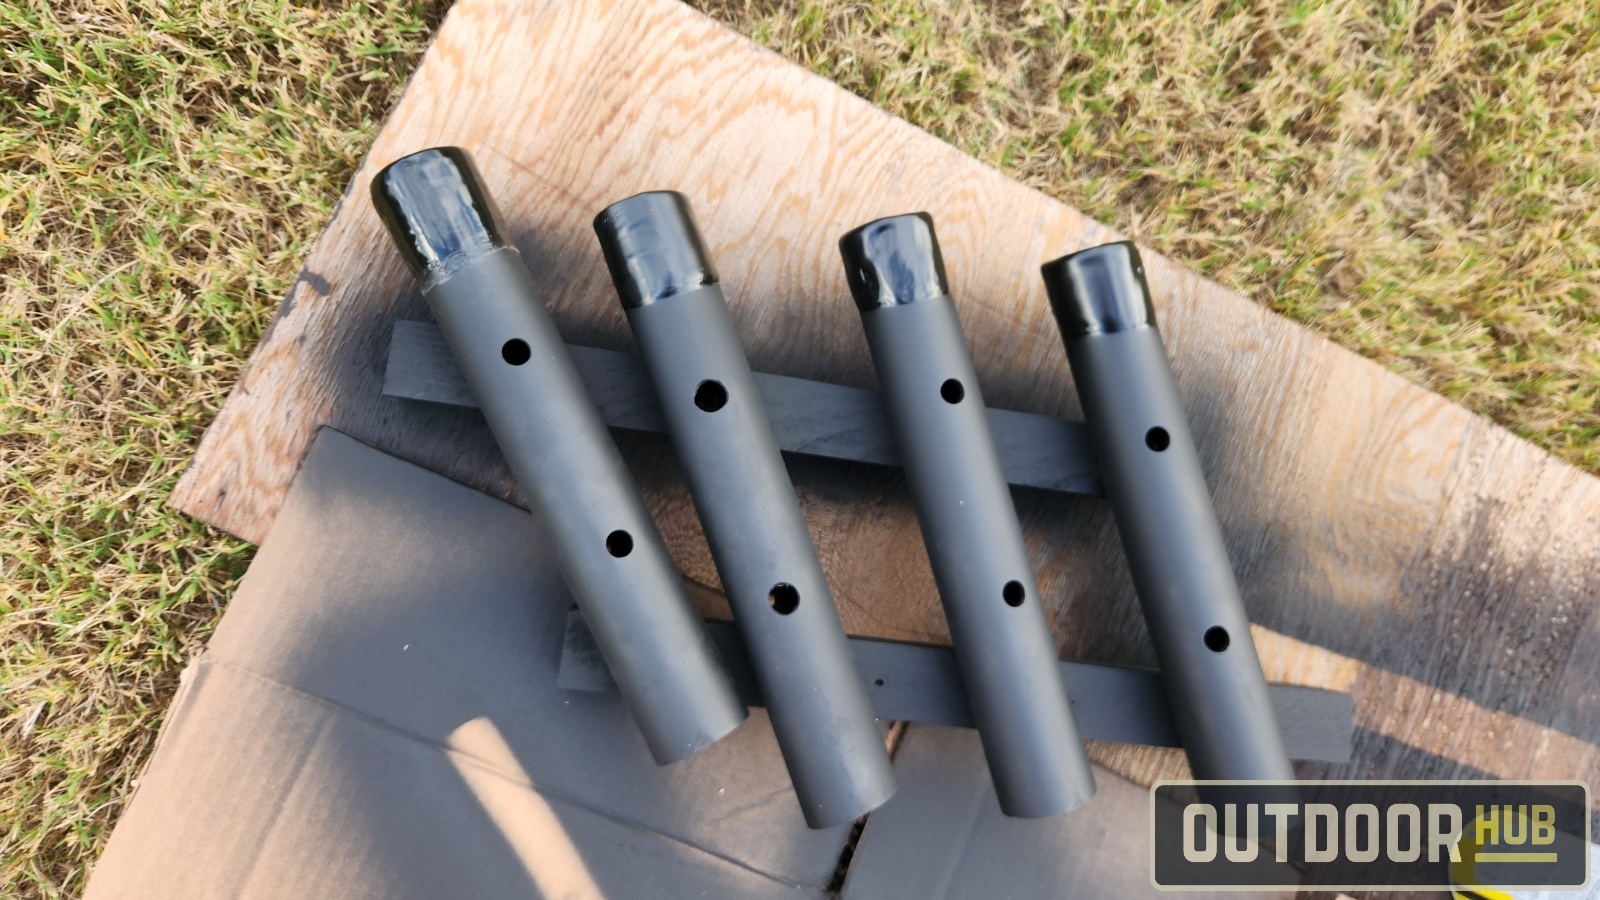
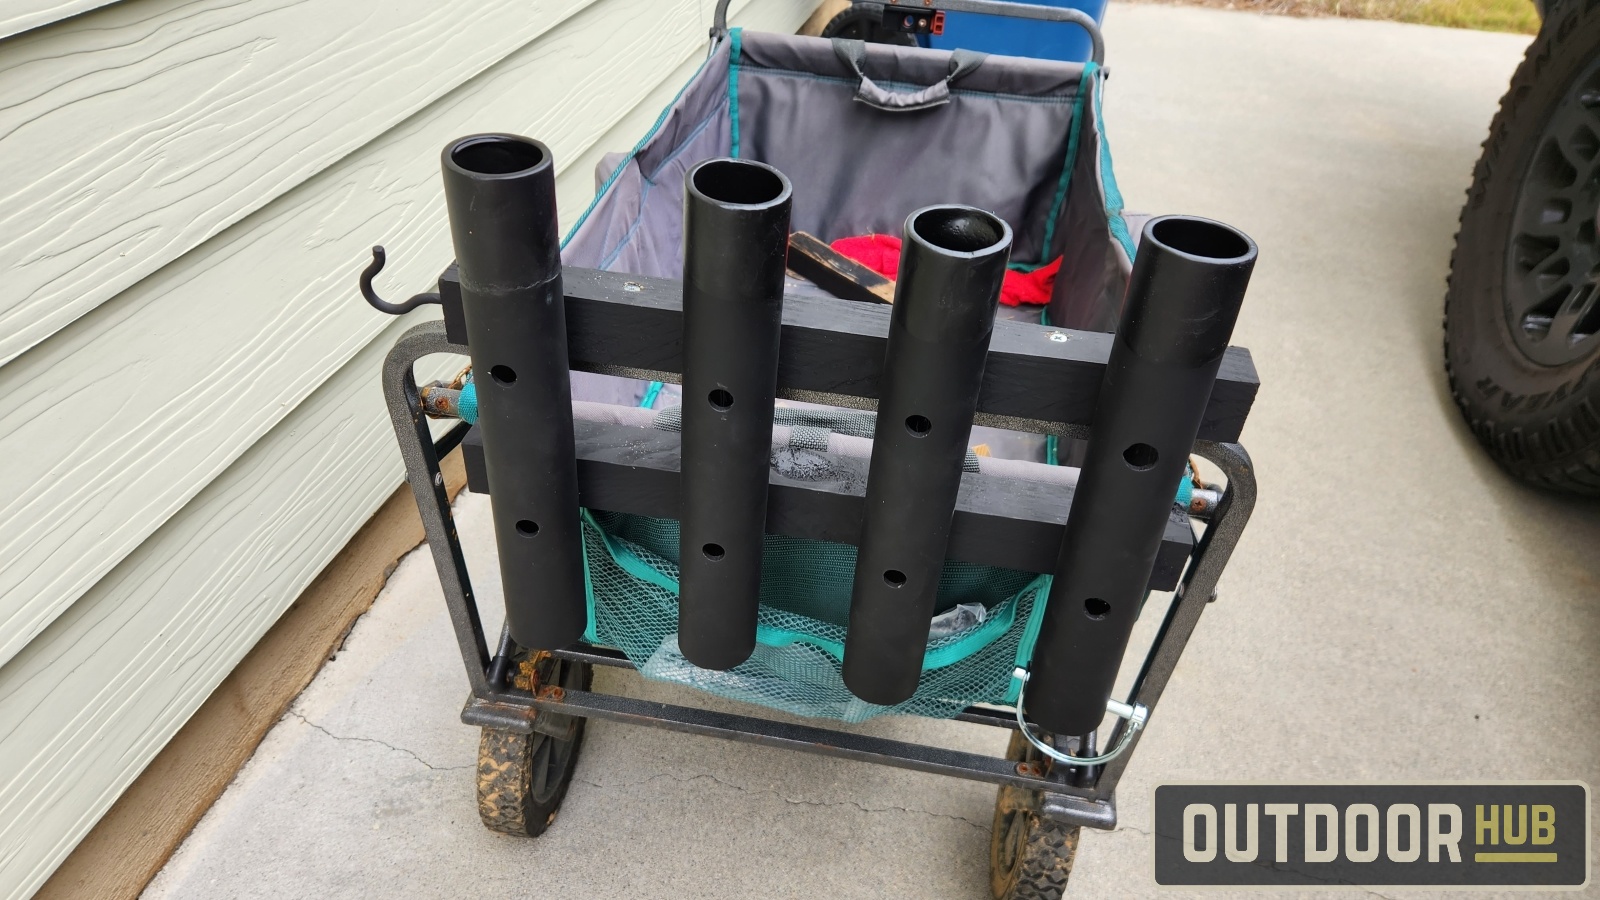
The average collapsible cart can fit about four rod holders across the back. Any more than that and itll be a bit crowded and hard to get your combos in and out of the rod holders. You want to cut the PVC pipe into 4 pieces that are 1 foot long each. Then mark each of them at 4″ and 8″. You are going to drill through both sides of the pipe at the markings. Make sure to use a bit just thick enough so only the screw shank fits through. Then on only one side of each pipe enlarge both holes so the head of the screw can fit through.
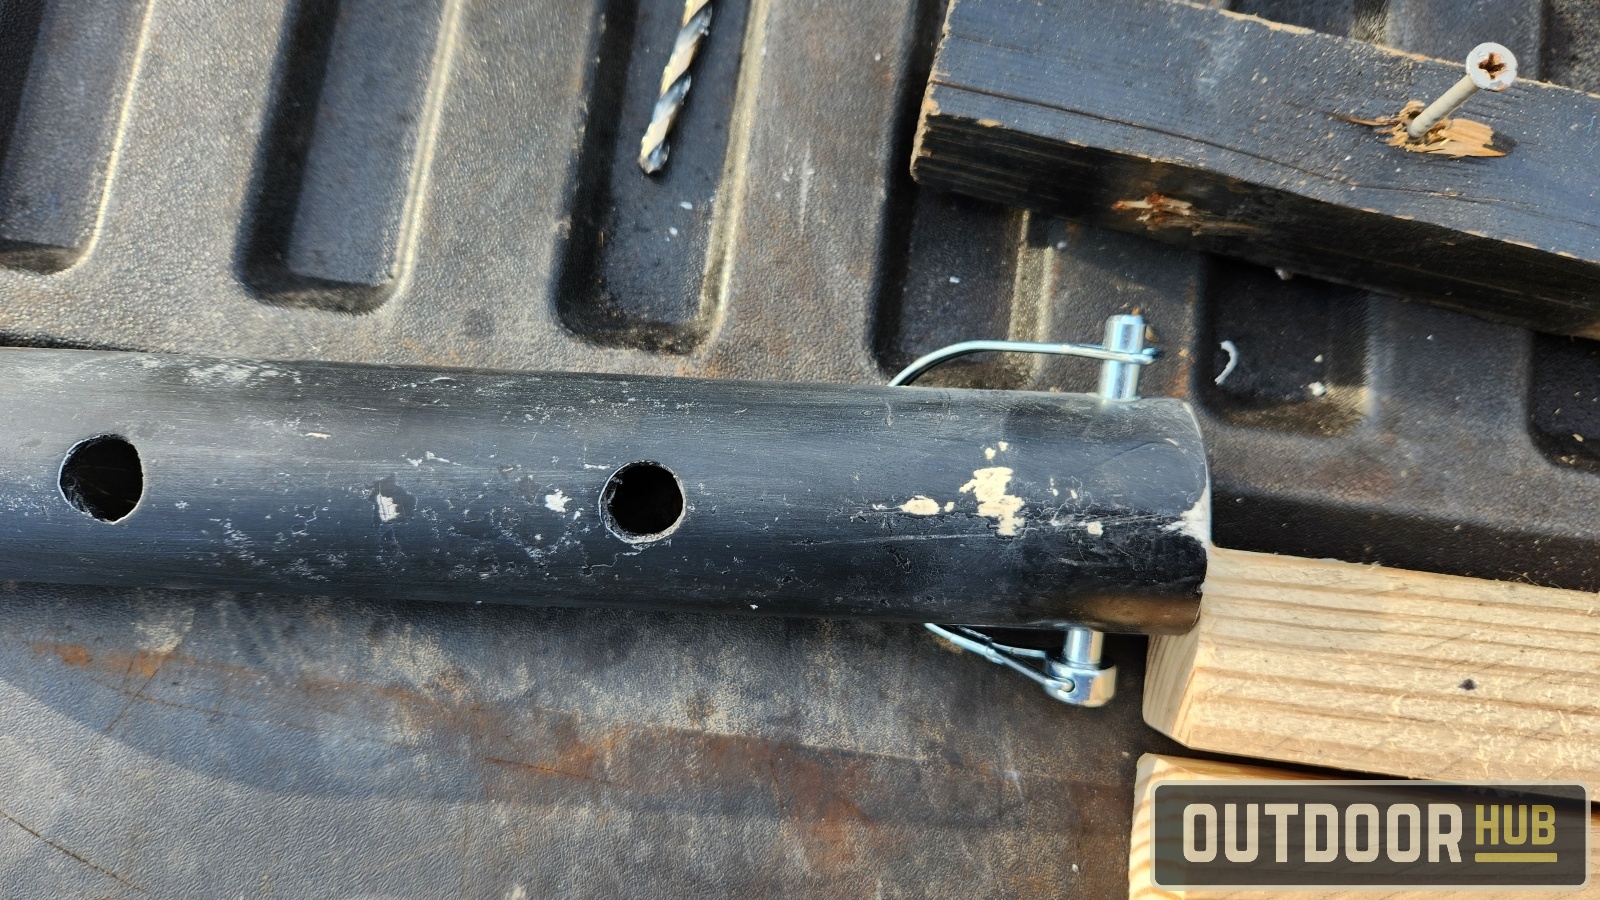
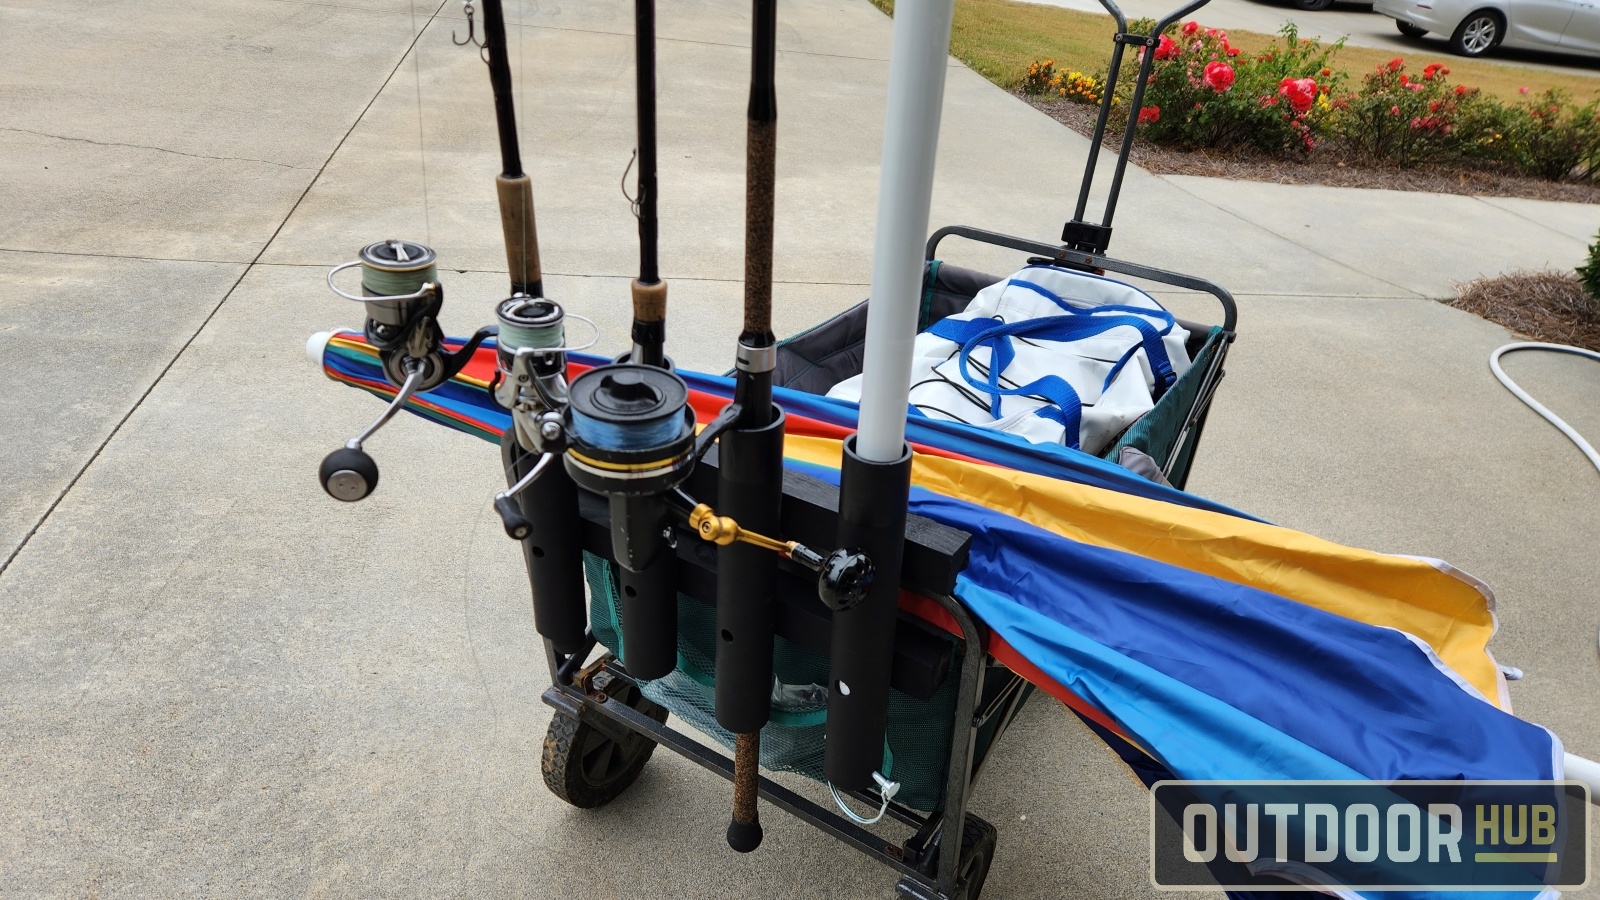
On one of the rod holders, you need to drill another pair of holes through perpendicular to the other holes right at the bottom of the PVC pipe. This is where you’re going to put the 2.5″ Lock Pin later. I’ll clear up the purpose of this later.
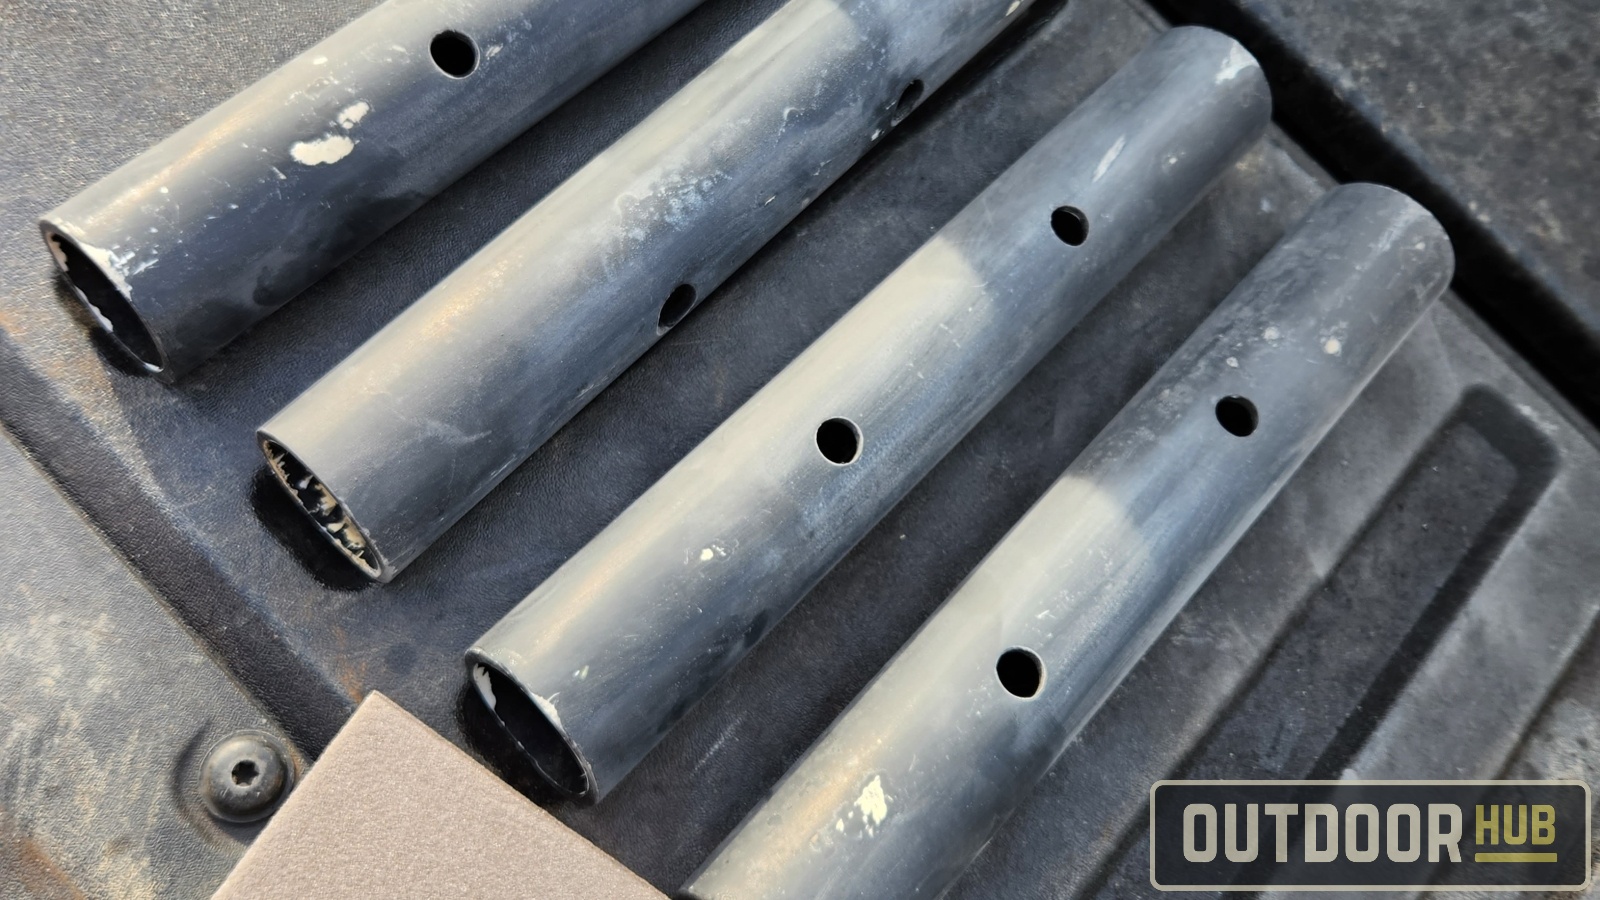
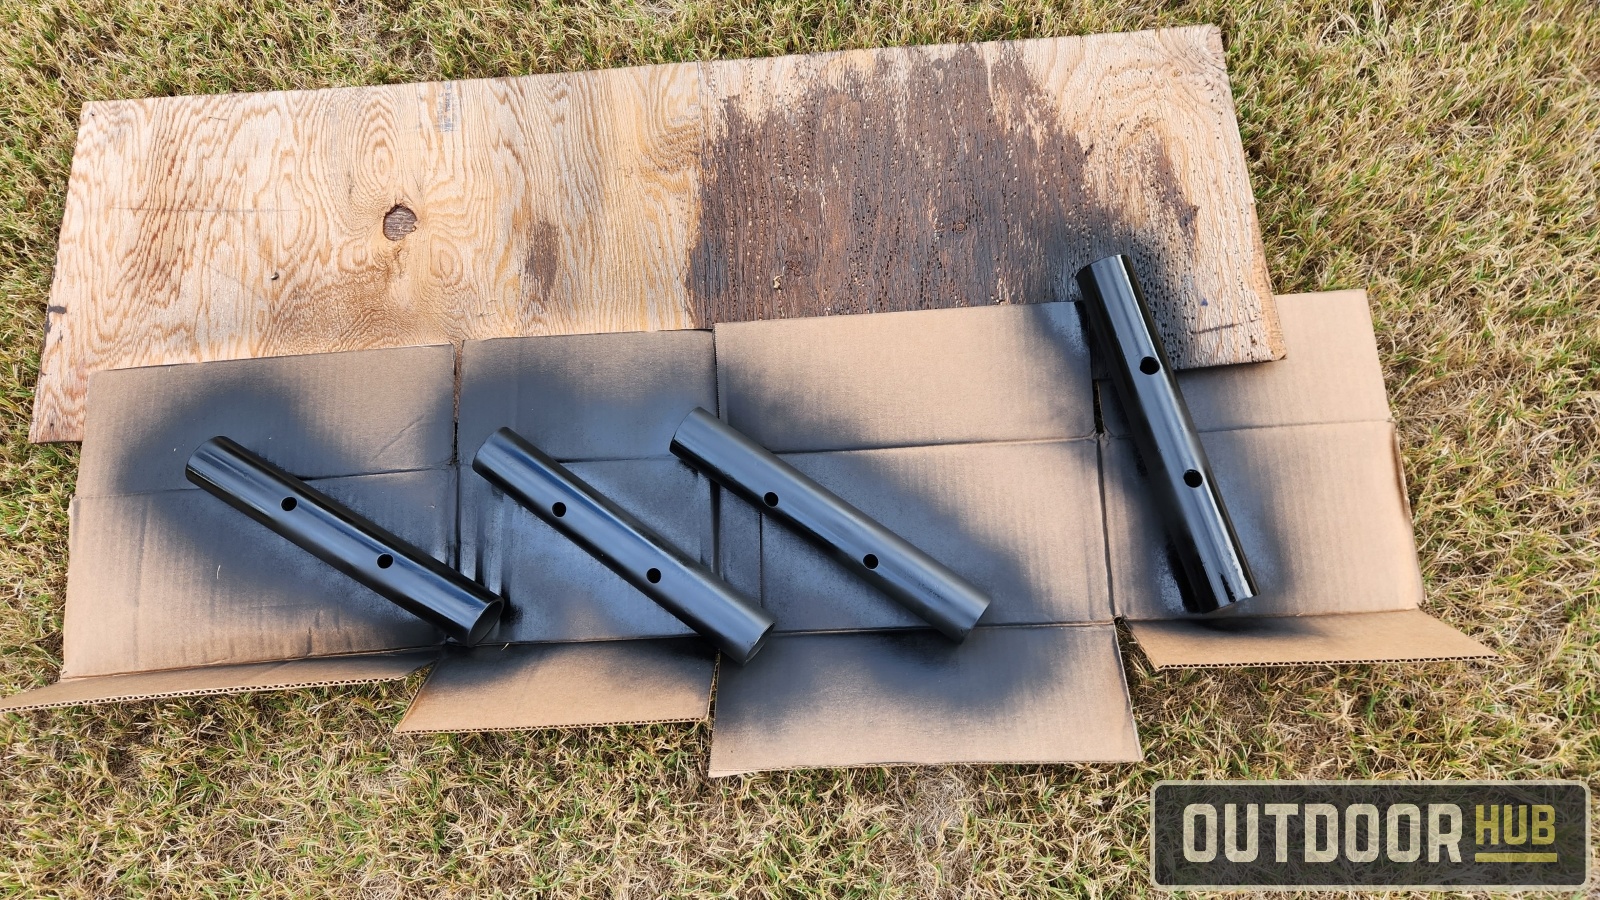
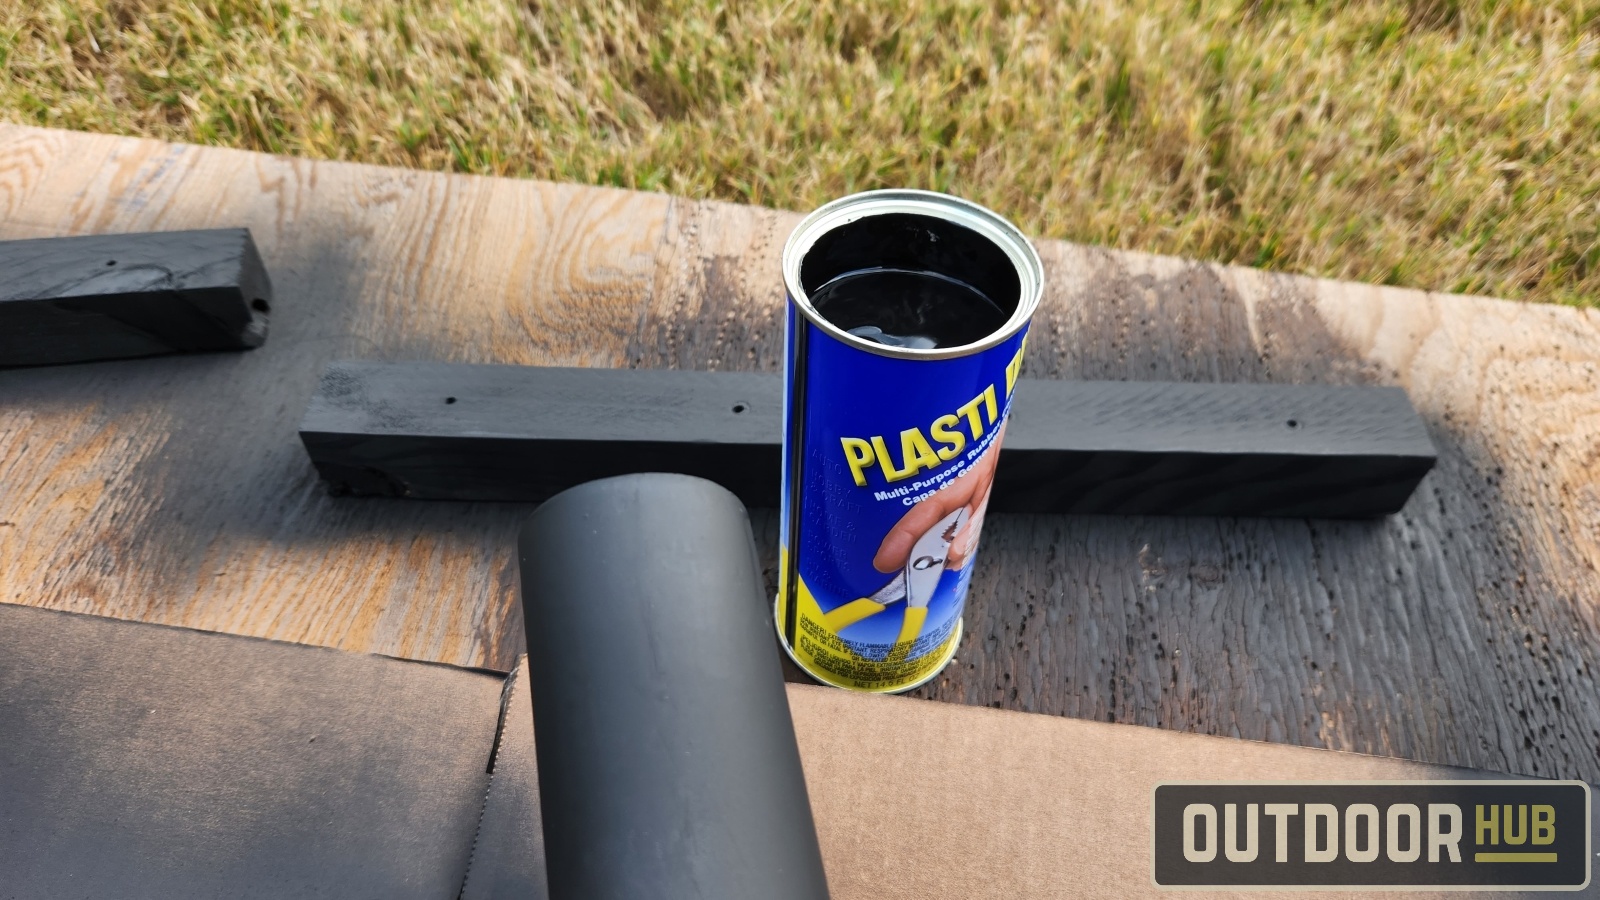
Once you get all 4 pieces of pipe cut and drilled, you want to scuff the surface with sandpaper for better paint adhesion. After which give them a wipe down with a rag and some alcohol to clean off the dust and any oils. Then take them and spray paint them if you like, you can choose not to, but you do have to paint the wood later so it lasts longer.
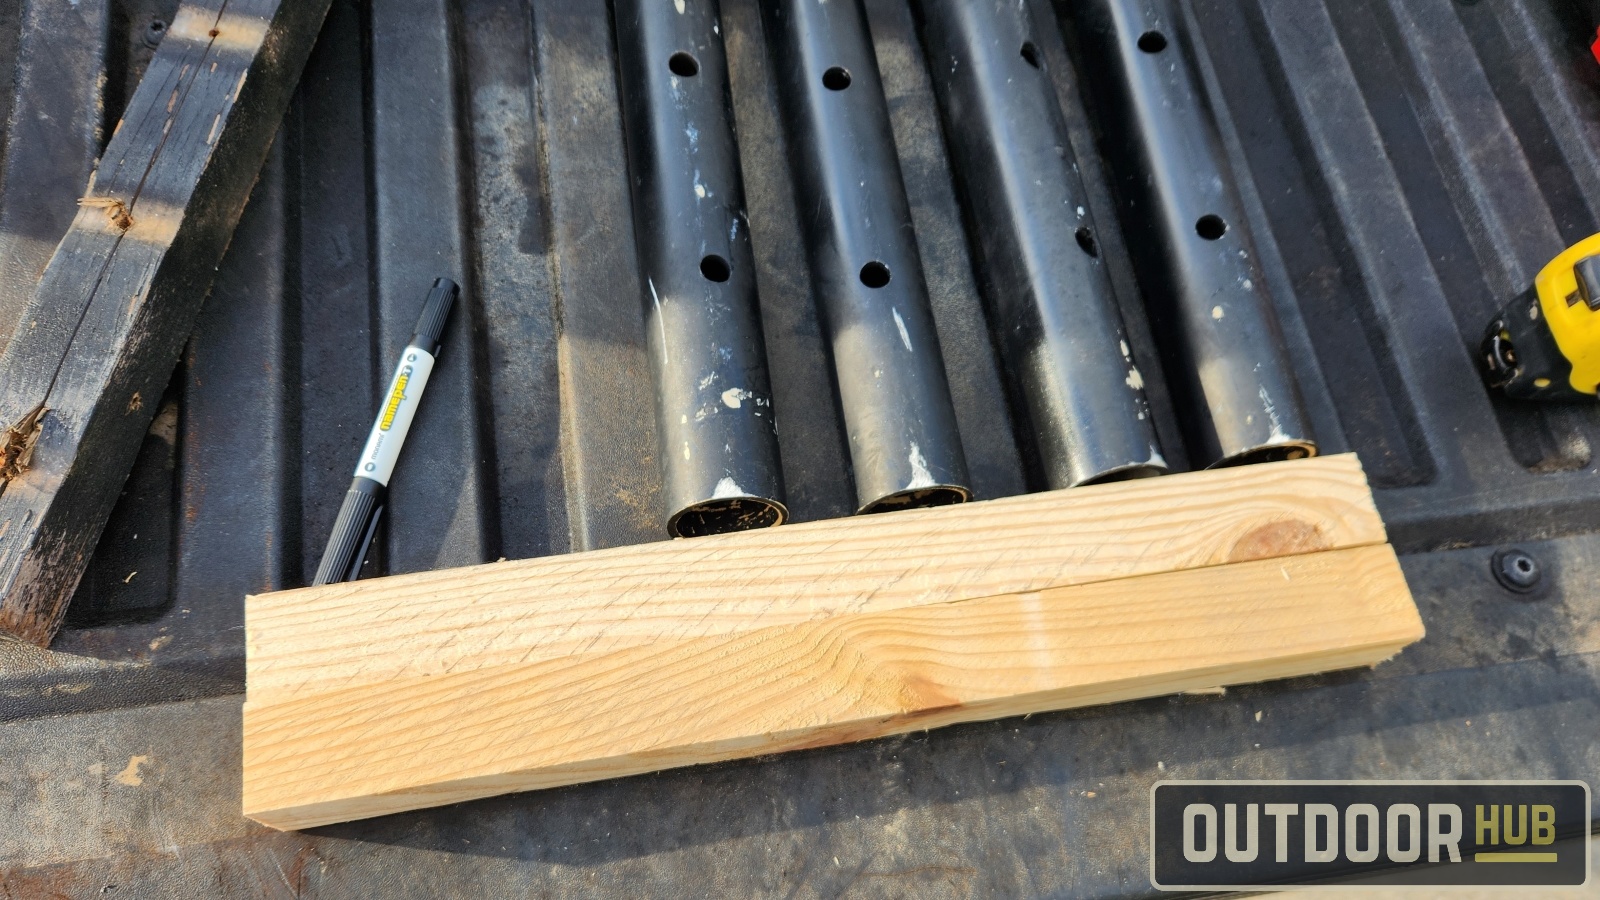
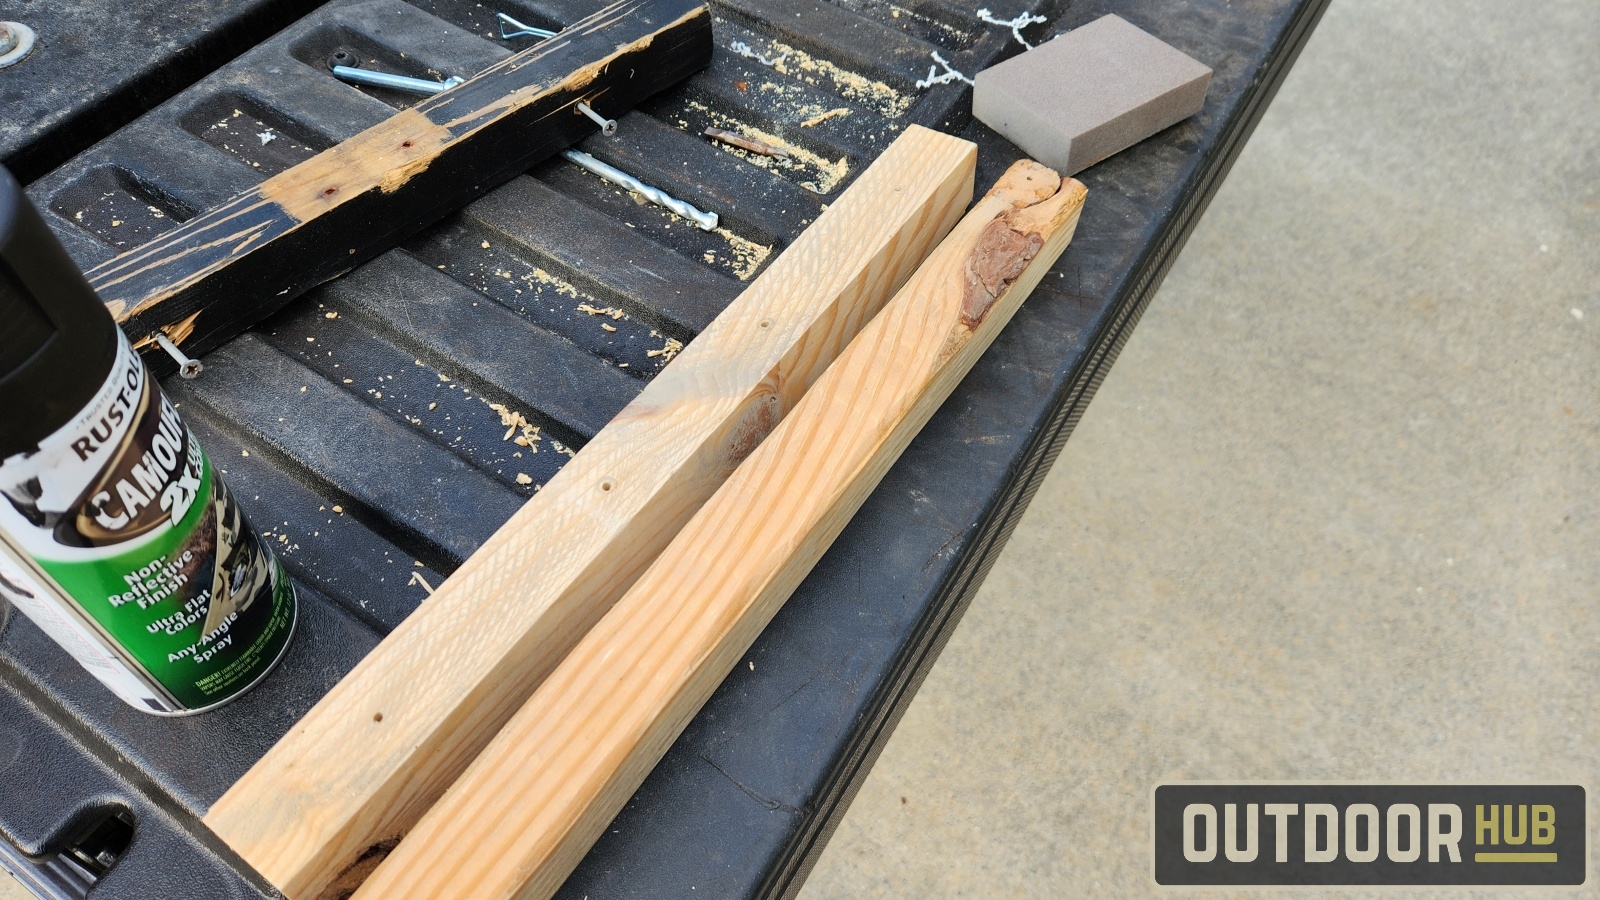
Now on to building the frame to attach the rod holders onto, get the 2×2 and cut it into two 17″ pieces. I say 17″ for this cart because that is a little narrower than the cart’s rear-end framing. You can go wider if you want, but I don’t recommend going past the sides of the cart. This can damage your gear and the cart if you snag something while moving.
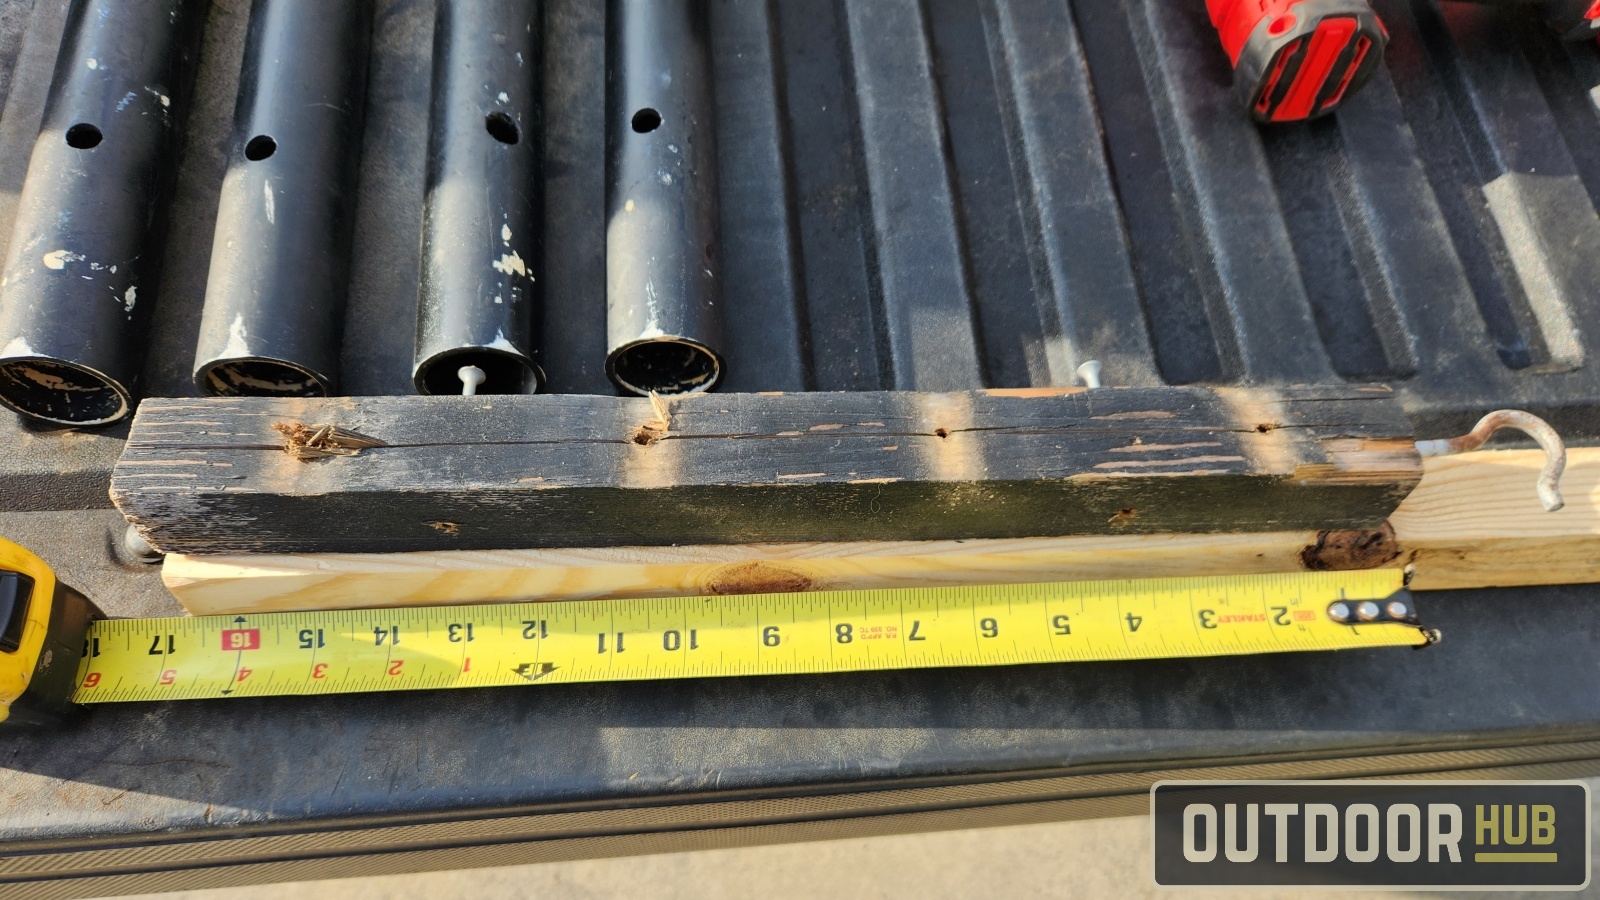
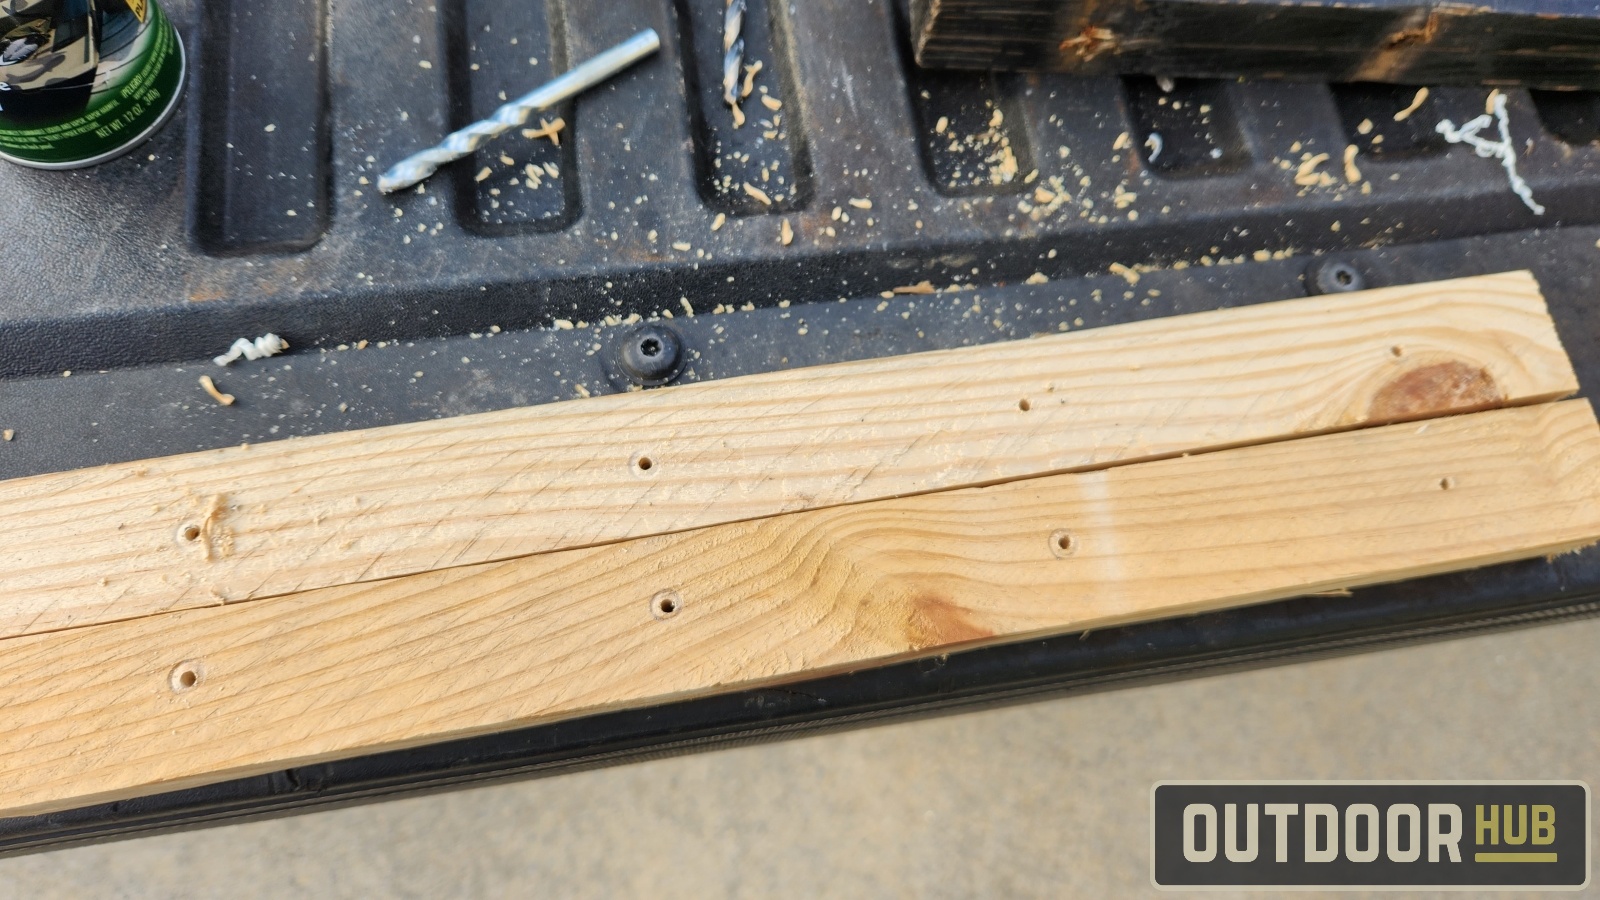
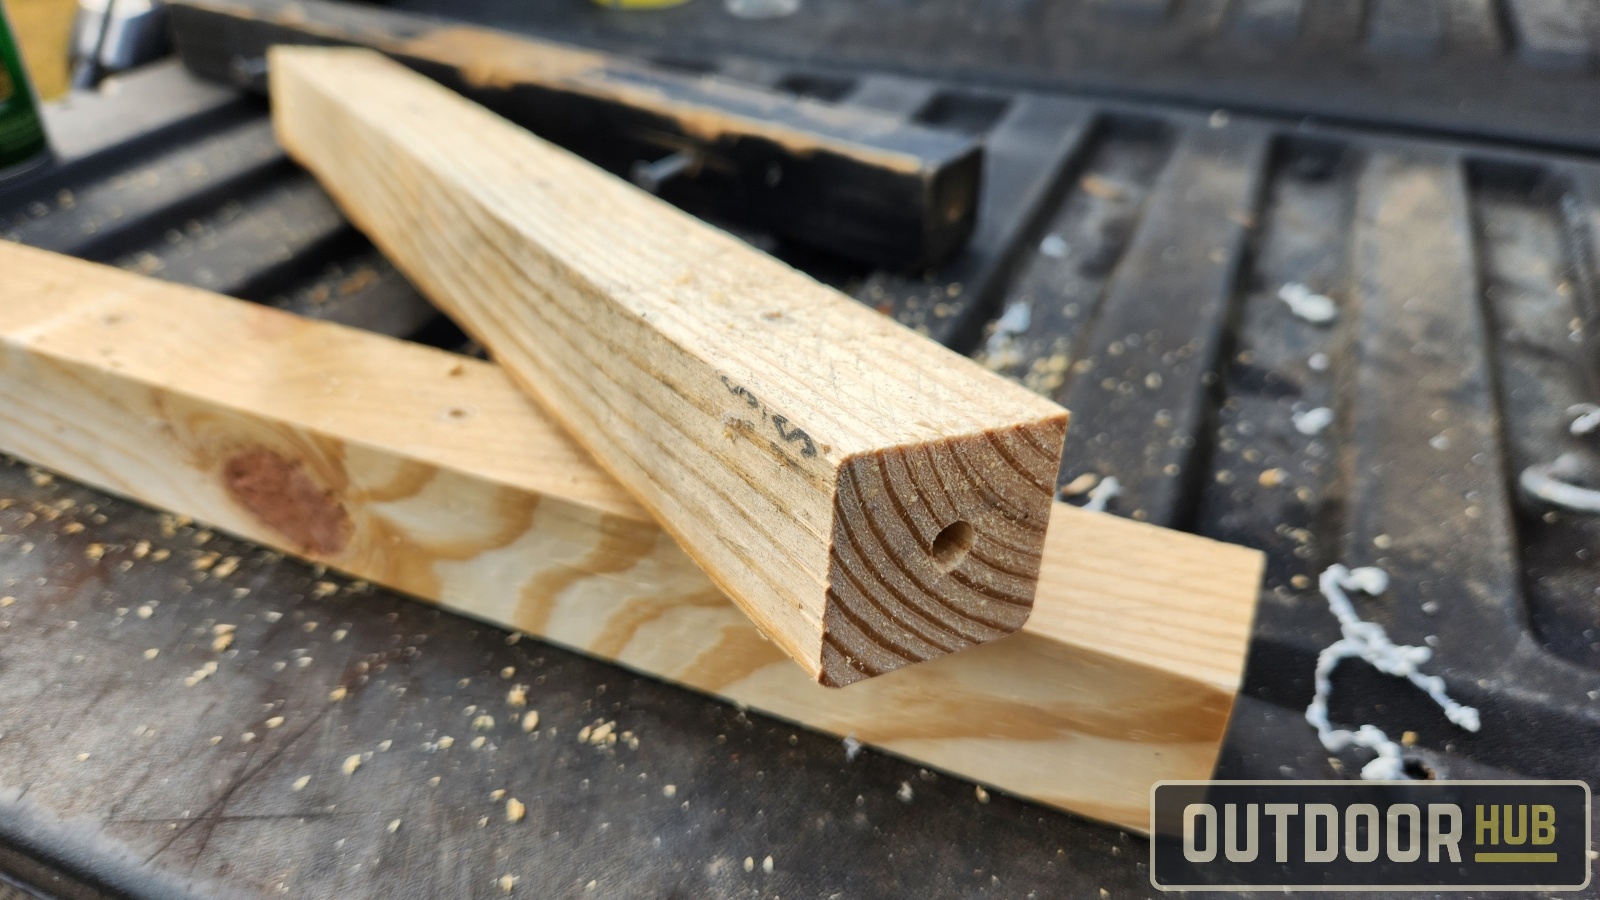
Once the two pieces of 2×2 are cut, predrill them for the rod holder mounting screws. This is to reduce the chance of the 2×2 splitting during the installation and long term. I also drilled a deeper hold on the side of a 2×2 to place the utility hook later.
Just the PVC pipe pieces from earlier give the 2×2 pieces a good scuffing then wipe down for a smoother surface and paint adhesion. Then paint it whatever color you like.
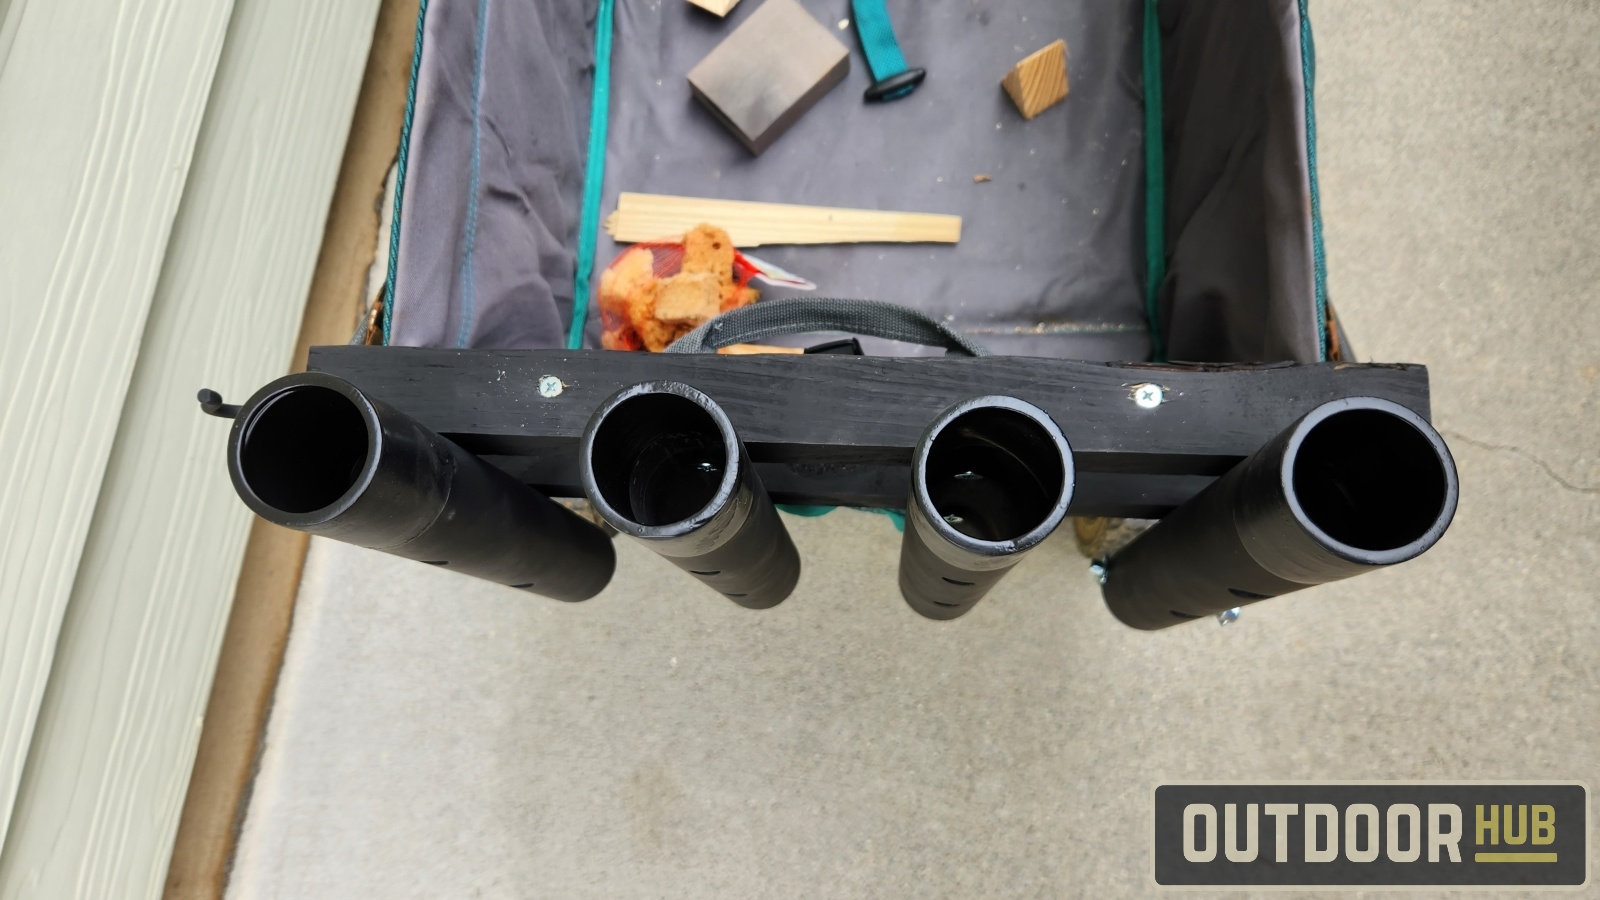
Now that the PVC rod holder pieces are done drying, it’s time to dip the tops of them into some Plasti Dip. This will add padding to the top lip of the PVC to protect your reels from the pipe. Just follow the instructions on the Plasti Dip can and leave the rod holders out overnight to let the Plasti Dip completely cure. It will look messy when you first dip it but will look a lot better after curing, so don’t worry too much if it’s a bit messy now.
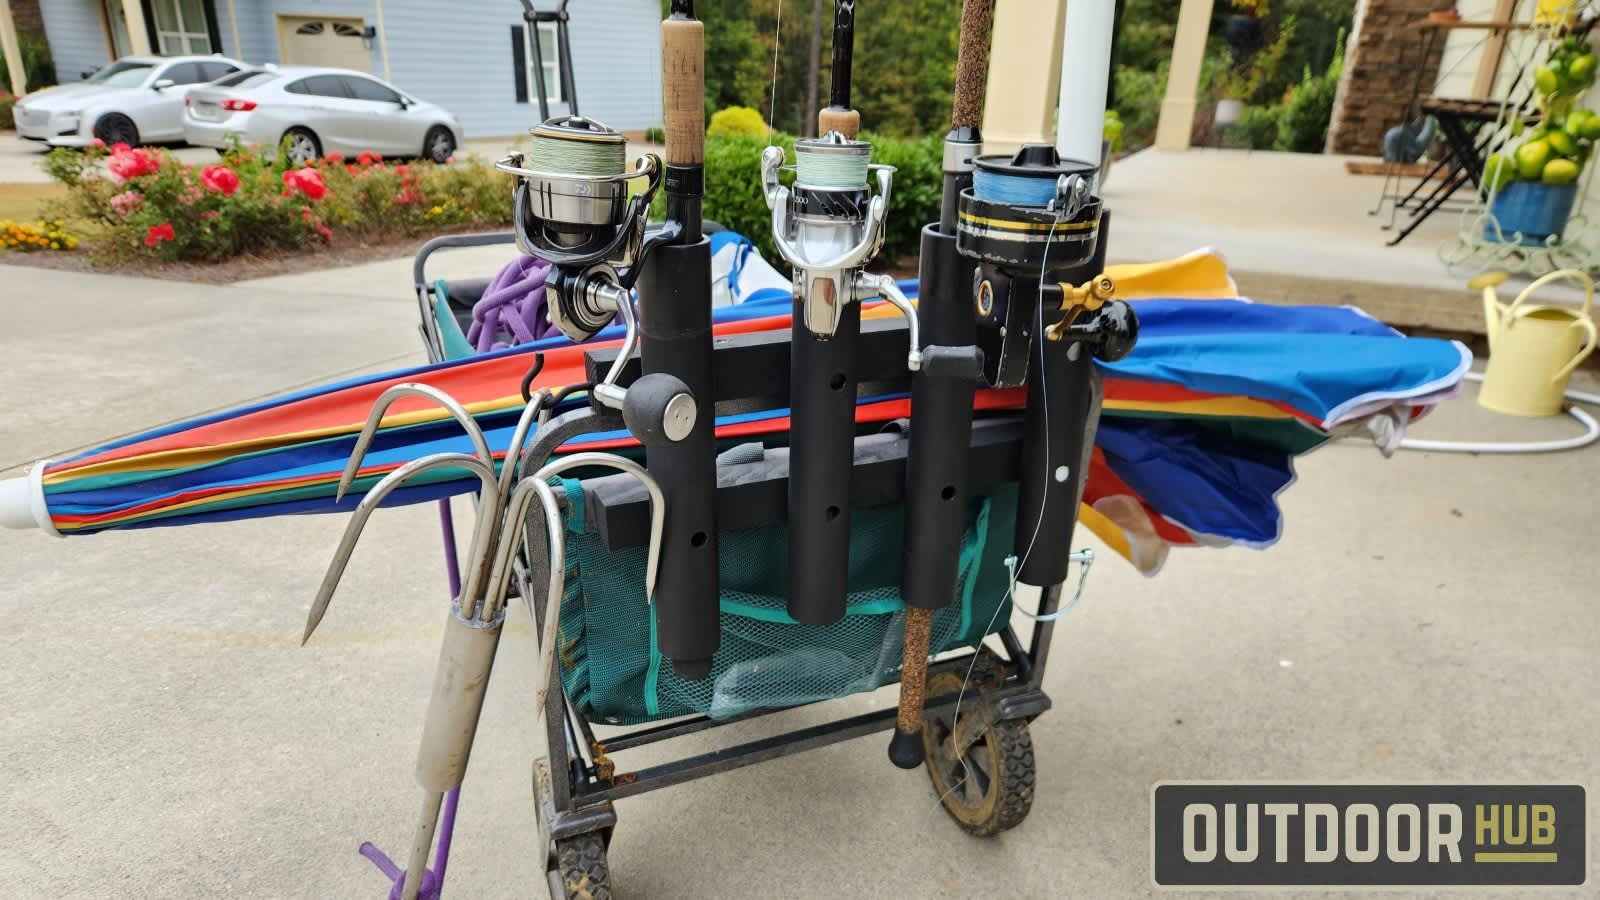
After giving it a day for all the paint and Plasti Dip to dry and cure, it is time to assemble the rod holder and attach it to the fishing cart. Line up the two wood pieces of the frame and line them up. Then just carefully screw the PVC holders into place. A couple notes, make sure the top wooden piece is the one with the utility hook hole, and second make sure the lock pin having rod holder is on the outside. Once you complete the assembly here it is time to attach it to the cart.
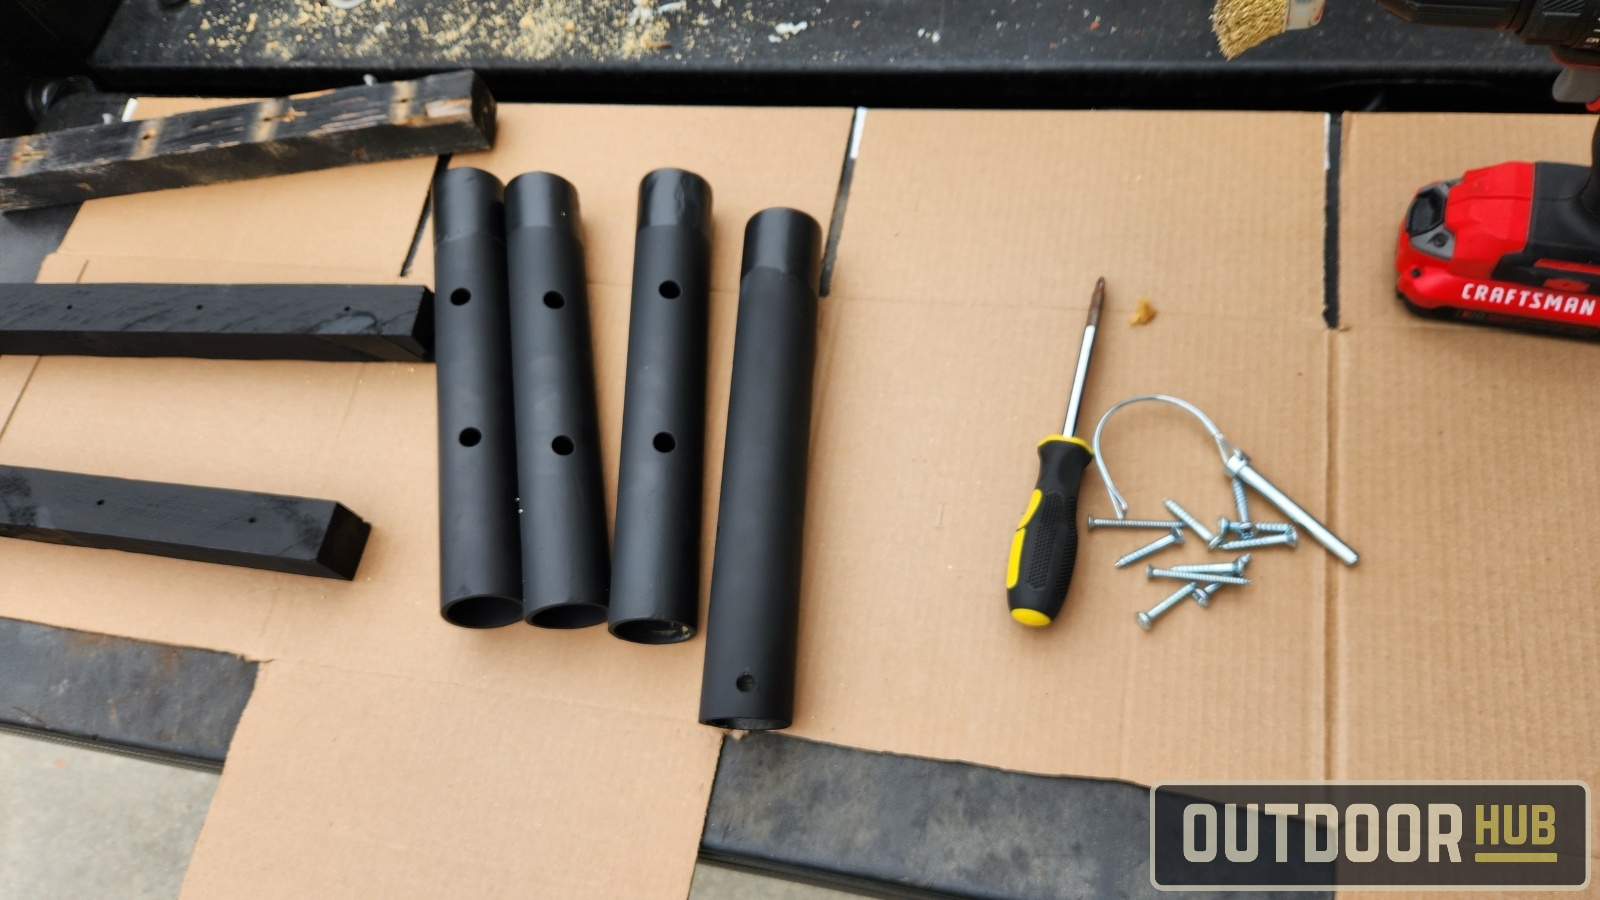
Get a drill bit long enough to go through both the wood frame of the rod holder and the top metal cart frame. Then just drill through both. Then just install the final two screws to attach the holder to the cart. Lastly screw in the utility hook by hand and your pier cart is done.
Now that the pier cart is ready, you can load it up with whatever pier or bridge fishing gear you need. The rod holder with the pin can do double duty as a sunshade holder. Piers and bridges don’t have much in terms of shade usually. So having your own piece of shade can be a lifesaver, especially on a hotel summer day. I like to park my cart next to a bench to have a nice break when the fishing slows down or I need a water break. The utility hook is a great spot to hang buckets and other things as well. Like in the first picture my pier gaff. But often I hang a bait bucket or flowtroll bucket. Hopefully, this helps yall out and saves you some money if you are in need of a pier cart.