How to Clean a Canada Goose
Eugene L. 01.28.25

I assume everyone who has ever been to a public park is familiar with a Canada Goose here, one of the largest waterfowl species most hunters can target during waterfowl season. They are incredibly prolific now and often found anywhere that has some water and grass for them to munch on. Due to successful conservation efforts, Canada geese numbers are actually higher than they have ever been. While these are not every waterfowl hunter’s cup of tea, they are great fun to hunt and have plenty of meat on them. So let me show you how to break down and clean a Canada goose into some large cuts of meat ready for the kitchen.
How to Pluck a Canada Goose
The first step to clean a Canada goose is to start plucking out all the feathers on the breast. While you can technically skip this step if you aren’t planning to leave the skin on the breast, I still recommend it for a cleaner product. You end up not cutting feathers when trying to remove the breasts, so you end up with fewer feathers on the meat. For plucking the feathers, get a trash bag to put your feathers in and start pulling out the feathers. They are firmly in the skin but aren’t terrible to pull out. Also, this makes a mess even if you try to be clean, so it is definitely an outdoor task.
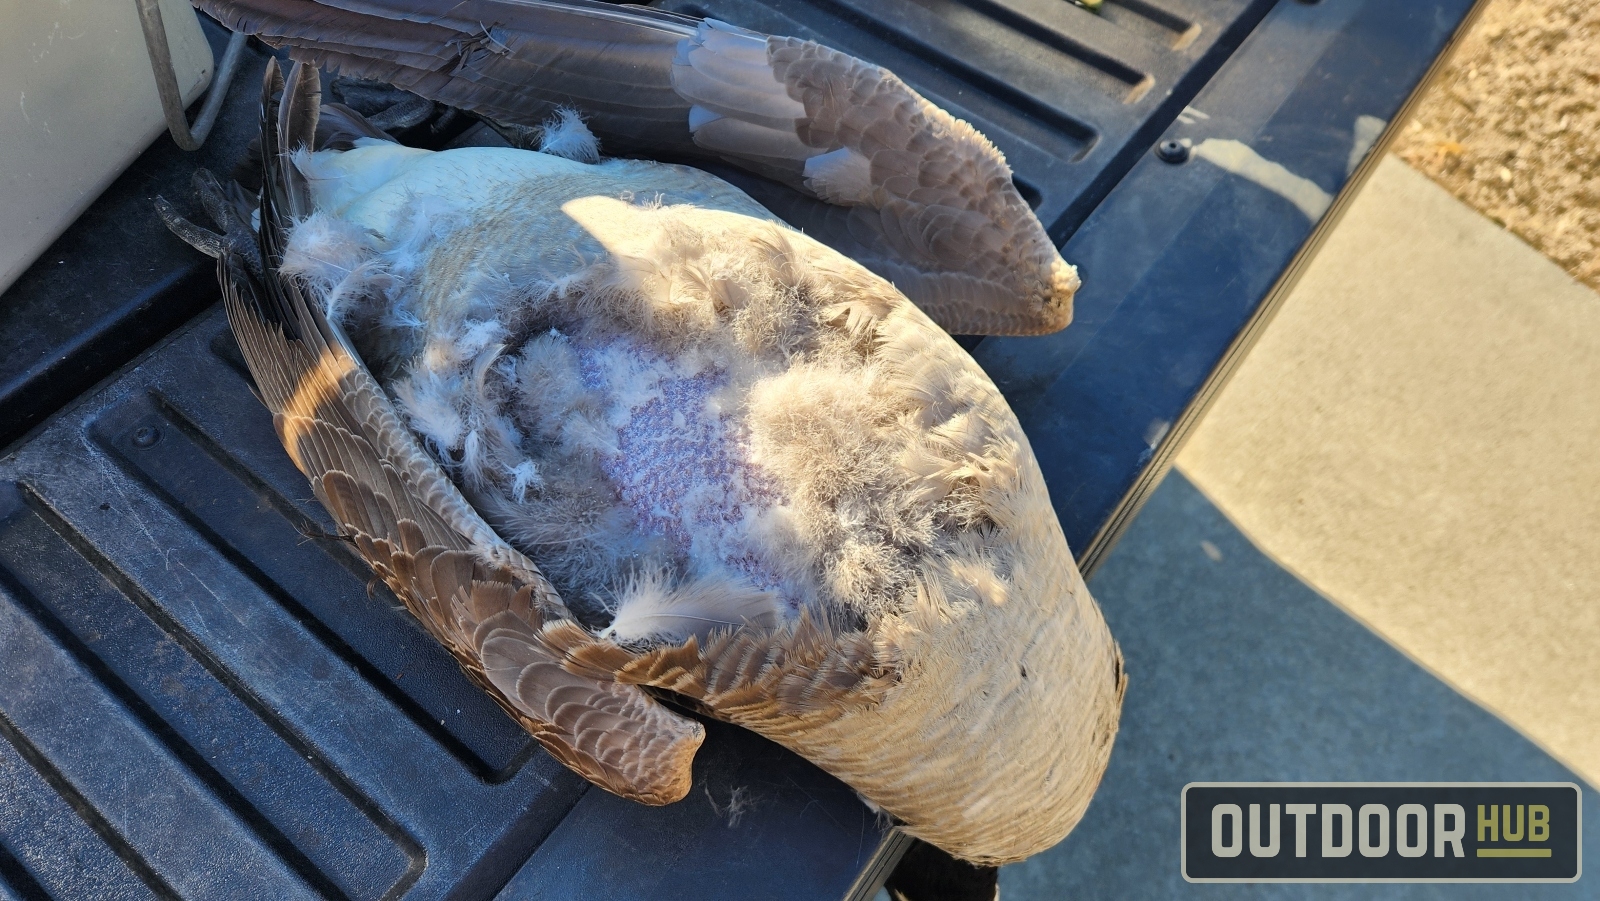
As you pluck the feathers off the goose, you will notice two layers of feathers on the goose: exterior and down. The tougher exterior feathers act like an outer rain shell for the birds, while the down acts as an insulating layer. If you have enough geese and are willing to go through the effort, it might be worth it to collect the goose down. It is an incredibly nice insulating material for garments and bedding.
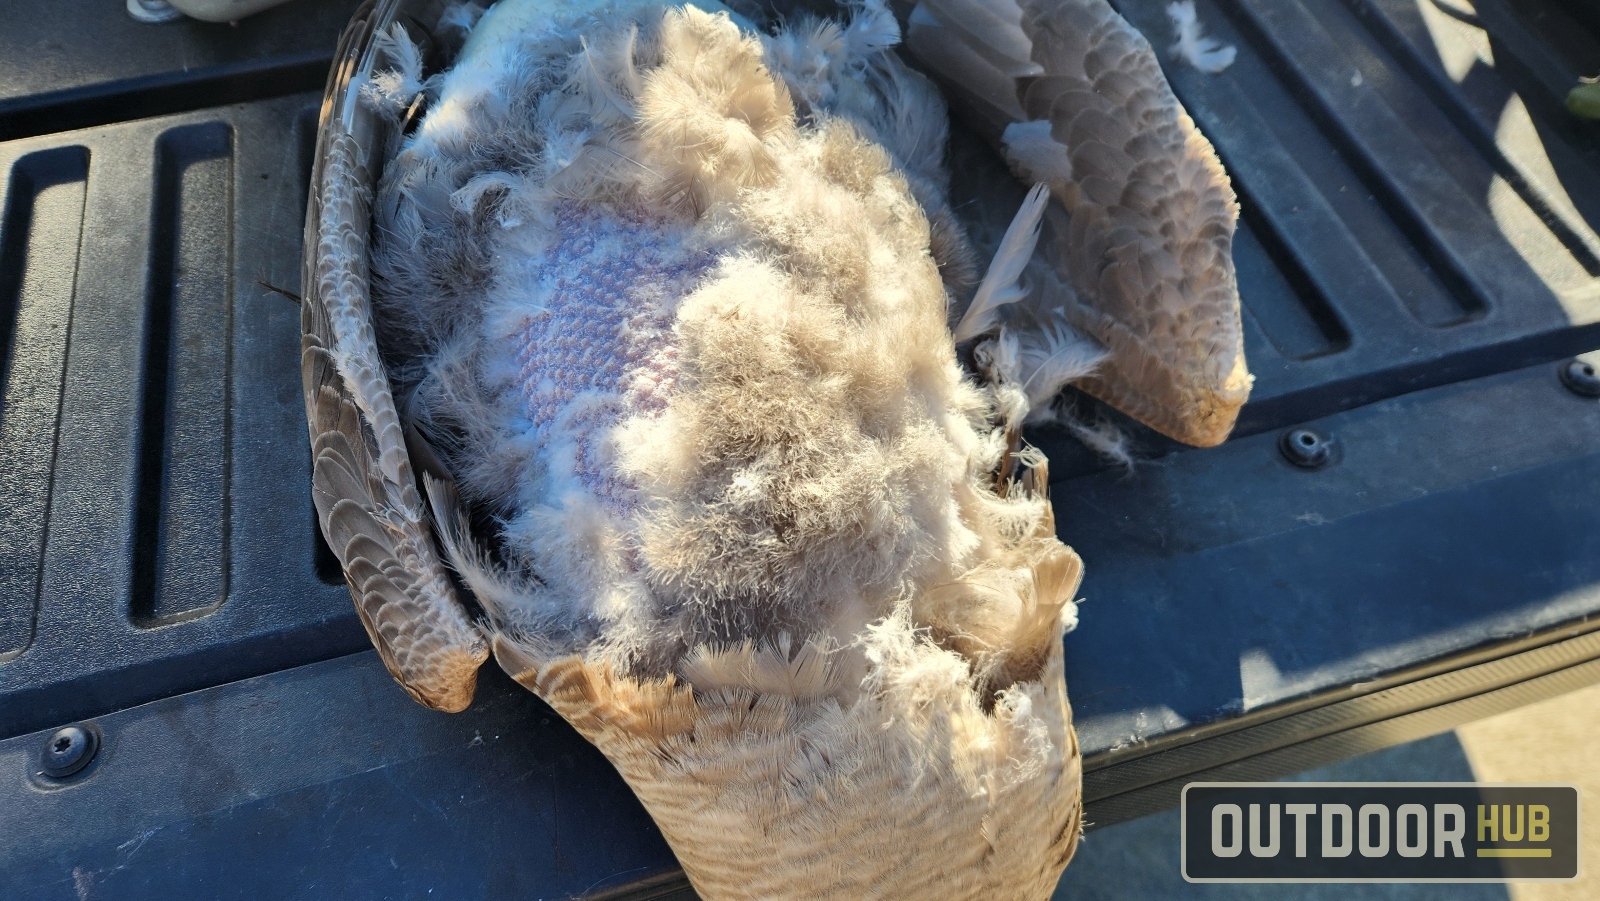
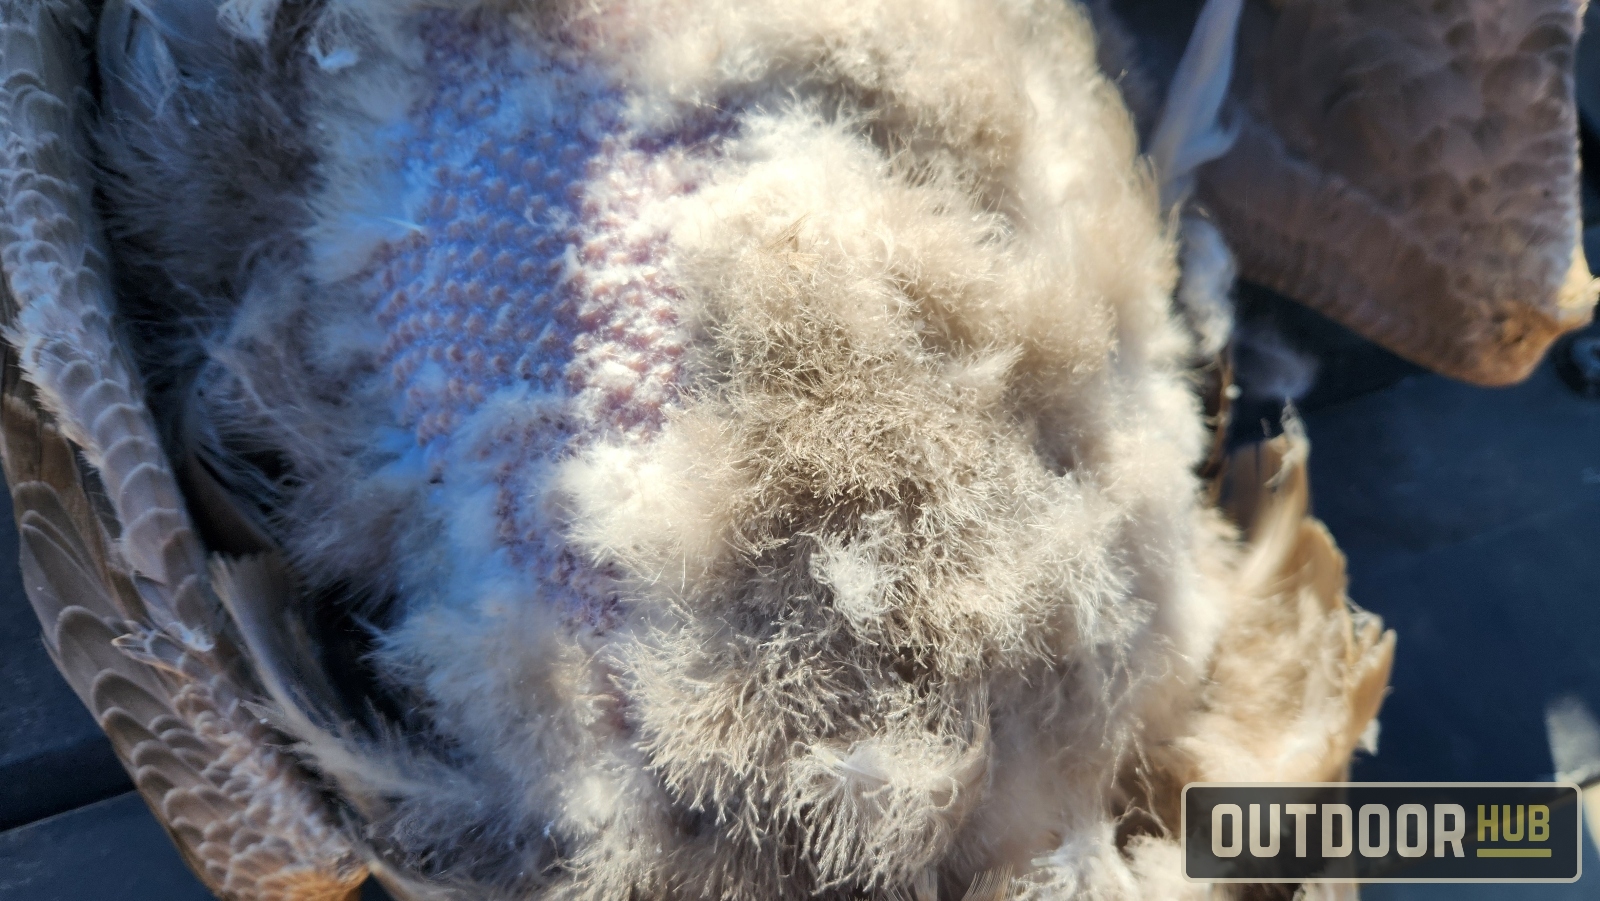
Just keep plucking the feathers until you get most of the breast clean. If you have any pellet holes in the breast, just be a bit gentler with plucking around them so the skin doesn’t tear. I recommend pulling fewer feathers at a time around the pellet hole. For the down, pinch them off; they come out easily. Don’t worry too much about any fuzz left over at this point; you can clean up the breast later in the kitchen.
How to Remove the Goose Breasts
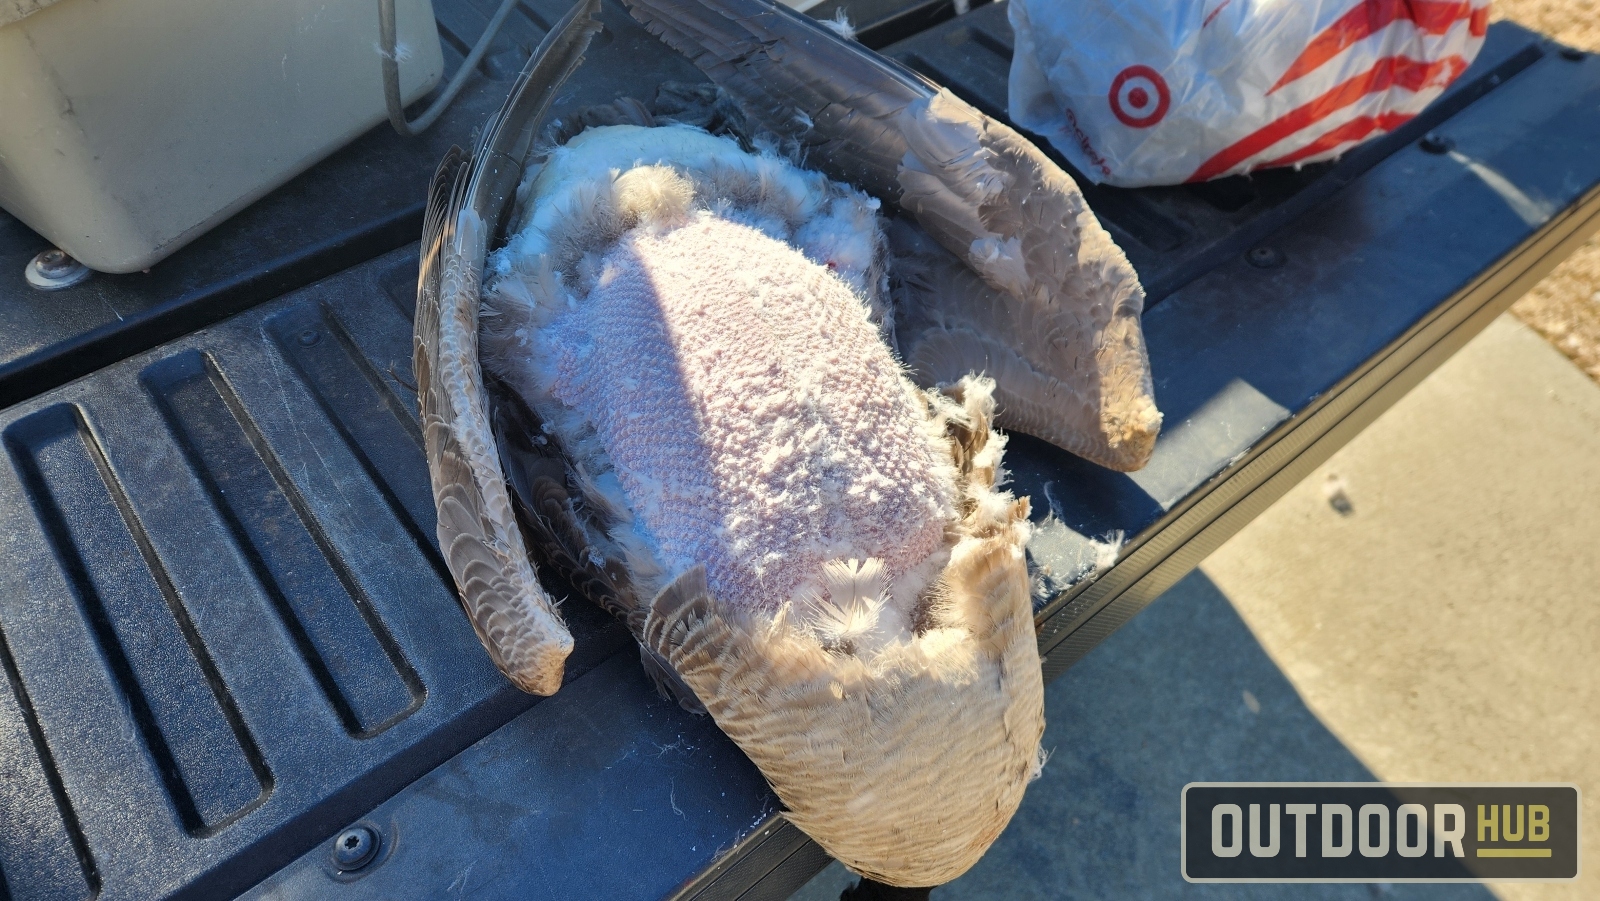
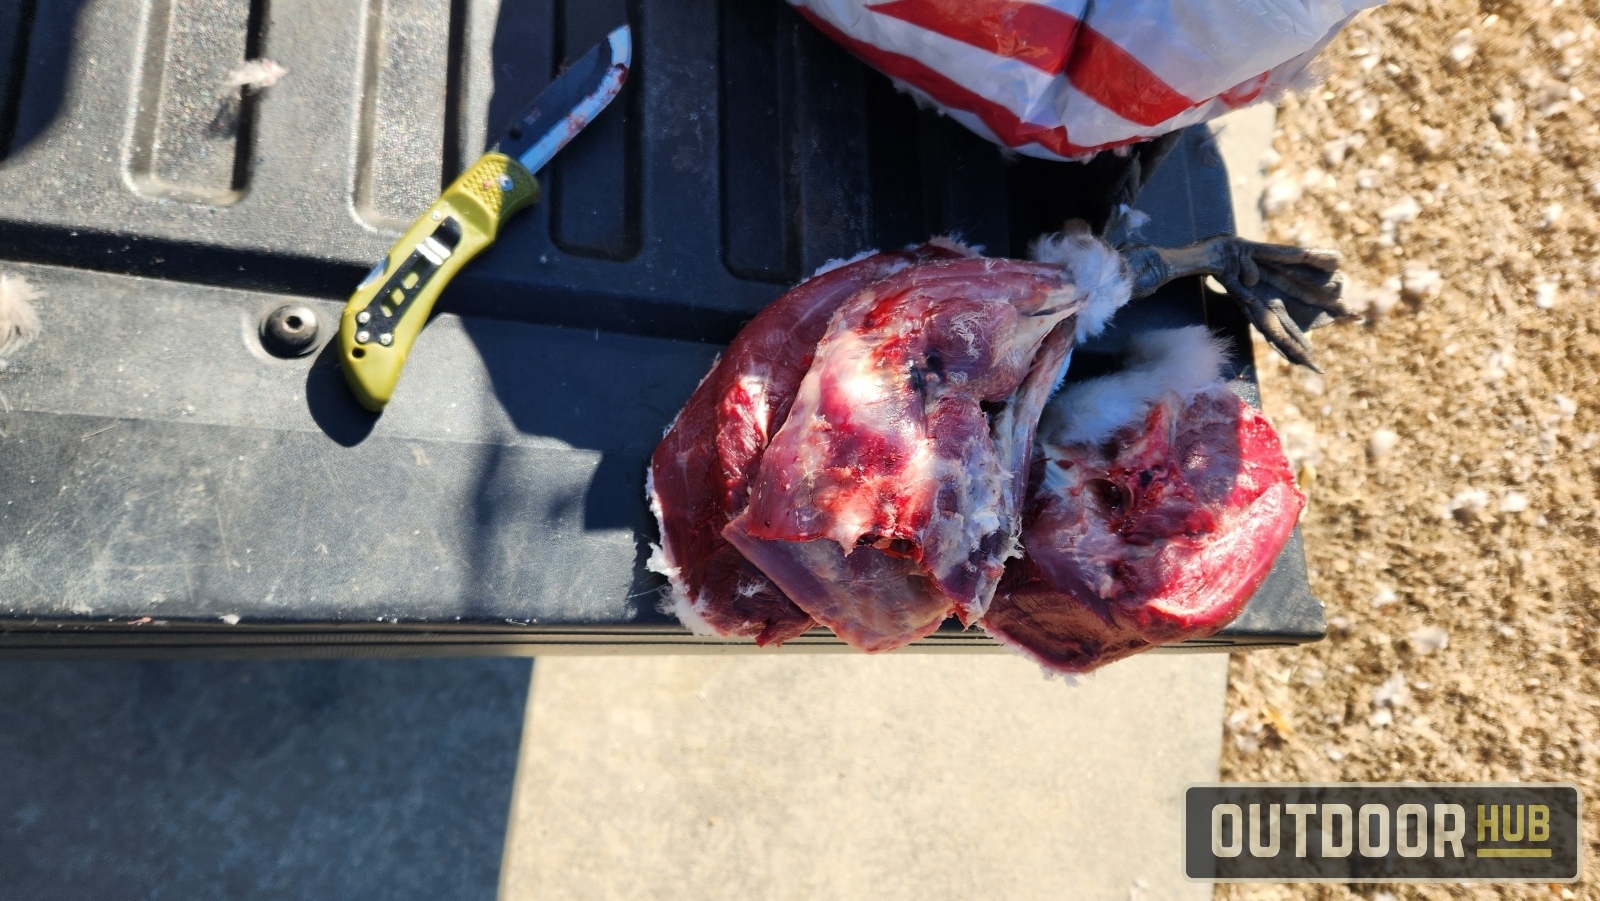
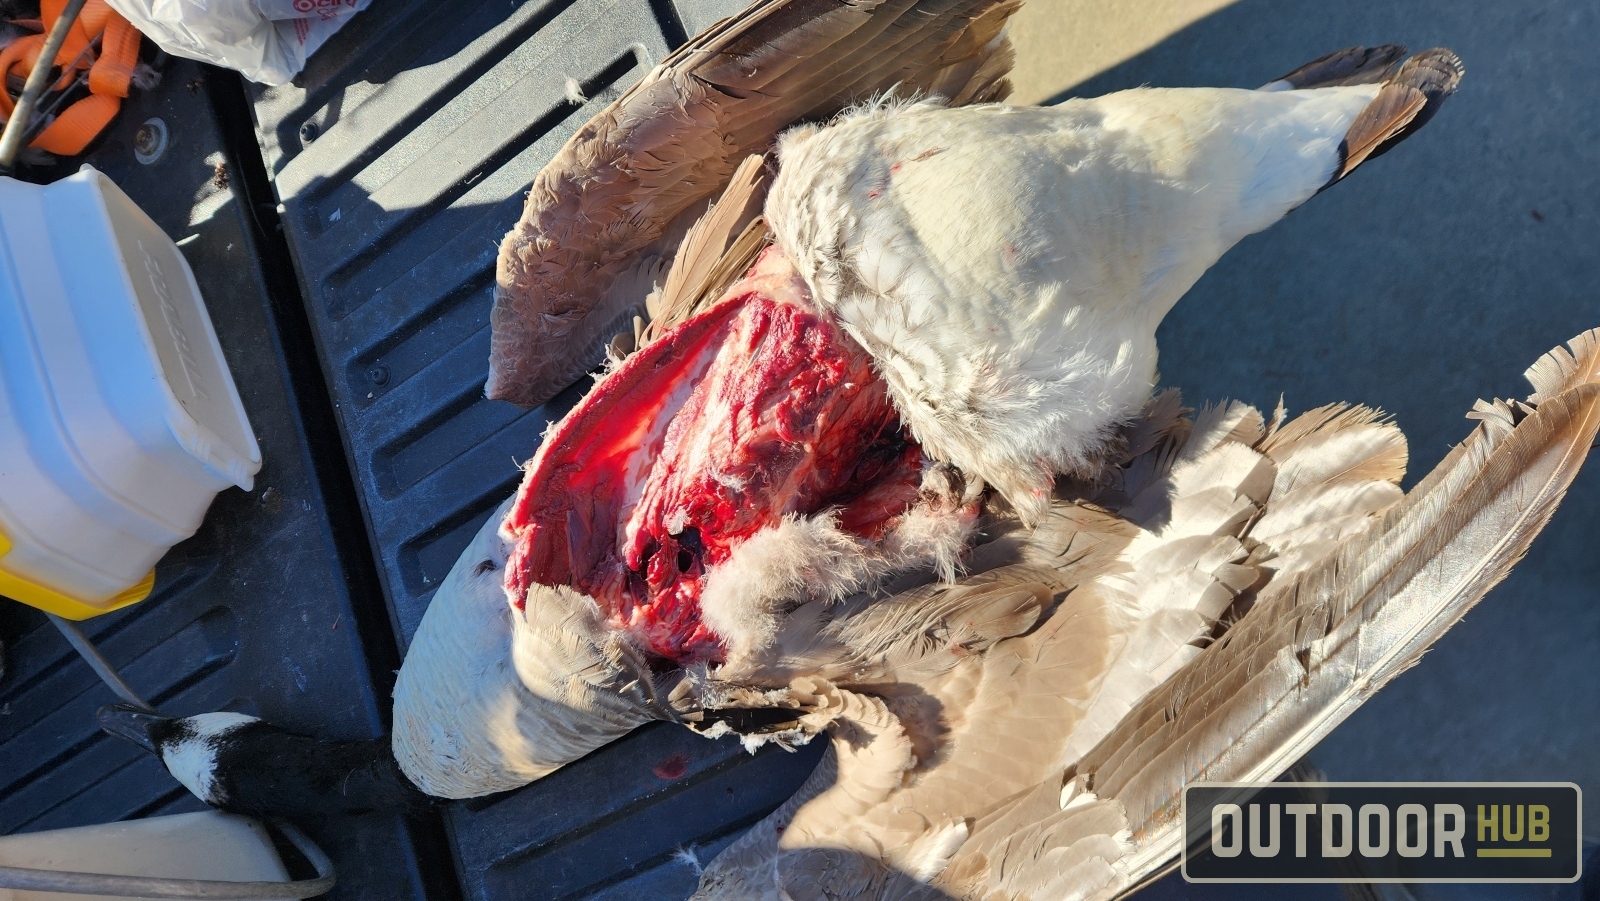
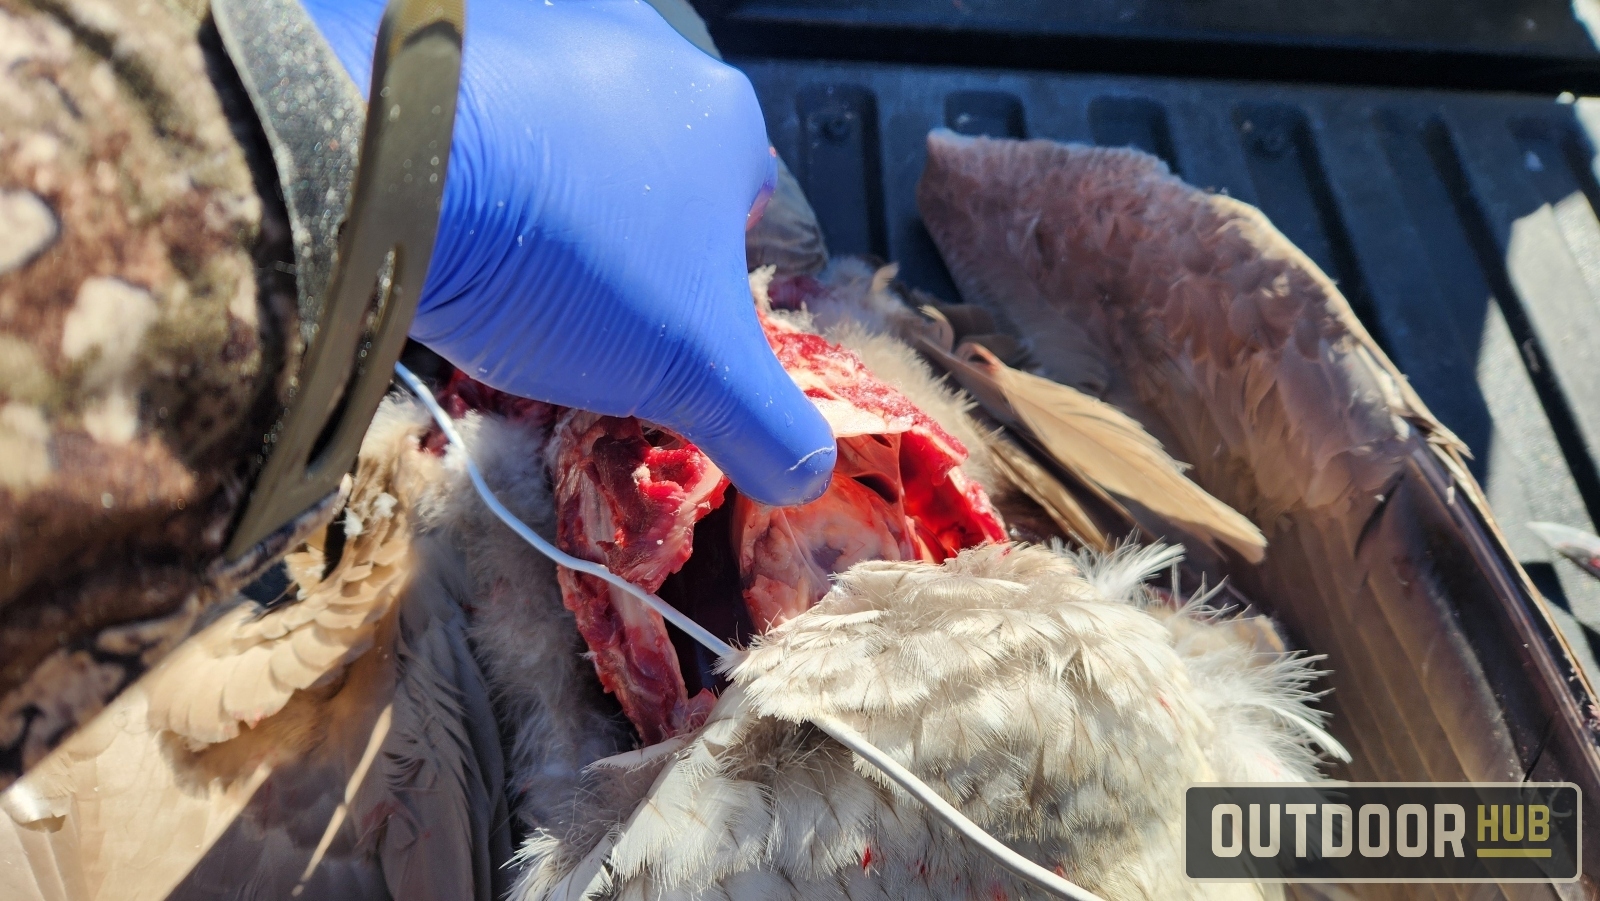
Once you got the breast plucked, grab a nice sharp knife like this Outdoor Edge, and find the bottom ridge of the rib cage. From there, you want to take your knife and start cutting along the goose’s breastbone. Angling the knife towards the bone to cut as close to it as possible.
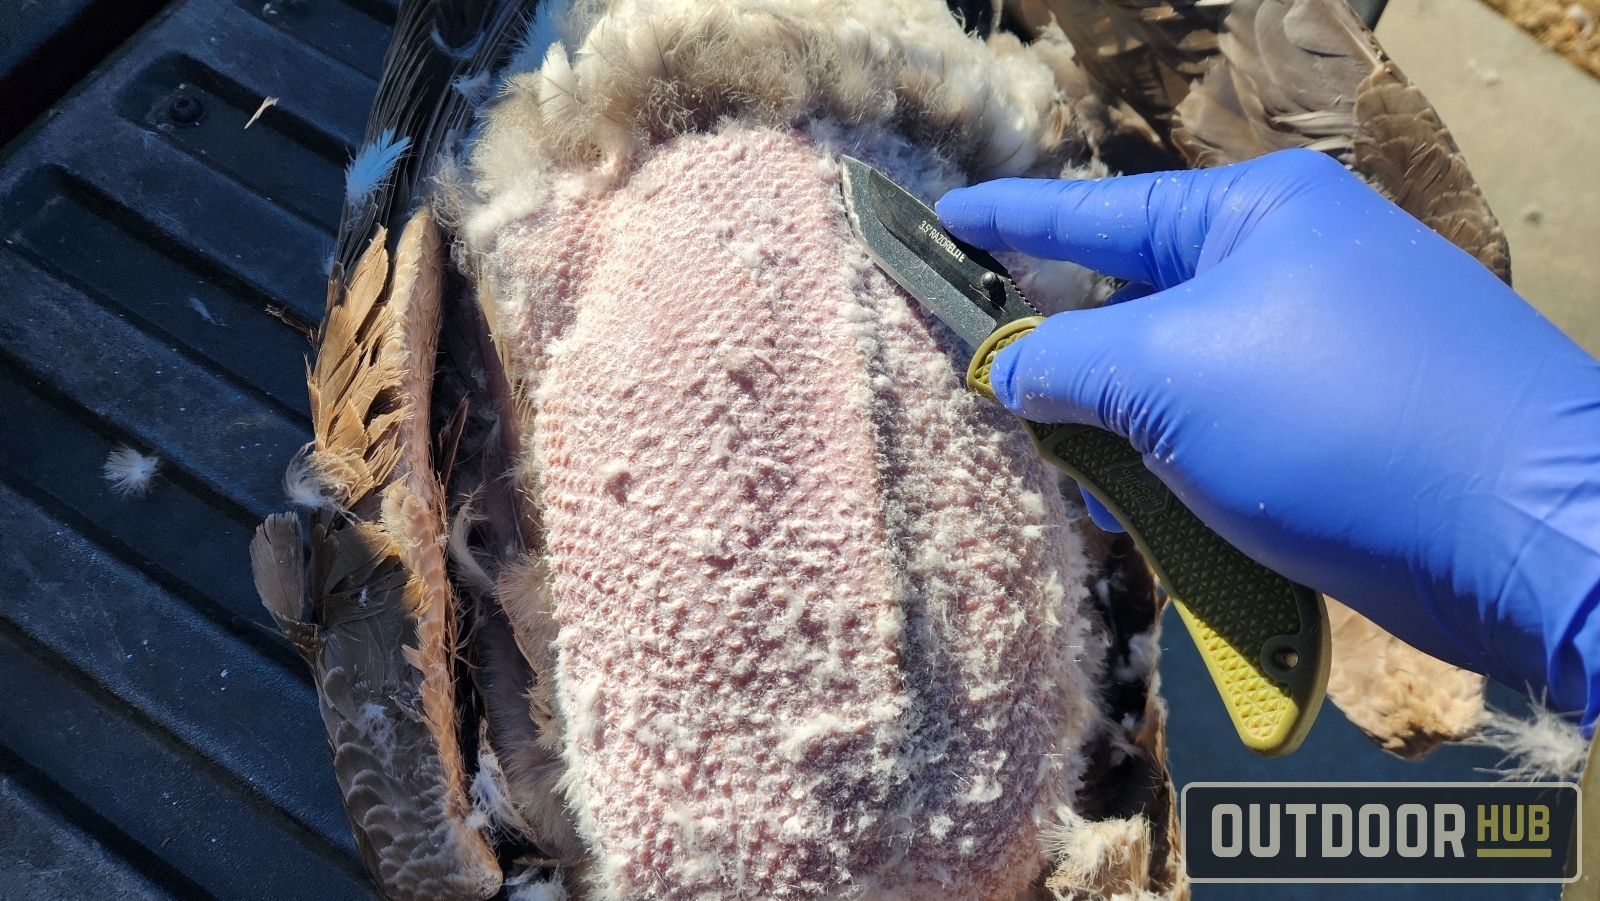
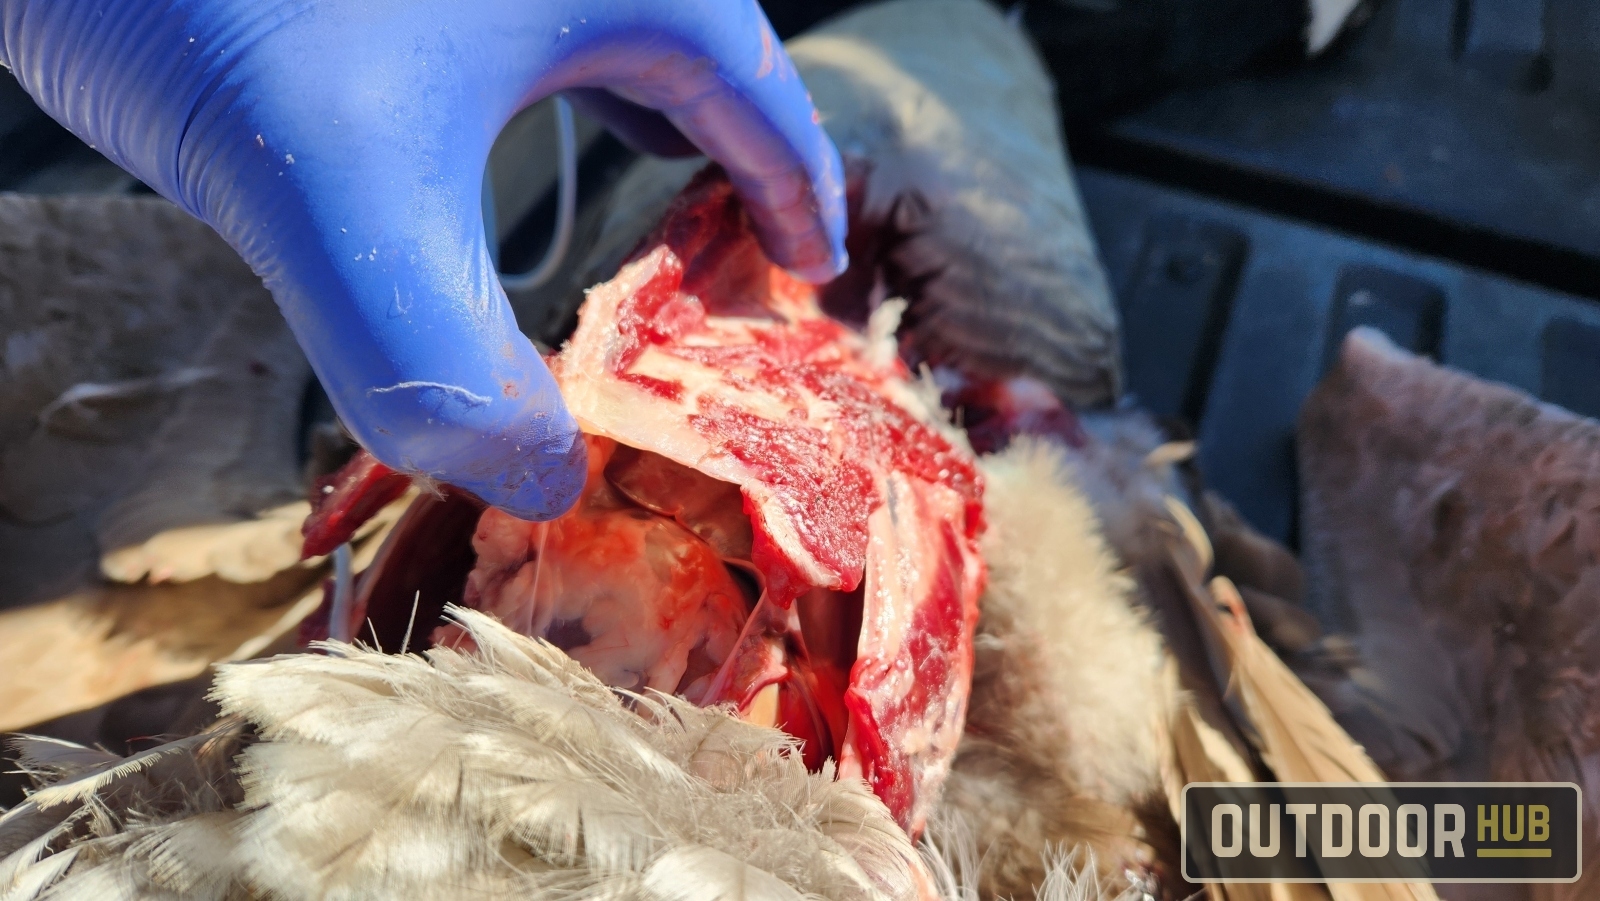
There is no need to cut down in one stroke of the knife; take it slow if you need to and work your knife edge along the bone as you cut down. Work along the breastbone until you hit the wishbone (right at the base of the neck). Follow that bone until you cut to the top of the breast. From there, you want to keep cutting along this initial cut until you hit the base of the breastbone while gently pulling back on the goose breast to keep it out of the way as you cut. Just keep cutting along the bone until you reach the side of the body, then cut through the skin.
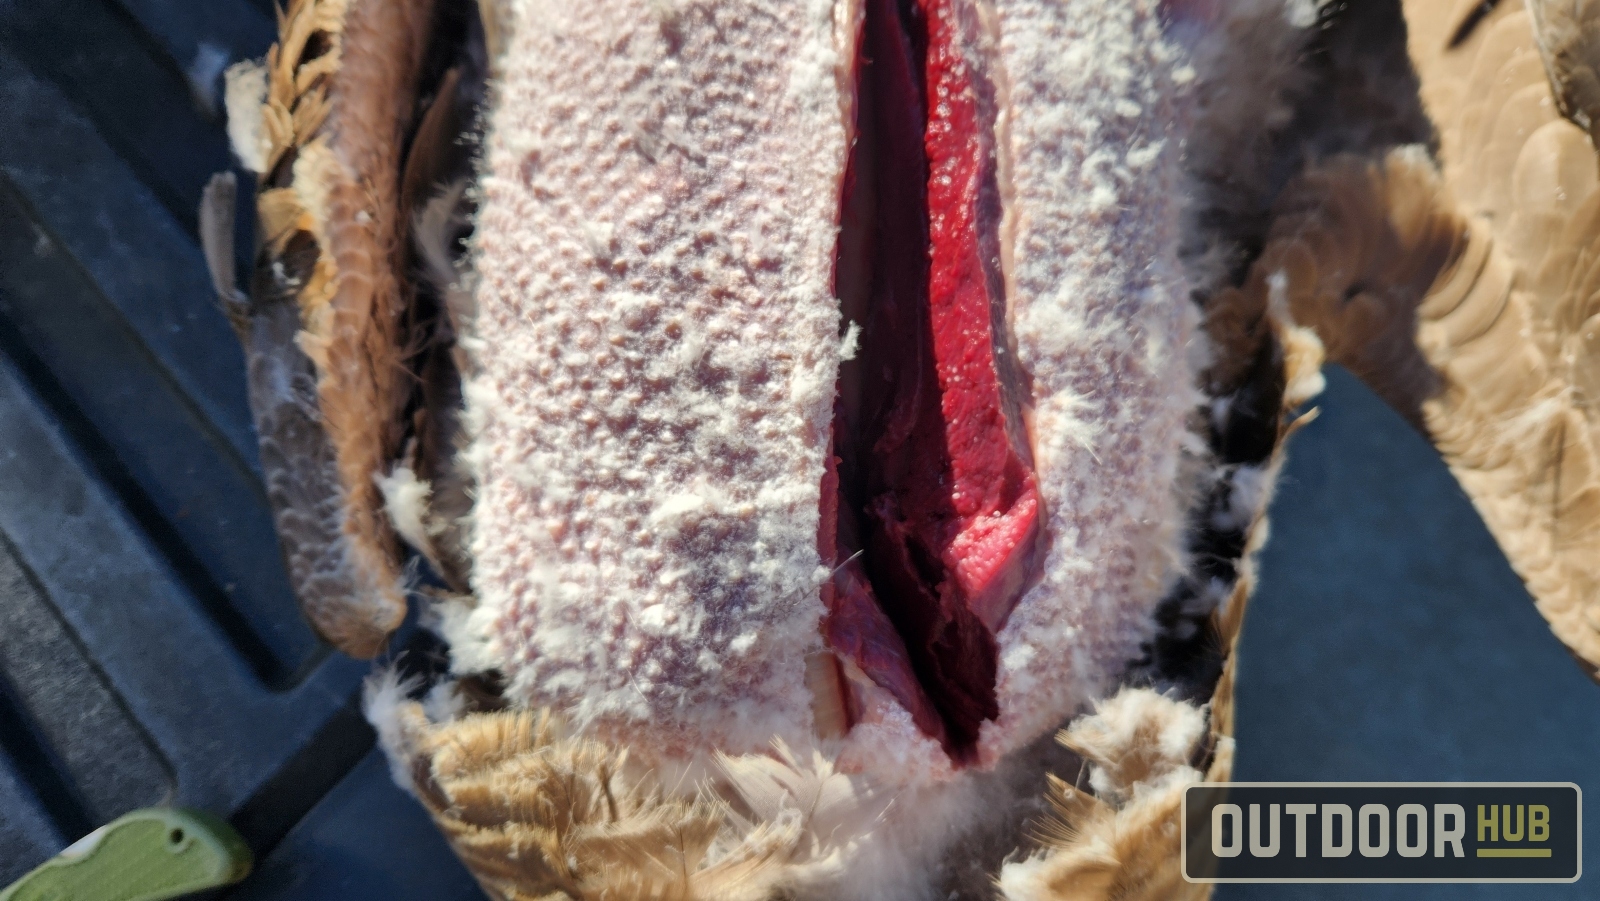
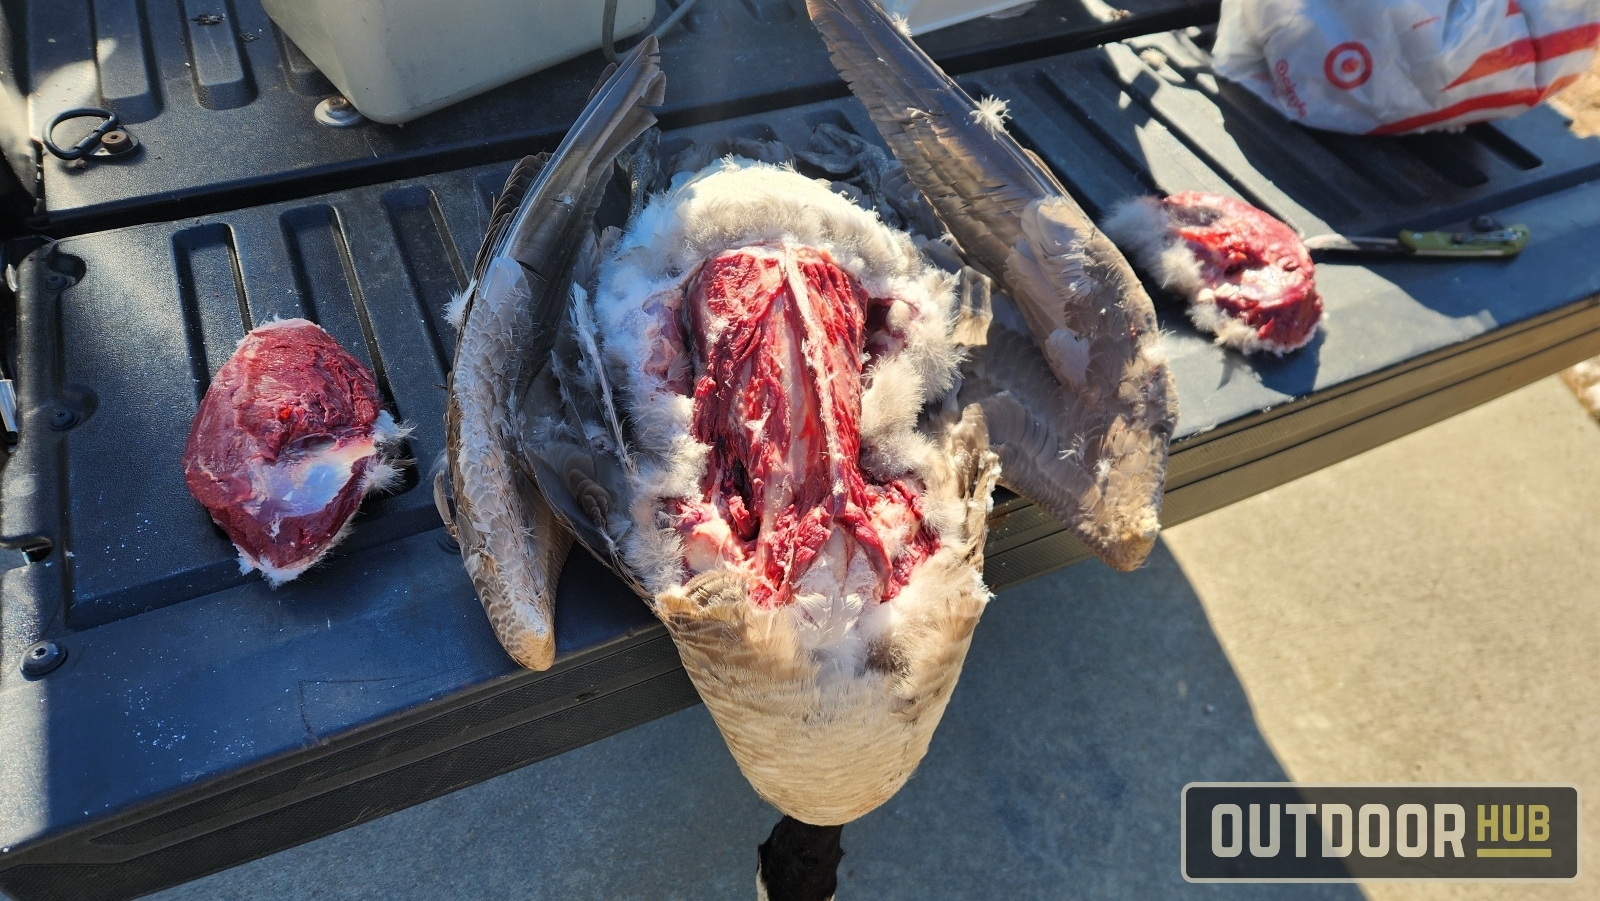
Repeat the steps for the other side once you remove the first breast off the goose–just mirror how you cut along the bones. Take it slow if necessary; you don’t want to waste meat. Once you get both breasts off the goose, put them aside to work on the legs.
How to Remove the Goose Legs
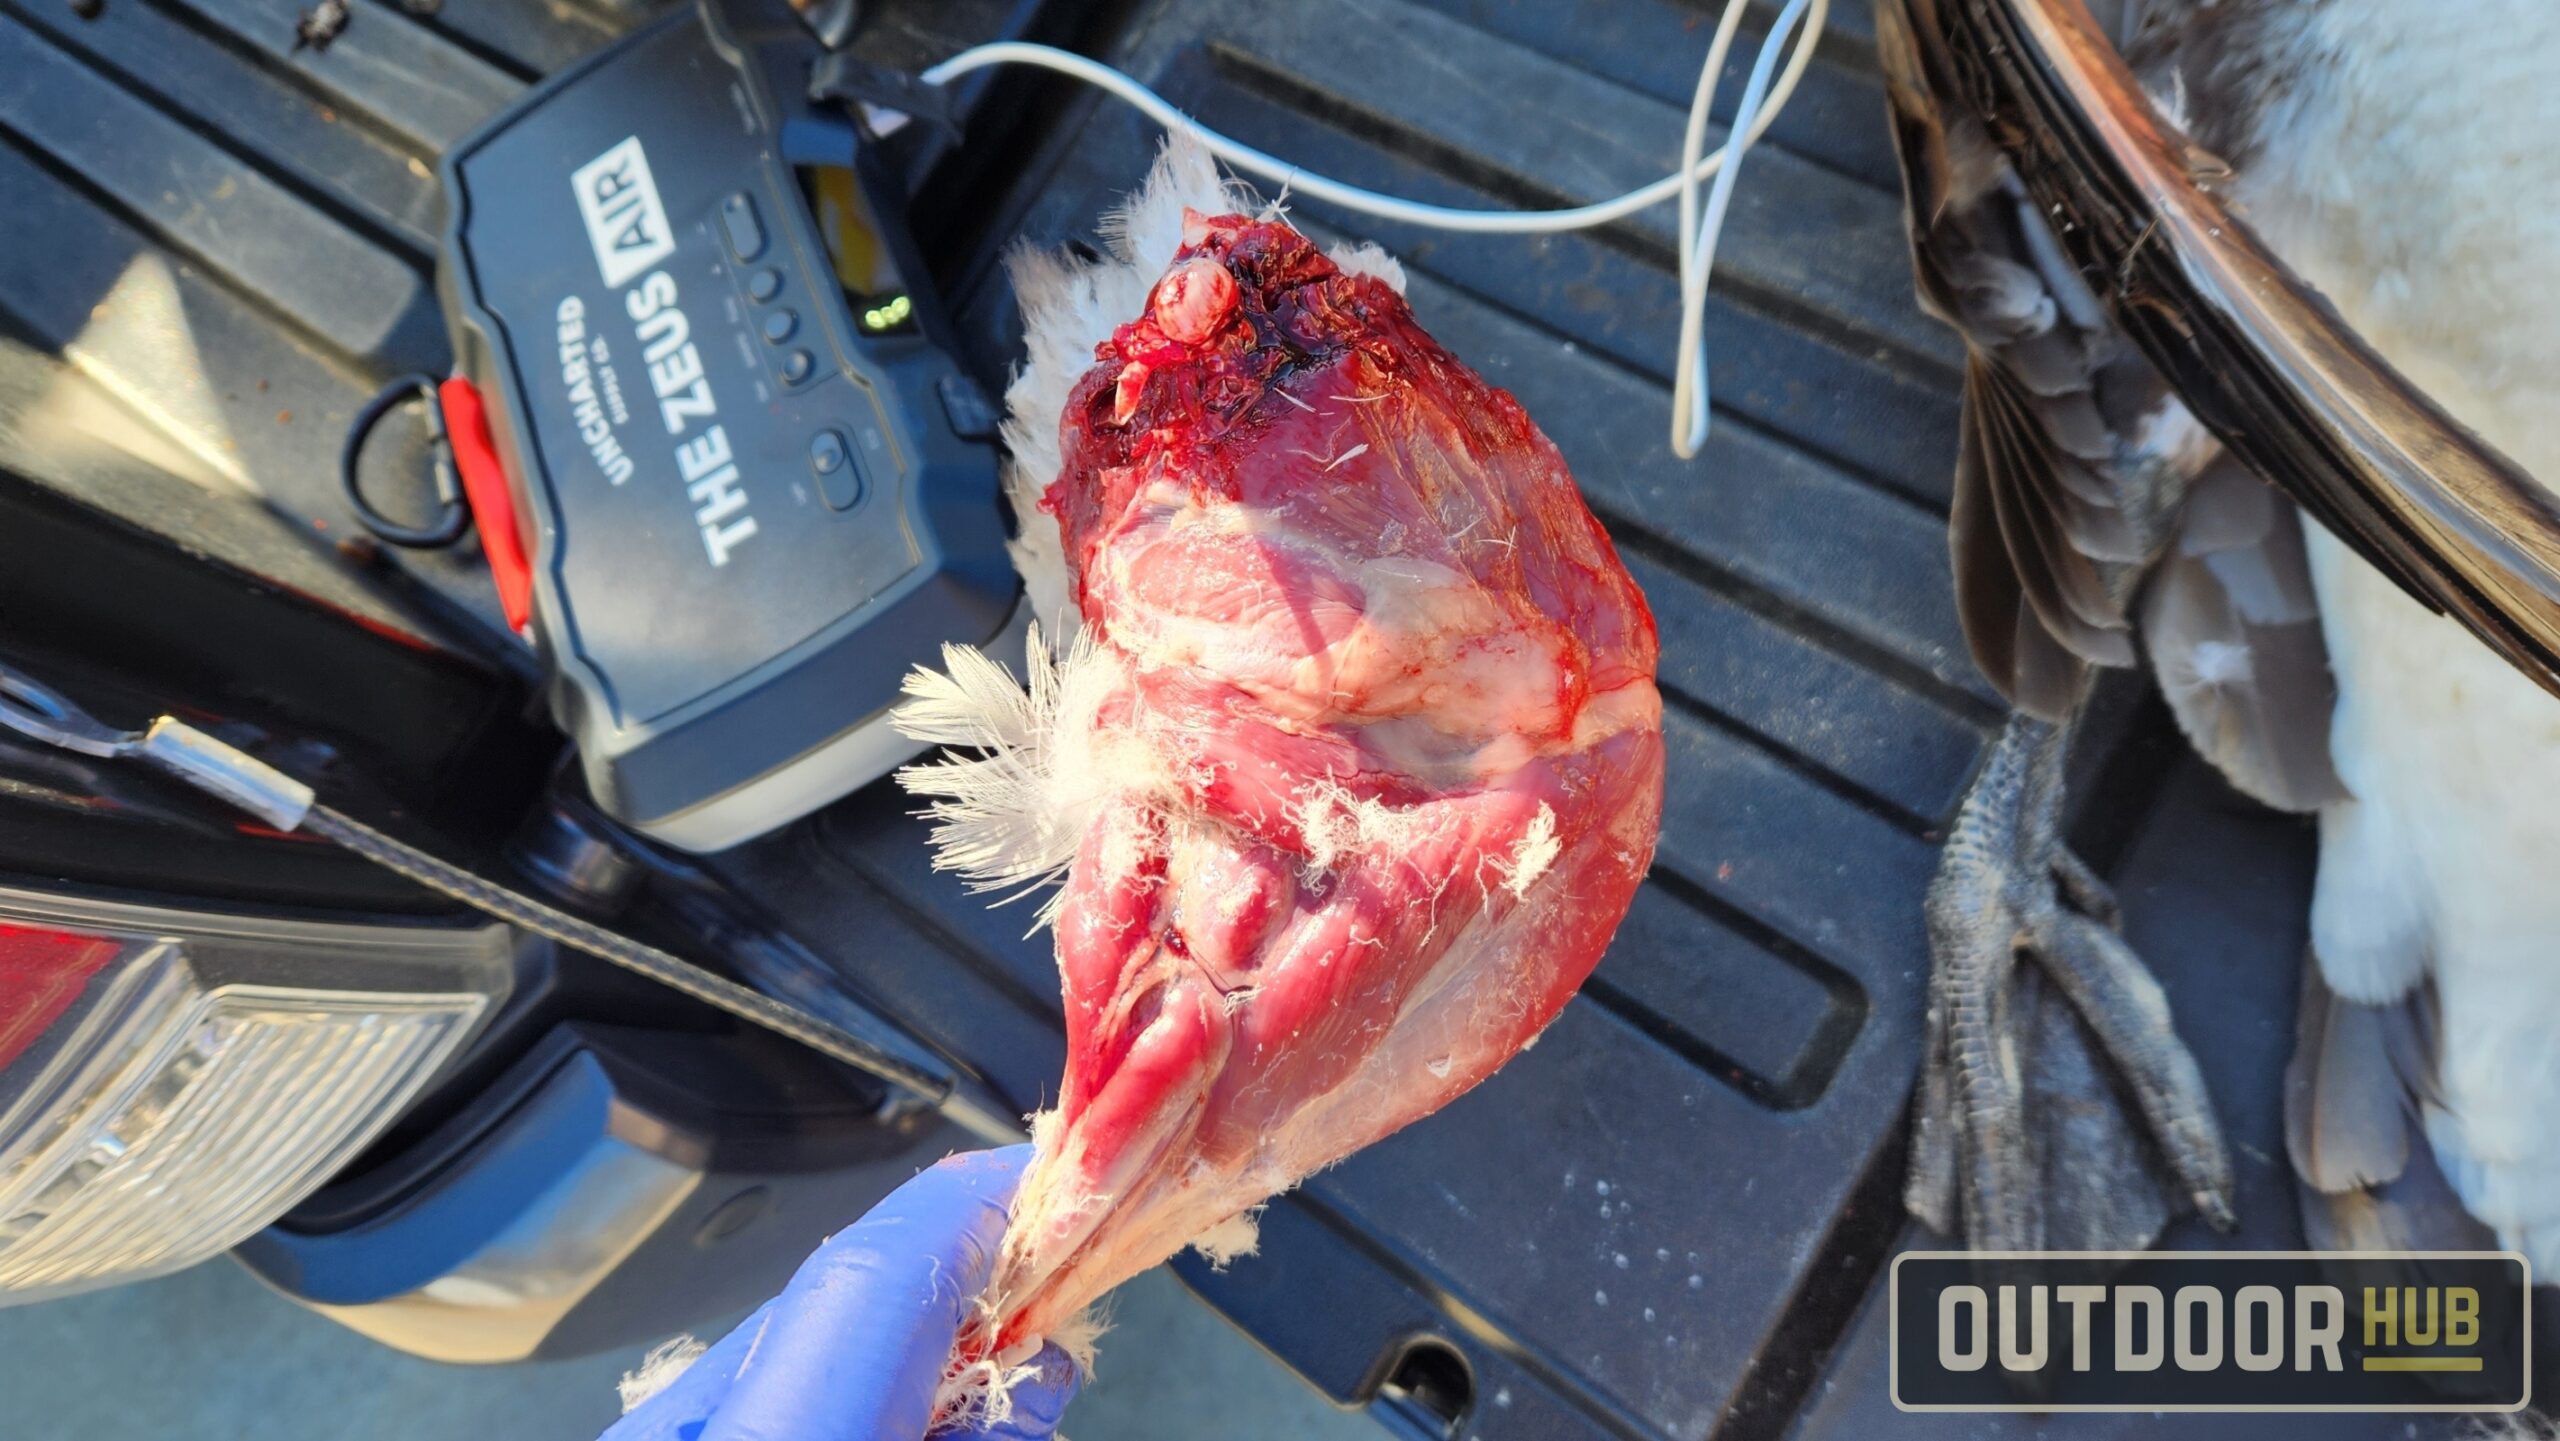
For the legs of the goose, you want to get the legs off the bird “skin off”–unlike the breasts. Technically, you can pluck them and keep the skin on, but for the legs, I don’t. Starting at the base of the rib cage you begin by lifting the goose’s skin up off the legs. You want to cut through the skin from the inside; this will cut fewer feathers as you go through the skin.
Work the skin off both sides of the leg, using the knife mainly to cut through a little connective membrane as you go. Often you can just pull at the skin to start removing it.
Once you have the skin off of the drum and thigh of the goose, press on the knee joint and thigh to open up the legs and pop the femurs out of the bird’s pelvis. Then, take a knife and cut along the inside of the thigh along the pelvis to remove the leg from the bird. Pluck off any feathers left on the legs while the meat is a bit moist. It’s easier to pick them off now versus scrubbing them in the sink later.
Gutting the Canada Goose
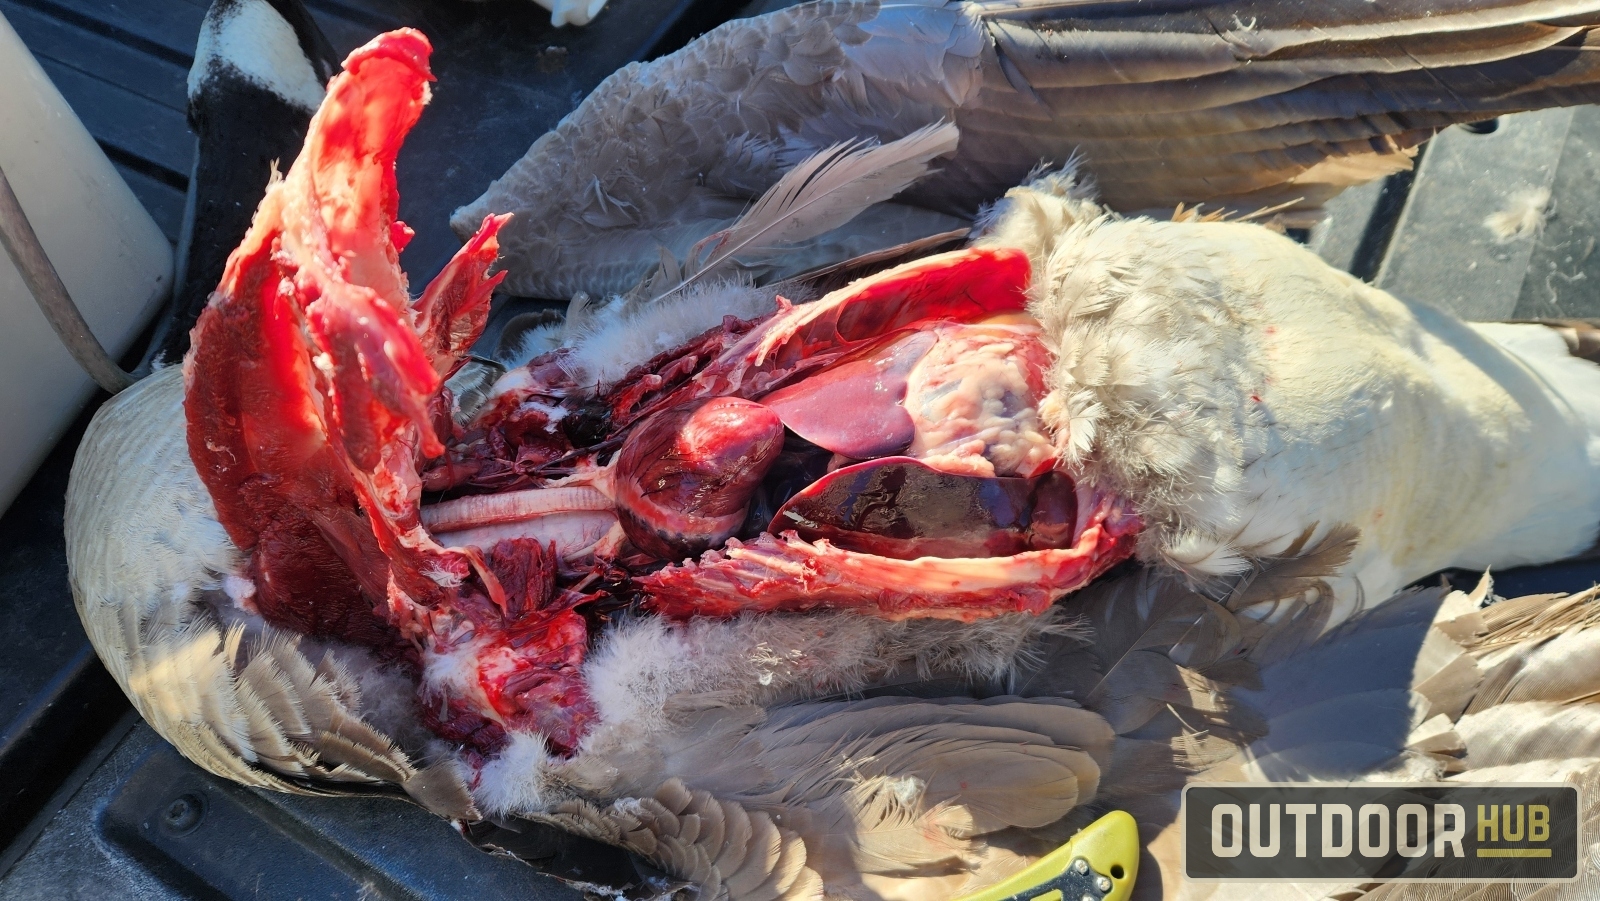
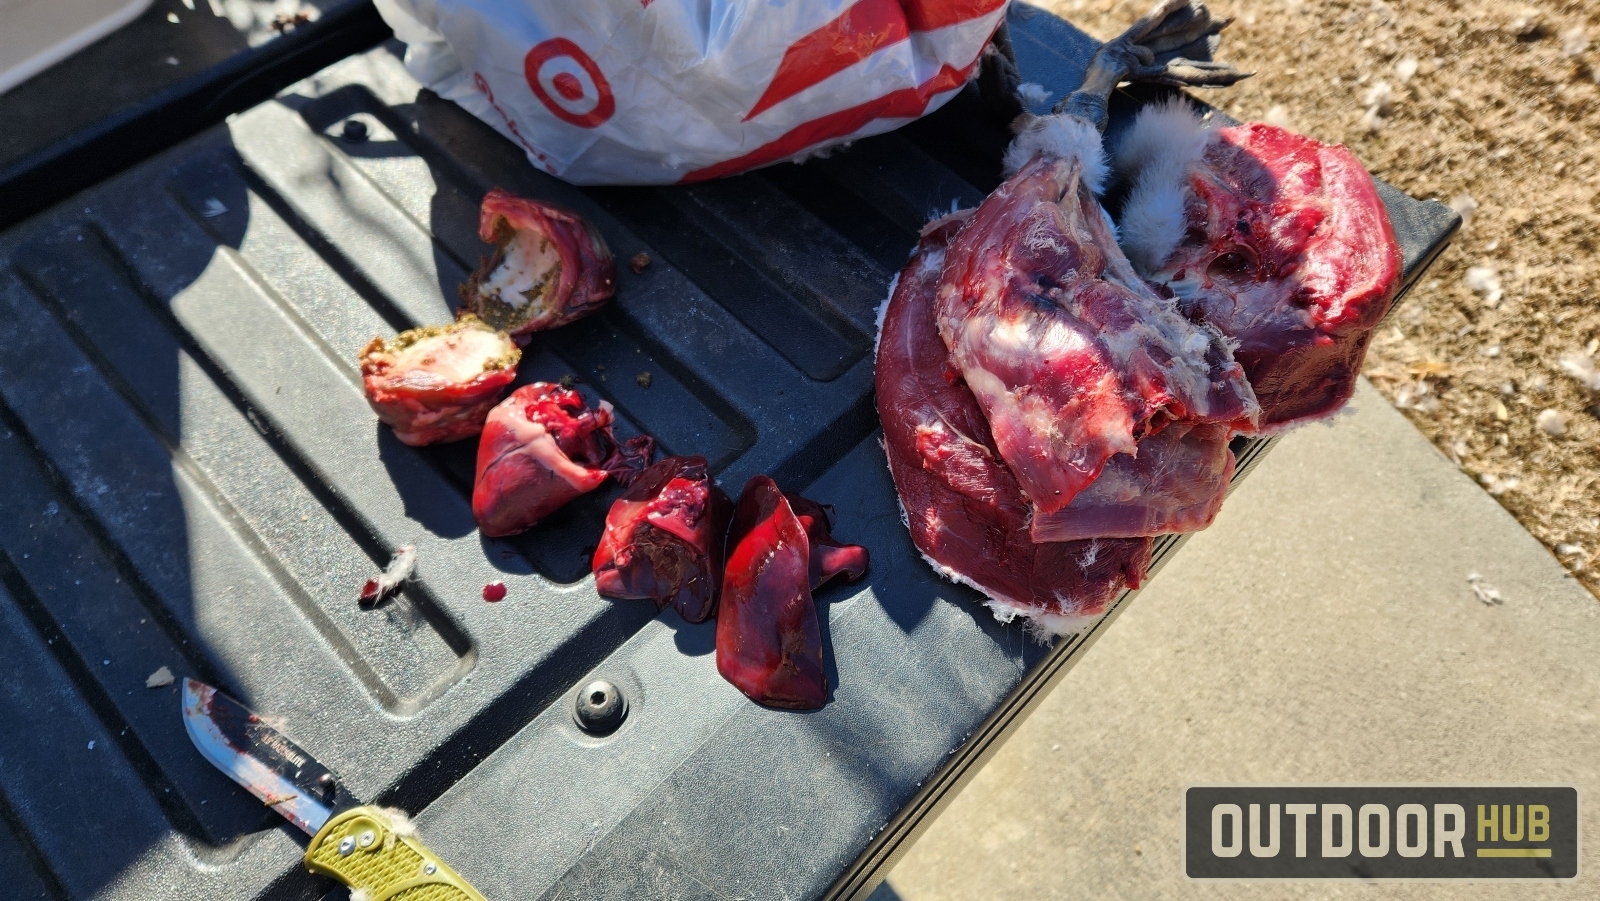
Now we have the goose breasts and legs; the only things left to harvest from the goose are a few pieces of offal. The heart, liver, and gizzard are good eating if you’re up for it. If not, your dogs or cats will gladly munch on them (for cats, you should steam the offal first).
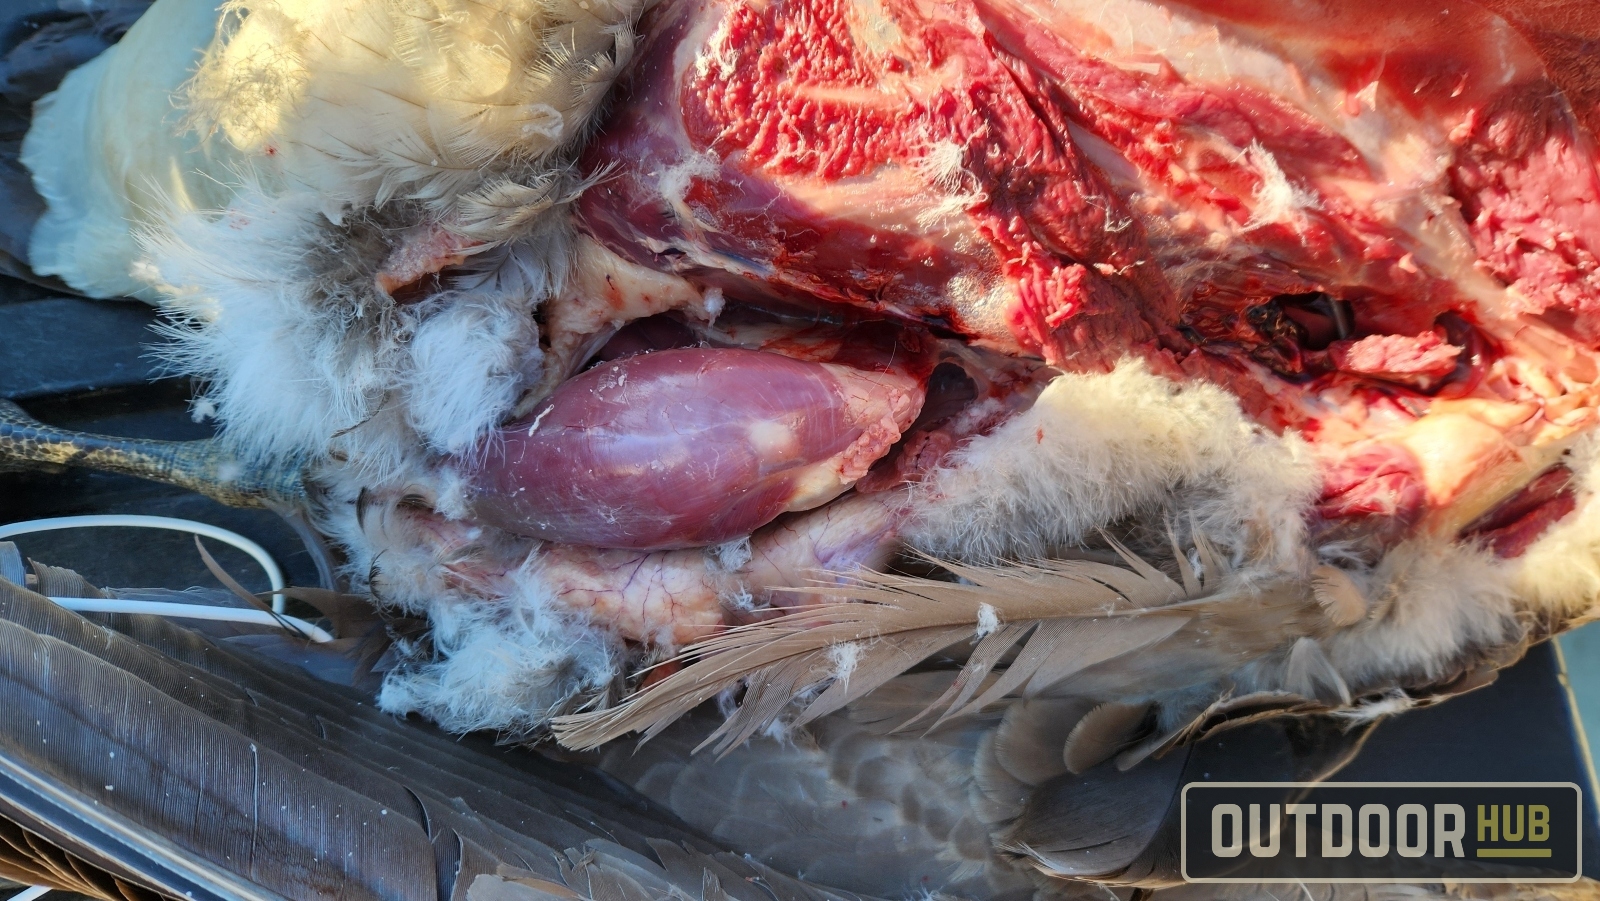
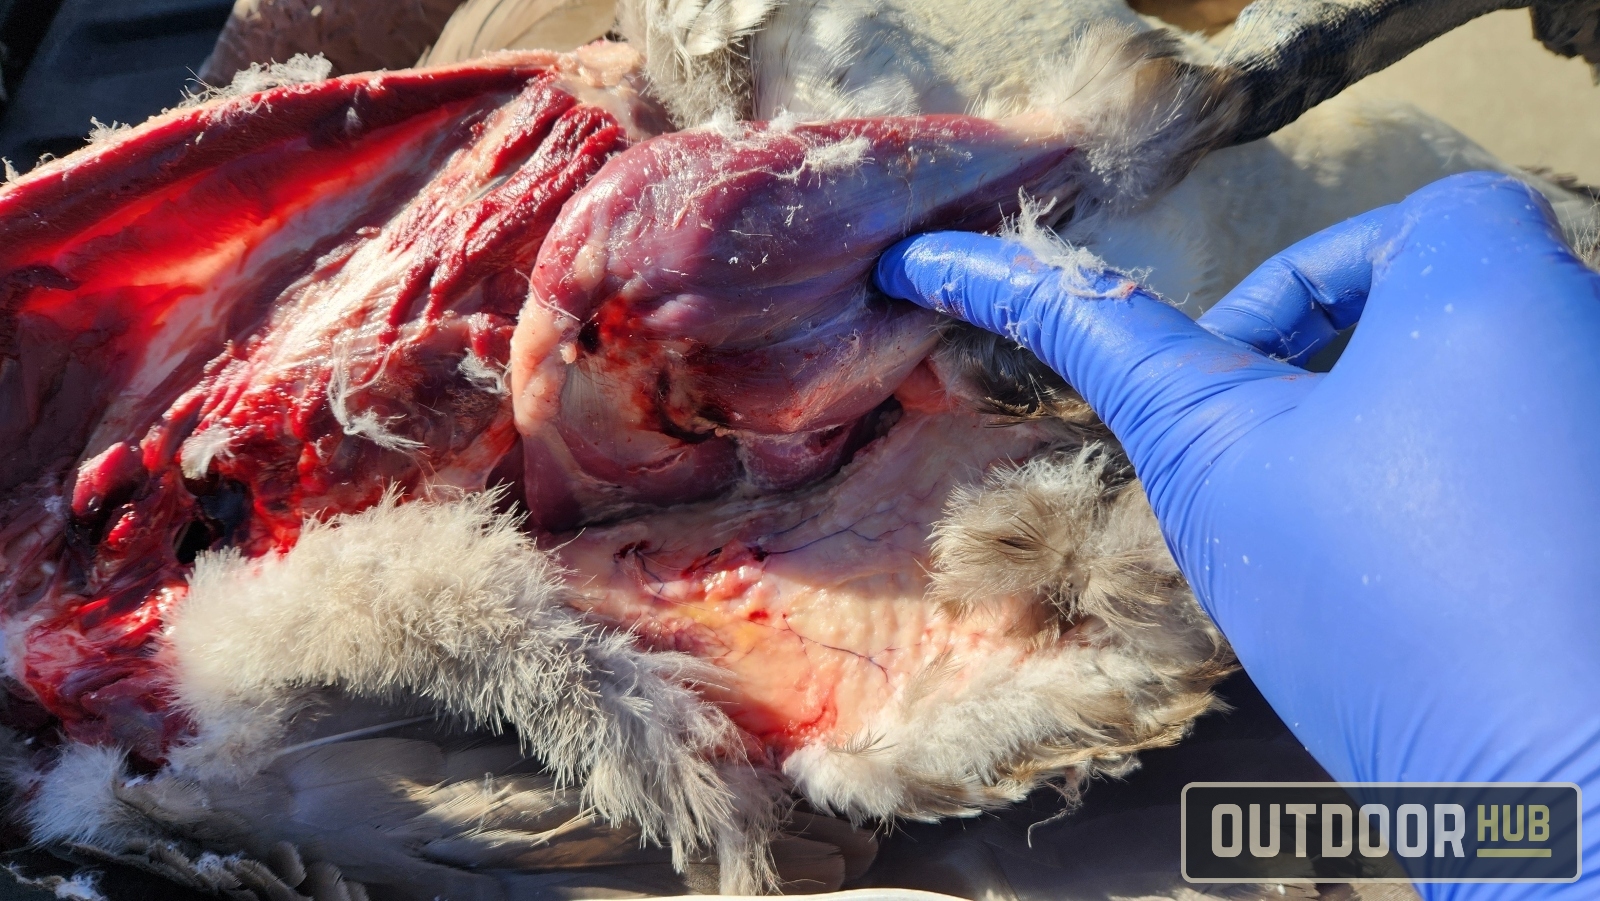
Right under the breast bone, take your knife tip and gently open up the chest cavity of the bird. You want to trace along the membrane on the edge of the bone. You don’t want to stick your knife in deep and accidentally hit the intestines.
Once the body cavity is open, you must cut the ribs along both sides of the goose. Use a pair of kitchen shears or a knife to pop the ribs on both sides. Once you cut through all the ribs, you can pull up on the breast bone to open up the body cavity, giving you easy access to the offal. Everything you want should be visible and come out easily.
Special note for the gizzard: it is part of the GI tract, so there is food matter in it. Separate it from the other organs, open it up, and clean it out. Then, trim off the inner lining of the gizzard and scrub the thing in salt to clean it up.
Finishing Processing the Goose
Also, be aware and keep note of any pellet holes. While you might think the shot went through and through, they can still easily be in the meat. A piece of steel shot is not fun to bite down on. I use a metal chopstick to double-check for any pellets by running it through the hole; the metal-on-metal contact is noticeable through the chopstick. That way, you know for sure that you will need to cut some shot out of the meat.
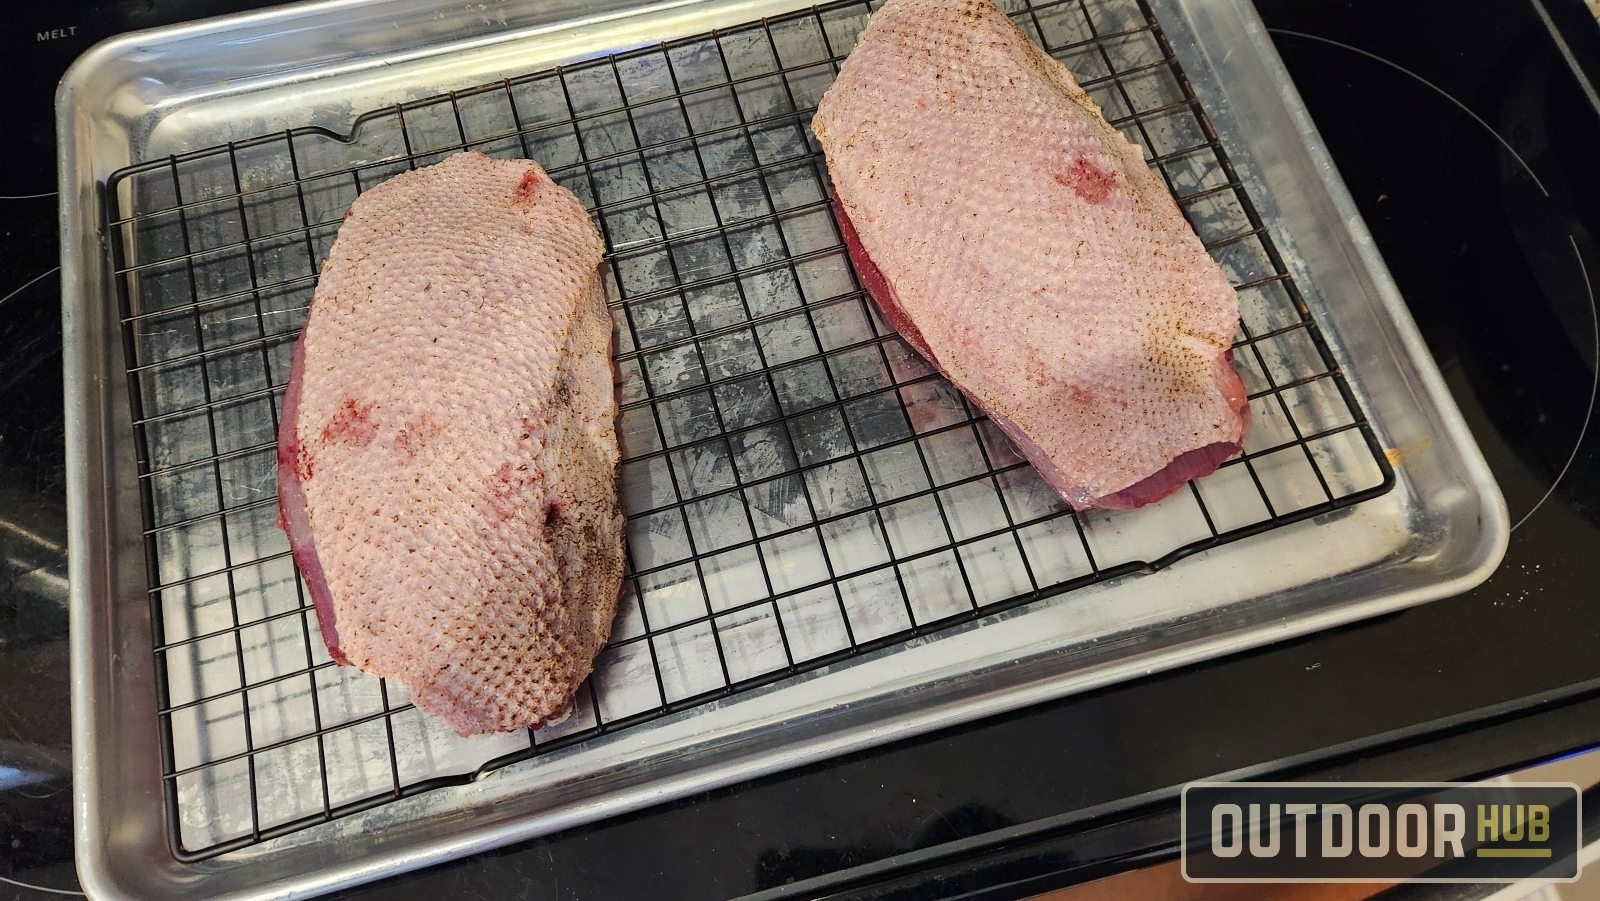
The final step for the goose breast is taking a torch to the skin. This will burn off all the little hairs and down you missed when plucking it earlier. Just be gentle with the flame so as not to scorch and cook the skin too much. For any scorched-looking parts, just scrape it with a knife, and it’ll come off with a wet paper towel.
For the goose legs, trace along the ankle joint of the leg with the knife, cutting all the skin first. Then, pop the joint to the side, cutting through and connective tissue. The foot should come right off, leaving you with a nice cleaned goose leg.
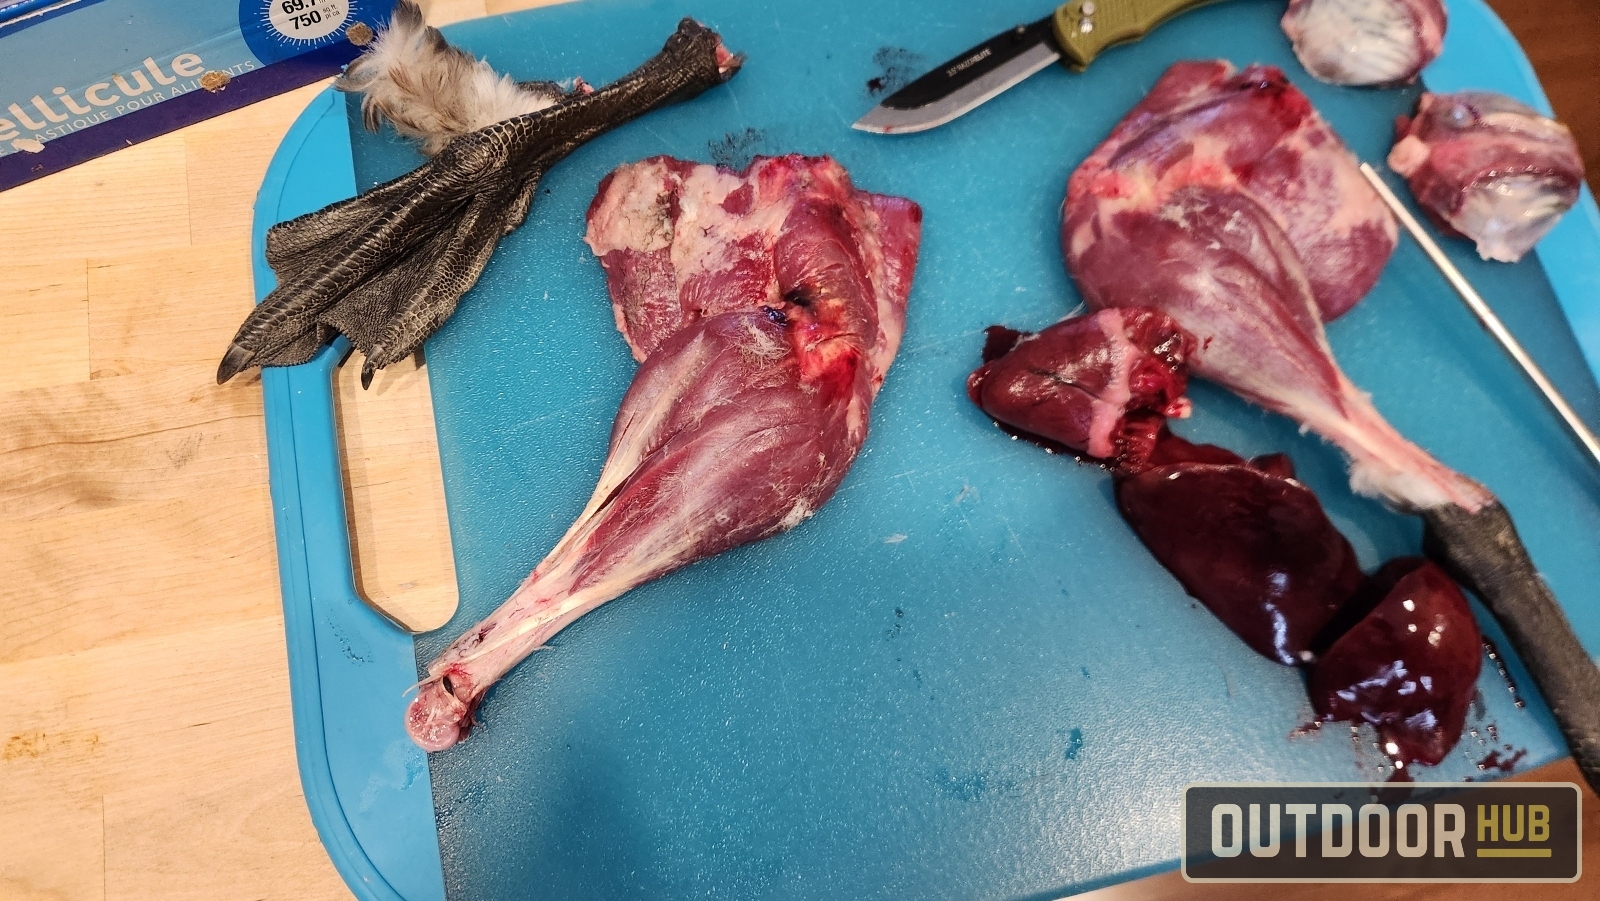
Wash the legs after removing the feet, and you should be done. This gives you a completely broken down goose for cooking whatever goose dish you want.

As you can see, it is pretty easy to clean a Canada goose. The hard part is deciding how to cook it and what to eat with it!
Other Butchering, Processing, and Cooking Wild Game Guides
- Butterflied Fish – Vermillion Snapper
- Grouper Throats
- Grouper(Scamp)
- Wild Turkey Breast and Legs
- Mahi Mahi(Dolphinfish)
- Baked Garlic & Paprika Bluefish

