Whitetail Food Plots: Honey Holes for All Acreage, Part 3
Whitetail-Food Plots 04.13.12

Let’s get right into it, and let me mention a little about putting down lime on your food plot. If you are new to all of this, then you probably think that lime is lime, no big deal. Well, FYI, there are three types of lime to consider for your plot.
- Agricultural lime. All powder. Agricultural lime gets into the soil fast, the wind will create a cloud and you’ll look like a ghost when you’re done putting it down.
- Granular lime. Some powder, but also has a ‘sandy quality’ to it. This is my choice because it gets into the soil almost as fast as agricultural lime, but it’s not as messy.
- And the last choice is pelletized lime. The best way to describe is by what it looks like: it’s like ice melt, or white beads, a little larger than bird seed. This takes a long time to get into your soil.
 Pelletized lime is too slow-acting for this hunter. I often lime and then plant seed all in the same day. Remember, the amount of time you spend in your food plot is critical. The less time you’re out there, the better the odds are that the deer will move in.
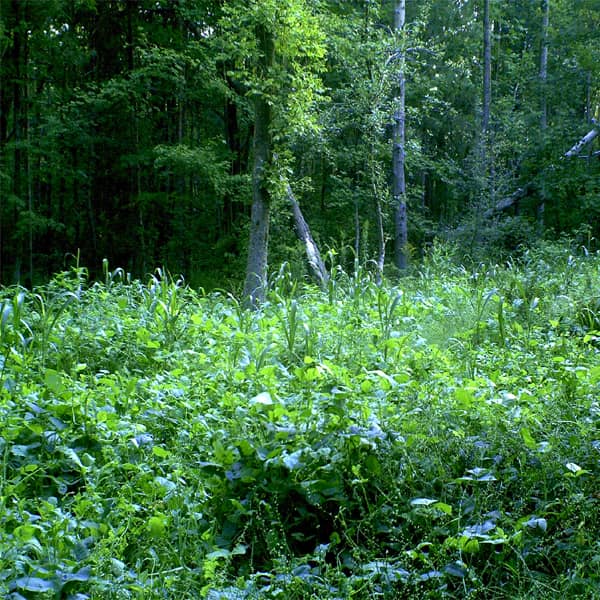
Now, when to fertilize? You should already know what level (12-12-12 and so on) to use. This was accomplished by testing your soil and giving the results to the local feed/agriculture store. My first application (go lightly) is as soon as that nice ‘green carpet’ comes up. After that, I watch the Weather Channel and look for a few days of steady rain. I go out just before it rains, and again, fertilize sparingly. Come back a week or so after the rain and BAM! It’s like rapid grow. Your plants get a nice surge of growth. That helps them stay ahead of the weeds. That’s another reason why you do all those steps to have a successful food plot. Do not leave out any of those steps.
What do you do with the information you’ve acquired up to this point? My suggestion is go to your nearest dollar store and pick up a pocket size ‘composition’ notebook and start a diary or journal about your food plot. In it, you will want to jot down the following:
 Make a sketch of your plot, or use Google Earth or Google Maps and print it out.
- Date you killed your weeds and which chemical you used.
- Your soil test results and how much lime and type of fertilizer you applied.
- Note what you plant, and what the season’s weather conditions were.
- What kind of activity you had in your plot (supplement with trail cam photos).
- And don’t forget: whether the deer liked (or didn’t like) what you planted.
And this goes without saying, but remember to document your success. Now, your journal becomes “the great equalizer”. You now have valuable information about the deer in your hunting area.
In part 4, I’ll just give a short overview. I’m sure I’ll hear from a lot of you out there. At least I hope so. Remember, what you do is your choice, this is what has worked for me over the years. I hope you all have the same luck as I did from my “Micro Food Plots” in the woods.
Again, I would like to mention my seed of choice: INVITE X-Tream Wildlife System. Located in Ohio, this seed is developed by hunters for hunters. Check them out at : www.INVITEFPF.com. Any questions, e-mail me at whitetail-foodplots@roadrunner.com. You can also find me on Twitter @foodplotsPaul. As a footnote, I want to let you know my website is under construction, but will be found at www.whitetail-foodplots.com. To go back to part 2, click here. To read the final part, click here.


 Make a sketch of your plot, or use Google Earth or Google Maps and print it out.