Field Test: Burris Signature HD Spotting Scope
Dave Maas 11.14.17

After looking through the list of required gear items needed for my Precision Rifle 7 Class at Gunsite Academy in Arizona, it became clear that I needed to research top-notch spotting scopes. Sure, I’d glanced in spotting scopes on various big game hunts in the past, but these optics were always the property of a guide or outfitter.
My personal optic inventory included binoculars of various shapes and sizes. Most of these binos were 7X, 8X or 10X, and they did a fantastic job for pursuing whitetails and turkeys in the Midwest, as well as mule deer, pronghorn, moose and caribou in the western United States and Canada. Like you, I’d read about the importance of owning and using a high-quality spotting scope, but I never pulled the trigger and bought one. Now, I didn’t have a choice. A binocular, no matter how good, simply wouldn’t cut it for my class at Gunsite.
Sniper School 101
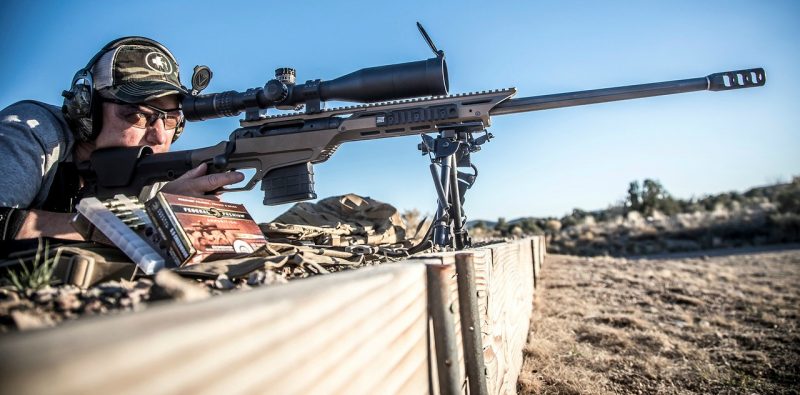
“Gentlemen, as you’ll learn this week, in a two-man sniper team, the most skilled individual is the spotter,” said Gunsite Rangemaster Cory Trapp. “The shooter is a monkey. His job is simple: Keep ammo in the rifle; dial scope elevation as directed by the spotter; adjust his aim for wind as directed by the spotter, then press the trigger straight to the rear; cycle the bolt while looking at the target in the riflescope; and finally, be prepared to quickly fire a second shot based on further elevation and/or windage commands from the spotter.”
Certainly, skill is required on the part of both sniper team members, but Cory made it crystal clear that the spotter is in total control. The ability of the team to successfully hit targets is predicated on the spotter making the right call for wind and other factors, and to do that, he must have the right tools for the job.
As I stated earlier, Gunsite provides its students with a comprehensive list of recommended gear items regardless of the class offered. And the list gets longer and even more detailed for offerings such as Precision Rifle 7, or the even more demanding Extreme Long-Range Rifle class (the former is a prerequisite for the latter).
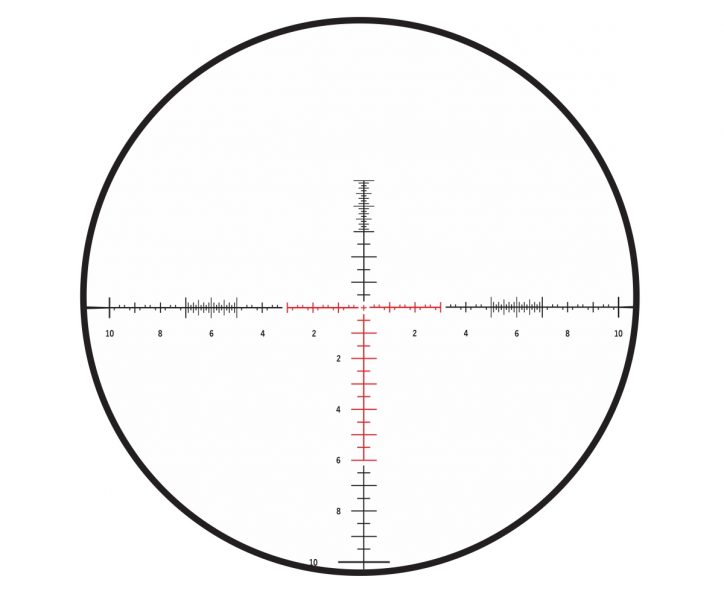
After reading through the equipment list online from Gunsite, I decided on the Burris Signature HD Spotting Scope. Instead of using it with the included 20-60X eyepiece, however, I chose the optional 30X (fixed) eyepiece because I needed a spotter with a reticle that matched the one found in the riflescope I’d be using during my class. (Stay tuned to OutdoorHub for my upcoming review of the Burris XTR II 4-20x50mm riflescope.)
In other words, when you look through a spotting scope that contains a reticle, it looks just like a riflescope. I chose the 30x eyepiece with the SCR Mil reticle (below) because my riflescope had the same mil-based reticle. Note: Shooters who prefer minutes of angle (MOA) measurements instead of mils can order the 30x eyepiece with the SCR MOA reticle.
My Lightbulb Moment
“Gentlemen, your ability as the spotter to determine target dimension, range to the target, then wind speed and direction, is critical,” Trapp explained. “And let me assure you . . . it’s damn hard. You will make mistakes. A lot of them. And that’s why this class is long. In fact, after a week of practice and training here at Gunsite, you’ll only begin to develop the skills required to make long-range shots in real-world field conditions. But you’ll at least begin to understand and appreciate the process.”
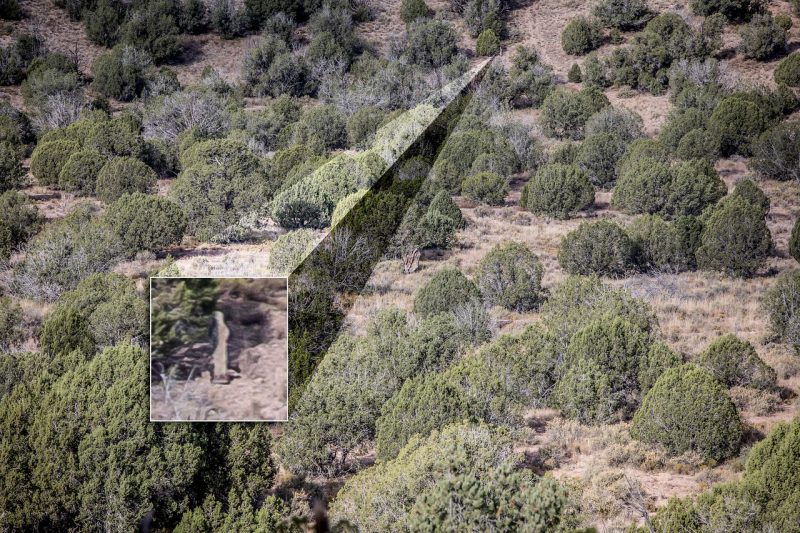
As Trapp spoke to our class, he triggered a PowerPoint slide that showed a blurred “pepper popper” steel target in the distance, with a juniper tree sharp in focus in the foreground. As a longtime editor (books, magazines and online), I immediately thought, that photograph really stinks.
“As you can see here,” Trapp said as he ran his red laser pointer on the image, “the target is on right side of photograph. We have a juniper tree in the foreground below and to the left of the target. Looking above the crosshair at about the 2.5 mil mark, you’ll see bullet trace; i.e. a vapor trail. The spotting scope is focused on this juniper tree because it’s about two-thirds of the distance to the target. By looking at the trace, a trained spotter will be able to call a hit or miss even before the bullet impacts, or misses, the target. If the bullet misses, the trace will give the spotter an excellent idea where that bullet missed — either high, low, or to the right or left — and then depending on the terrain, the spotter should also get some feedback with a puff of dirt or debris, even though the scope itself isn’t focused sharply on the target.”
As my jaw dropped to the floor, I shook my head in amazement. What I initially believe to be a poor-quality pic from a classroom PowerPoint presentation, was really showing me everything I needed to know about how a two-man sniper team operates in the field. I had no idea.
Immediately, I understood why it was so critical that the spotting scope featured a measuring device (i.e. reticle), and why the reticle of the spotting scope should match that of the riflescope (mils and mils, or MOA and MOA).
Trapp continued: “In this case, the shooter has been told to hold for no value, meaning the wind isn’t significant enough to hold left or right of the pepper popper. So, if the spotter sees the bullet impact .4 mils left of the target, he immediately commands the correction: ‘Right .4’ And assuming the monkey is doing his job, the second shot should be fired a split-second after receiving this directive. After all, bad guys aren’t likely to wait around long.”
Practice Makes Better — Not Perfect
Even though I firmly grasped the concept, RM Trapp made an understatement when he said, “It’s damn hard.” Yes, at times it was possible for me to clearly see trace, but I’d be lying to you if I claimed to see it every time. However, when I didn’t see trace, I often saw some indication on the ground (dust kicked up by the bullet) that helped me steer my shooter onto the target for a follow-up shot.
Did I bark my correction immediately? No. But in my defense, that was because the person for whom I spotted had a scope with an MOA reticle. I had to convert what I saw in my spotting scope (mils) to what he saw in his riflescope (MOA). For example, if I spotted a bullet hit .6 mils left of target, I needed to call out a correction of “Right 2.0,” meaning right 2.0 MOA.
If this sounds a bit confusing and/or cumbersome, it’s because it is! And that’s why it’s so important to have a spotting scope and riflescope that speak the same language.
The Best Spotter?
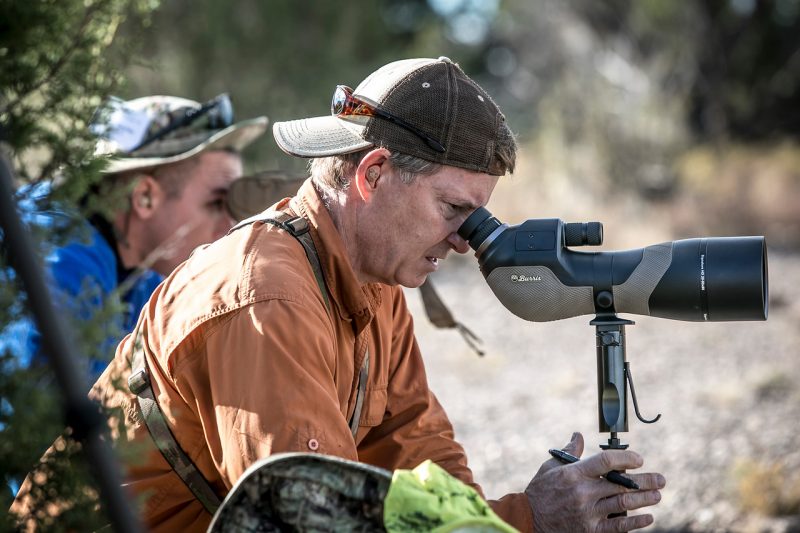
As I stated previously, I attended Gunsite with a Burris spotting scope and riflescope that both feature the SCR Mil reticle. And my fellow students who borrowed my spotting scope and called out corrections for me raved about the spotter’s brightness and resolution. There isn’t space here to list all the spotting scopes fine features, and I trust you can visit the Burris website to see all the specs. What I will do here is detail a few notable takeaways:
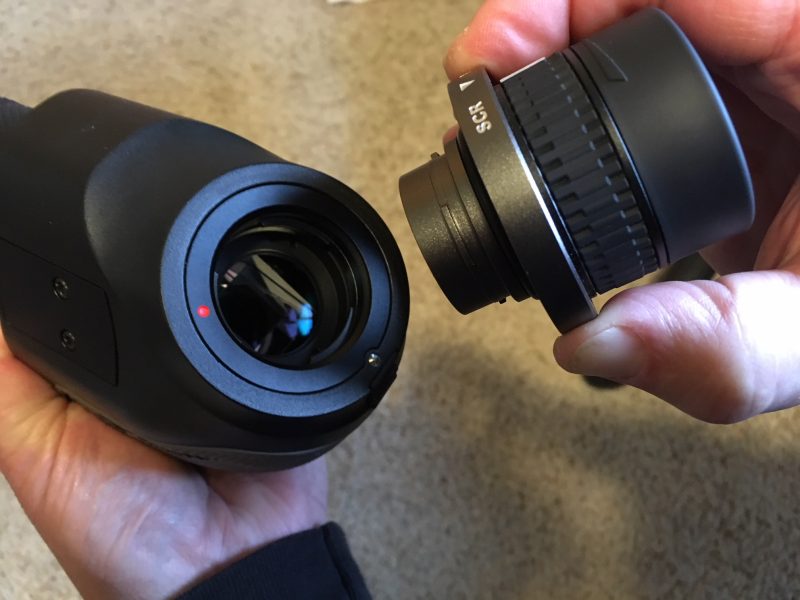
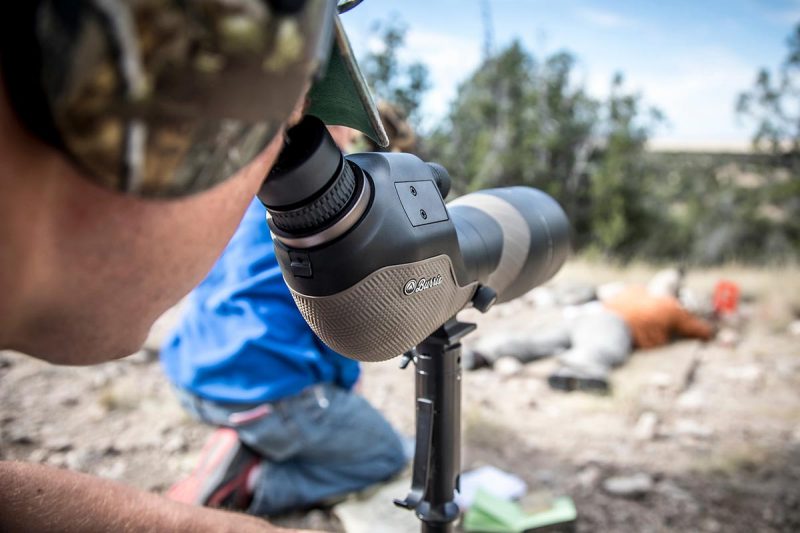
- Switching from the included 20-60x eyepiece to the 30x (optional) eyepiece is simple. The connection is exactly like switching lenses on top-notch DSLR camera (see photo below). The locking mechanism is precise and solid.
- Just like on a riflescope, you focus the 30x eyepiece so the reticle is in sharp focus for your eye. No matter who used the Burris spotter, each person could customize it for their vision in an instant. The twist-up eyecup (three positions) is easily adjusted to accommodate eyeglasses.
- The coarse and fine focus adjustments on the Burris Signature HD work beautifully for bringing distant targets into crystal-clear view.
- Edge-to-edge resolution is phenomenal. To estimate range, we had to measure targets of known size in the reticle, and do so to at least the nearest .1 mil. The best spot to do this was on the outer edges of the spotting scope, where the SCR Mil reticle is represented in tenths. The targets were just as sharp in the edges of the scope as when they were in the center.
- A key feature that I wish I had a chance to try at Gunsite is attaching a Burris FastFire red-dot sight to the side of the Signature HD. The red dot sight is used to align the spotting scope on distant targets without a lot of searching. Such as system would be amazingly fast and easy for finding even small steel plates at 500 yards and beyond.
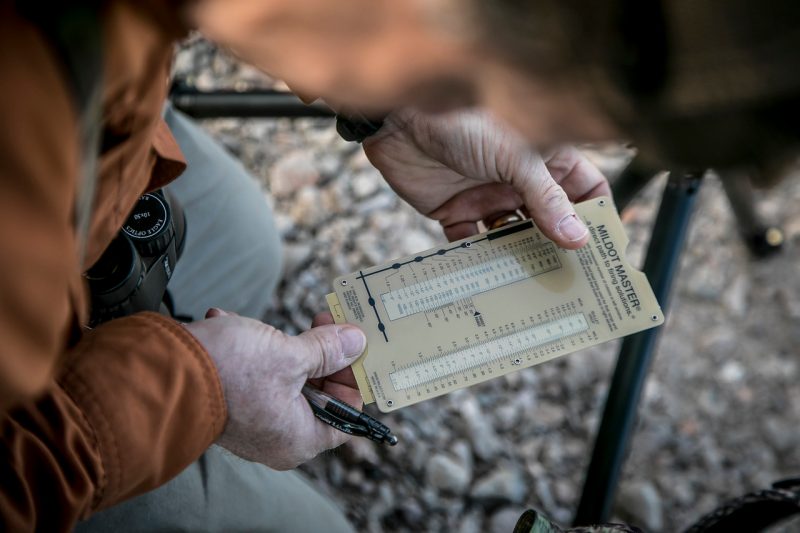
Our final day of class included in-the-field tests. Students were paired up, and with the clock ticking, we had to measure targets in our spotting scope and riflescope, then use a handy device called a Mildot Master (think old-school slide rule; photo below) to estimate yardage. Then RM Cory Trapp and Instructor/Gunsmith Mike Moore graded us on our ranging abilities.
Next, after giving us the actual distances to 18 targets (six different shooting stations on a high hill, with three targets available at each station), we had to shoot them; the rules stated no more than two shots per target. Oh, and did I mention that we had winds blowing from left to right, or sometimes quartering away from left to right, at 10-15 mph? Tough conditions!
As I recall, the closest target was 290 yards (6-inch-diameter steel circle) and the farthest one was 910 yards (18×24-inch steel target). Most targets were 12×16-inchers placed in the 400- to 600-yard range.
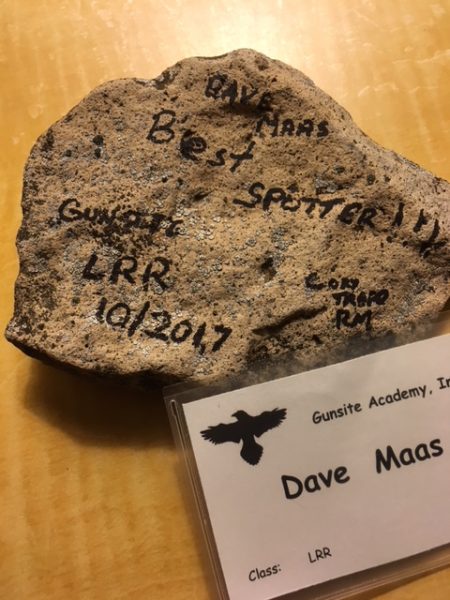
I’m happy to report that my team won the competition, and during our wrap-up later in the classroom, RM Trapp presented me with the top honor in the class, a rock/trophy (below) with the words “Best Spotter” written in black ink. Not gonna lie . . . I was proud to accept the award. Looking back on it, however, I must admit that the Burris Signature HD Spotting Scope deserves a big part of the credit.
Sidebar: Tripods for Top-Notch Spotters
When I told a friend about my upcoming Precision Rifle Class at Gunsite, he offered to loan me his tripod. “Great glass won’t do you any good if you support it with a crummy tripod,” he warned.
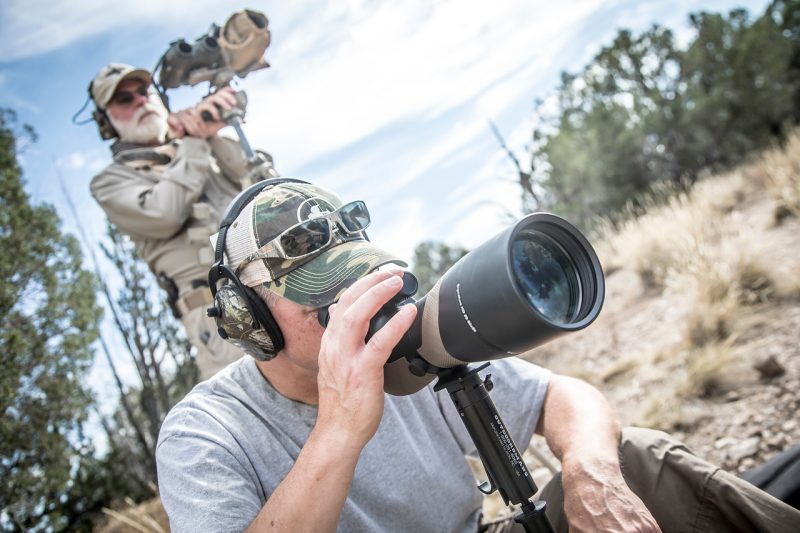
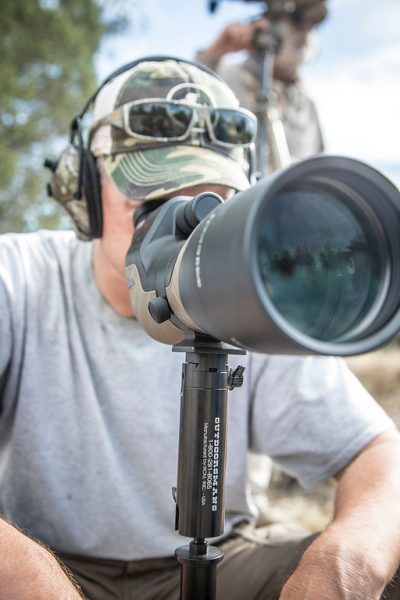
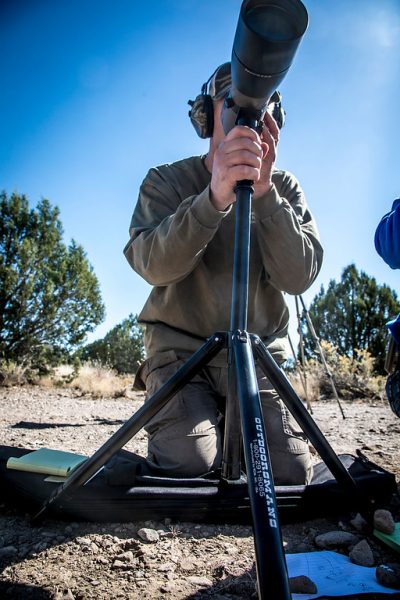
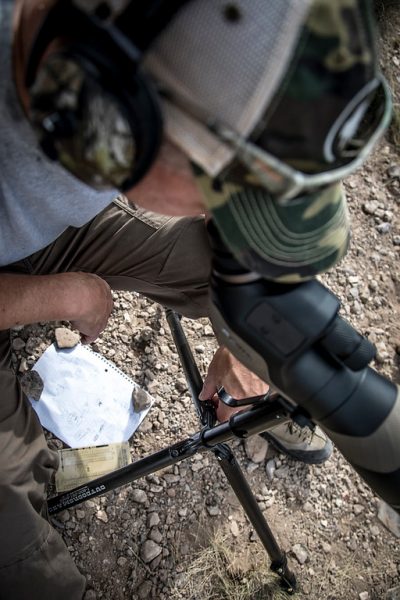
My friend has always been one of those guys who isn’t afraid to spend top dollar for top gear, so I shouldn’t have been surprised when he handed over a tripod from the Outdoorsmans. Specifically, he owns the Outdoorsmans Tall Tripod, which is made of machined aluminum, weighs 47 ounces, and extends to a height of 62.5 inches. To make quick adjustments easy in the field, my buddy’s tripod featured a Pistol Grip Head (below), which worked like a charm.
Important point about tripod/spotting scope use: As you call windage for the shooter, you must align the spotting scope to the exact position as that seen by the shooter through his riflescope. In other words, if you command “Left .4,” then you move the spotting scope reticle to “Left .4” on the target. The only way to do this quickly and precisely is to gently twist the legs of the tripod with your hands. There’s no time to adjust the tripod via knobs, levers or dials. Believe it or not, by simply twisting the tripod legs, you can make micro adjustments, and then hold it steady during the shot. Then, after seeing bullet trace and impact, you can make the necessary adjustment for a quick follow-up shot by again twisting (or not twisting) the tripod legs. The same goes for up and down — you simply push or pull slightly on the tripod legs to adjust for elevation.
P.S. Stay tuned to OutdoorHub this week for additional reviews of other specialized long-range gear I tested at Gunsite.
