Review – Make Wood Fired Pizza with Pi Fire by Solo Stove
Morgan Rogue 08.02.23

We eat a lot of pizza around here. I mean, pizza is such a versatile meal. You can make it in anyway you want to fit your exact desires. You can even make breakfast and dessert pizza! The options are endless.
We like to make it from scratch because we can do whatever we want and it takes just a few minutes to get the dough together. You can even make individual pizzas so each family member can get involved in the creation process of making their very own pizza. Our kids absolutely love getting involved on pizza night!
We love our Solo Stove. What we love even more, though, are the vast amount of accessories that we have come to enjoy with the Solo Stove. Recently we were able to test out the pellet converter which was a great addition because we already have pellets around for our pellet stove. So it’s a win-win for us to use the same type of fuel!
Since we love pizza and preparedness, it only made sense to acquire a way to make pizza even in the apocalypse.

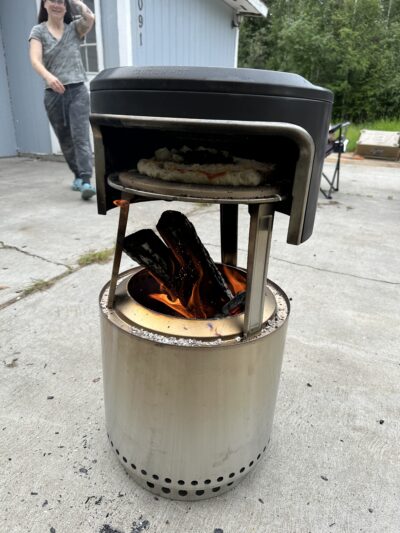
The Pi Fire is an attachment that sits on top of your existing Solo Stove, you’ll need to choose the size of Solo Stove that you have at checkout to ensure the Pi Fire will sit perfectly on top.
I highly recommend that everyone gets the Pi Fire + Tools because those additional tools, especially the Pi Turner are absolutely essential for proper pizza making in the Pi Fire. The thermometer is also important to know when it’s ready for the pizza.
When you first get it, you’ll quickly attach the legs to the bottom of the pizza oven with the provided tools and screws, takes just a couple seconds. That’s the only assembly required!
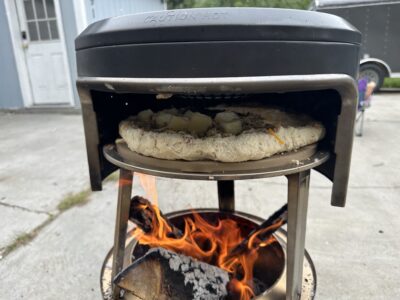
Next you’ll place the pizza stone inside. It is essential that you have the pizza stone on the inside of the pizza oven so the pizza doesn’t burn. The pizza stone also needs to remain inside of the oven from start to finish so it properly heats up along with the oven. We use a pizza stone on our home oven to prevent everything from getting burned by our terrible oven.
But anyway, the pizza stone is essential.

Get your fire going and let the flames touch the bottom of the oven.
Use the thermometer to check the temp of the oven and once it reaches around 500 degrees F, it’s ready for the pizza!
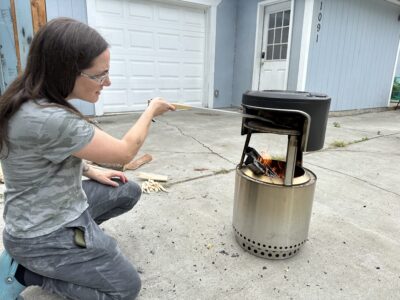
Once you put your pizza in, you’ll use the Pi Turner to rotate the pizza every couple of minutes for an even bake. Trust me when I say that you need that turner, or you need to turn it some other way because the first pizza we baked we didn’t use the turner and it didn’t bake evenly at all. It needs to be turned throughout the 6-10 minute baking time.

I recommend getting the protective gloves as well because getting near that flame to get the pizza in and out, it’s very hot! The gloves make it so you don’t feel the heat and protect your hands from any potential flame kiss.
There is no comparison to the pizza this produces. It is so delicious, I don’t think I can make pizza any other way again. It bakes perfectly and has that classic wood-fired taste.

Total time was about 45-ish minutes from start to finish. That included cutting up any wood needed for it, pre-heating it and making the pizza from scratch. Making the pizza was probably the ‘hardest’ part of it all, it was the waiting on the pre-heating that was really the longest part but it was very hands off, just had to monitor the fire and make sure it was sufficiently touching the oven to get it up to temp.
I highly recommend the Pi Fire by Solo Stove. It starts at $249 for just the oven and you can spend another $100 for the additional accessories that I genuinely feel are necessary.
I’m going to experiment by trying to bake other things like breadsticks or short biscuits; it is an oven after all!
Check out the Pi Fire for yourself!

