Becoming a Long Range Shooter: Part 2
Ben Ryder 08.26.19
This article is part two of a three-part series all about learning how to shoot long range. You can read part one of this article where I detailed more about my dream of learning to shoot long range, how we came the decision to shoot with Deliberate Dynamics(DDI) in Utah, and most importantly, the guns we chose!
Packing my bag for this trip was exciting, I was seriously pumped! We’d been working through the logistics for a couple of weeks leading up to this trip and there were a ton of moving parts. Travel coordination was easy, it was the lining up all of the hardware to arrive in Utah that was a challenge. Since we decided to run the guns out of the box, we had everything shipped directly to DDI along with the ammo.
While we saved ourselves an extra hour at the airport, I personally gained a few extra hours of stress because I wasn’t sure that the firearms would arrive on time. Luckily, the guns and ammo got to their final destination a couple of days beforehand and I was able to get a good night’s sleep before heading out.
After arriving at SLC airport, we had a two-hour drive to a small town named Price where we would be staying for the duration of our trip. The actual training would be taking place about 25 miles South in an abandoned coal mining town called Hiawatha. The town of Hiawatha, in its current state, bears resemblance to dozens of horror movies where a car full of people took a wrong turn and never escaped.
Hiawatha was once a bustling coal town, which has since been deserted and sold to a private firm who maintains the land. DDI is lucky enough to rent the grounds for various training courses, including the one we are about to go through.
On day one, we arrived at town early to meet up with our lead instructor Rob. To kick things off, Rob gave us a rundown of what we would be doing over the next three days as well as what we should expect. The primary goal of our time on the range was to break the bad habits we had acquired over the years. Trigger manipulation, shooting positions, breath control, natural point of aim, length of pull, and many more fundamentals were on the agenda.
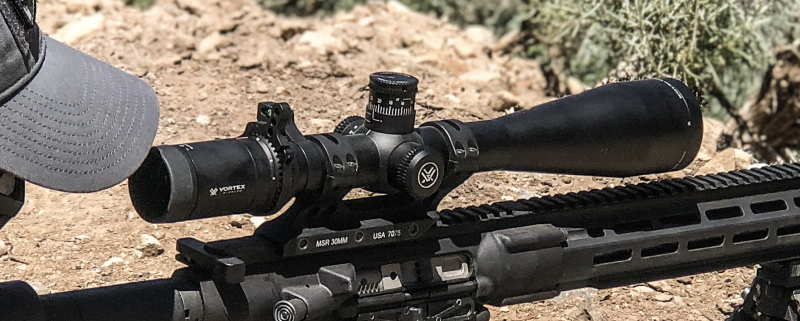
During our morning brief we received a crash course on optics. We ran through proper set up, the difference between MRAD and MOA, and first focal plane vs. second focal plane. I won’t go in depth on those topics in this article, but if you are looking to shoot any type of scoped rifle in the future, you should definitely do your research on these topics. The Savage MSR-10’s that we were shooting were equipped with Vortex VIPER® PST™ GEN II 3-15X44 FFP and Vortex VIPER® PST™ GEN II 2-10X32 FFP, both MRAD. The scopes were great for the application and the glass was extremely clear out to 1,000 yards.
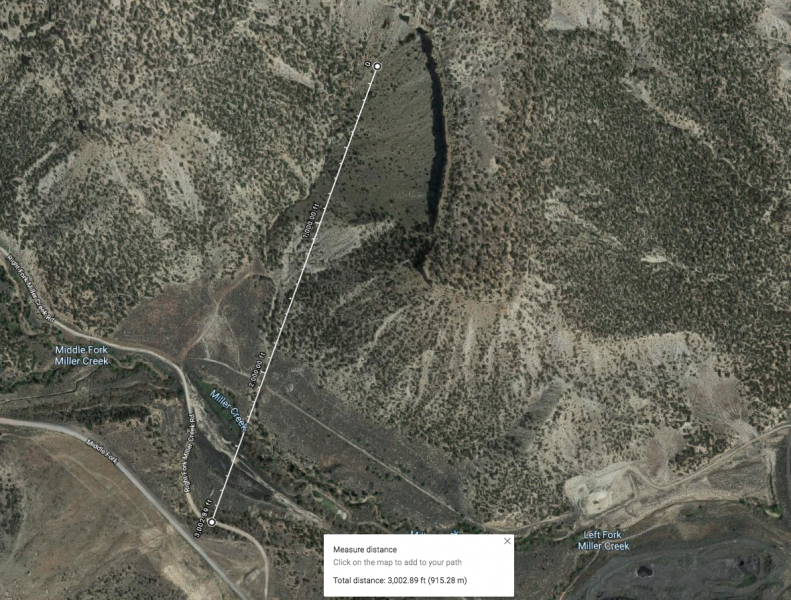
After our classroom session, we headed out to our home for the next three days. We’d be perched on a winding road that overlooked a coal field which was roughly 100 yards away and also overlooked a canyon that ranged out to 1,000 yards and beyond. We would cut our teeth at the 100 yards range before pushing out to any real distance.
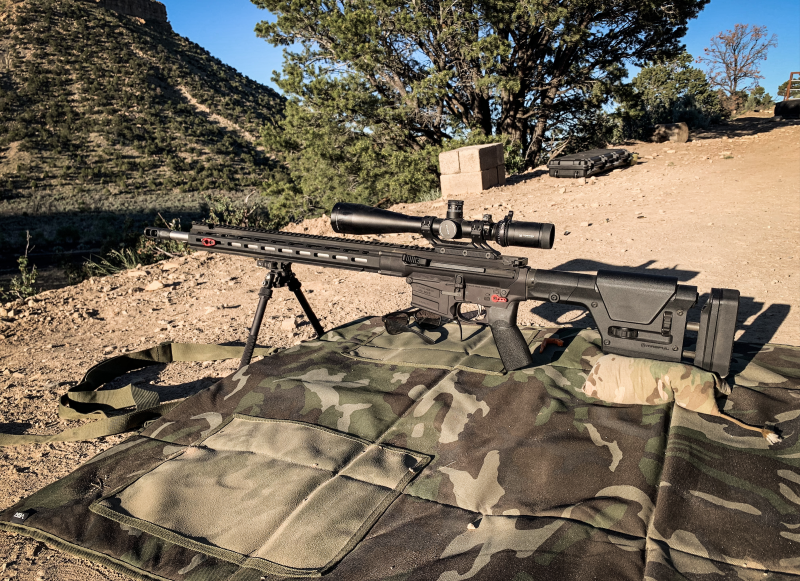
Our first topic of the day was going to be focused on length of pull. Up until now I hadn’t had a chance to get my hands on the MSR-10 Precision and my first impressions were extremely positive. I admittedly love AR platform rifles above all others, and I was really excited about shooting this gun. The MSR-10 Precision looks awesome out of the box and I was soon to find out that it’s looks were certainly not the best part.
Speaking of appearance, Savage’s use of red accents was not something that I was expecting to like as much as I did. The MSR-10 Precision features a red ambidextrous safety selector switch as well as a red front QD sling attachment point. It’s honestly nice to have a subtle hint of color on a platform this is typically completely blacked out from the box.
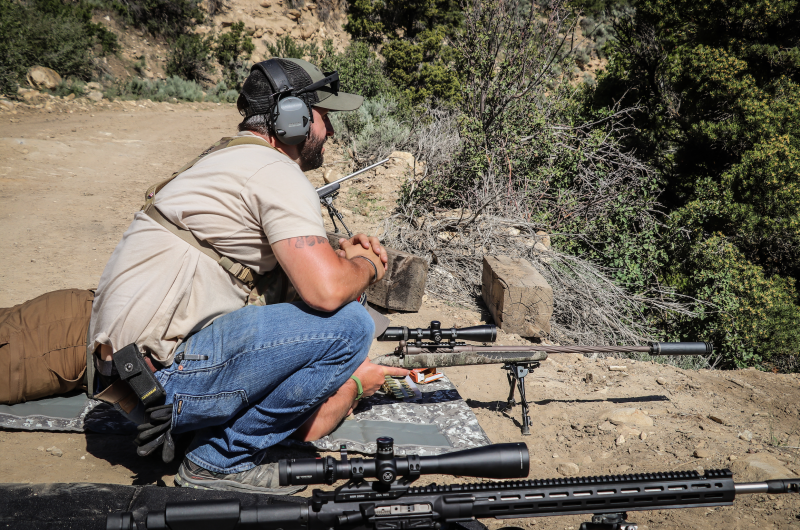
As mentioned in part one of this series, Savage really wanted the end user of their MSR’s to have a gun that would be ready for use out of the box. The first feature of the MSR-10 Precision that hit on this for me was the factory included Magpul PRS stock. When it came to adjusting length of pull, having this stock made it a breeze. We rested the rifles in the crook of our elbow and dialed up the butt plate to the appropriate length. It took us just a couple of minutes to set up.
With our length of pull dialed in, the next item we went through was establishing shooting positions. We would be spending a great deal of time shooting from the prone, so understanding how to establish a proper and repeatable position was key.
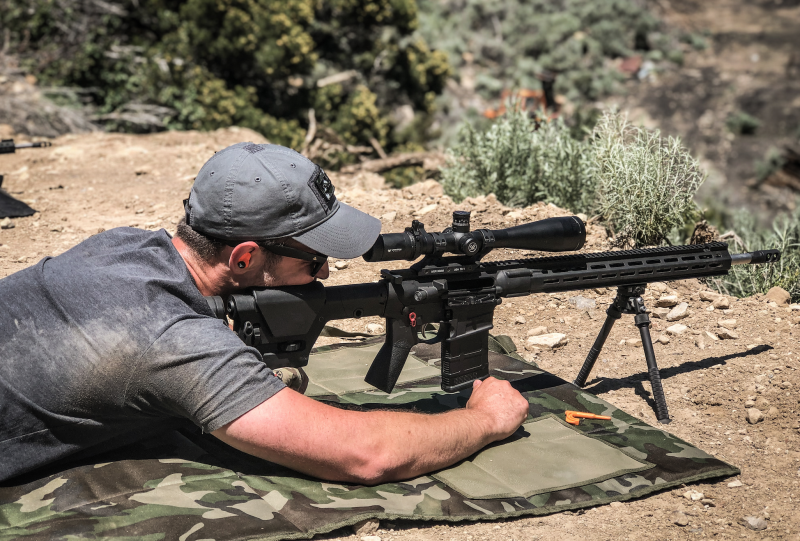
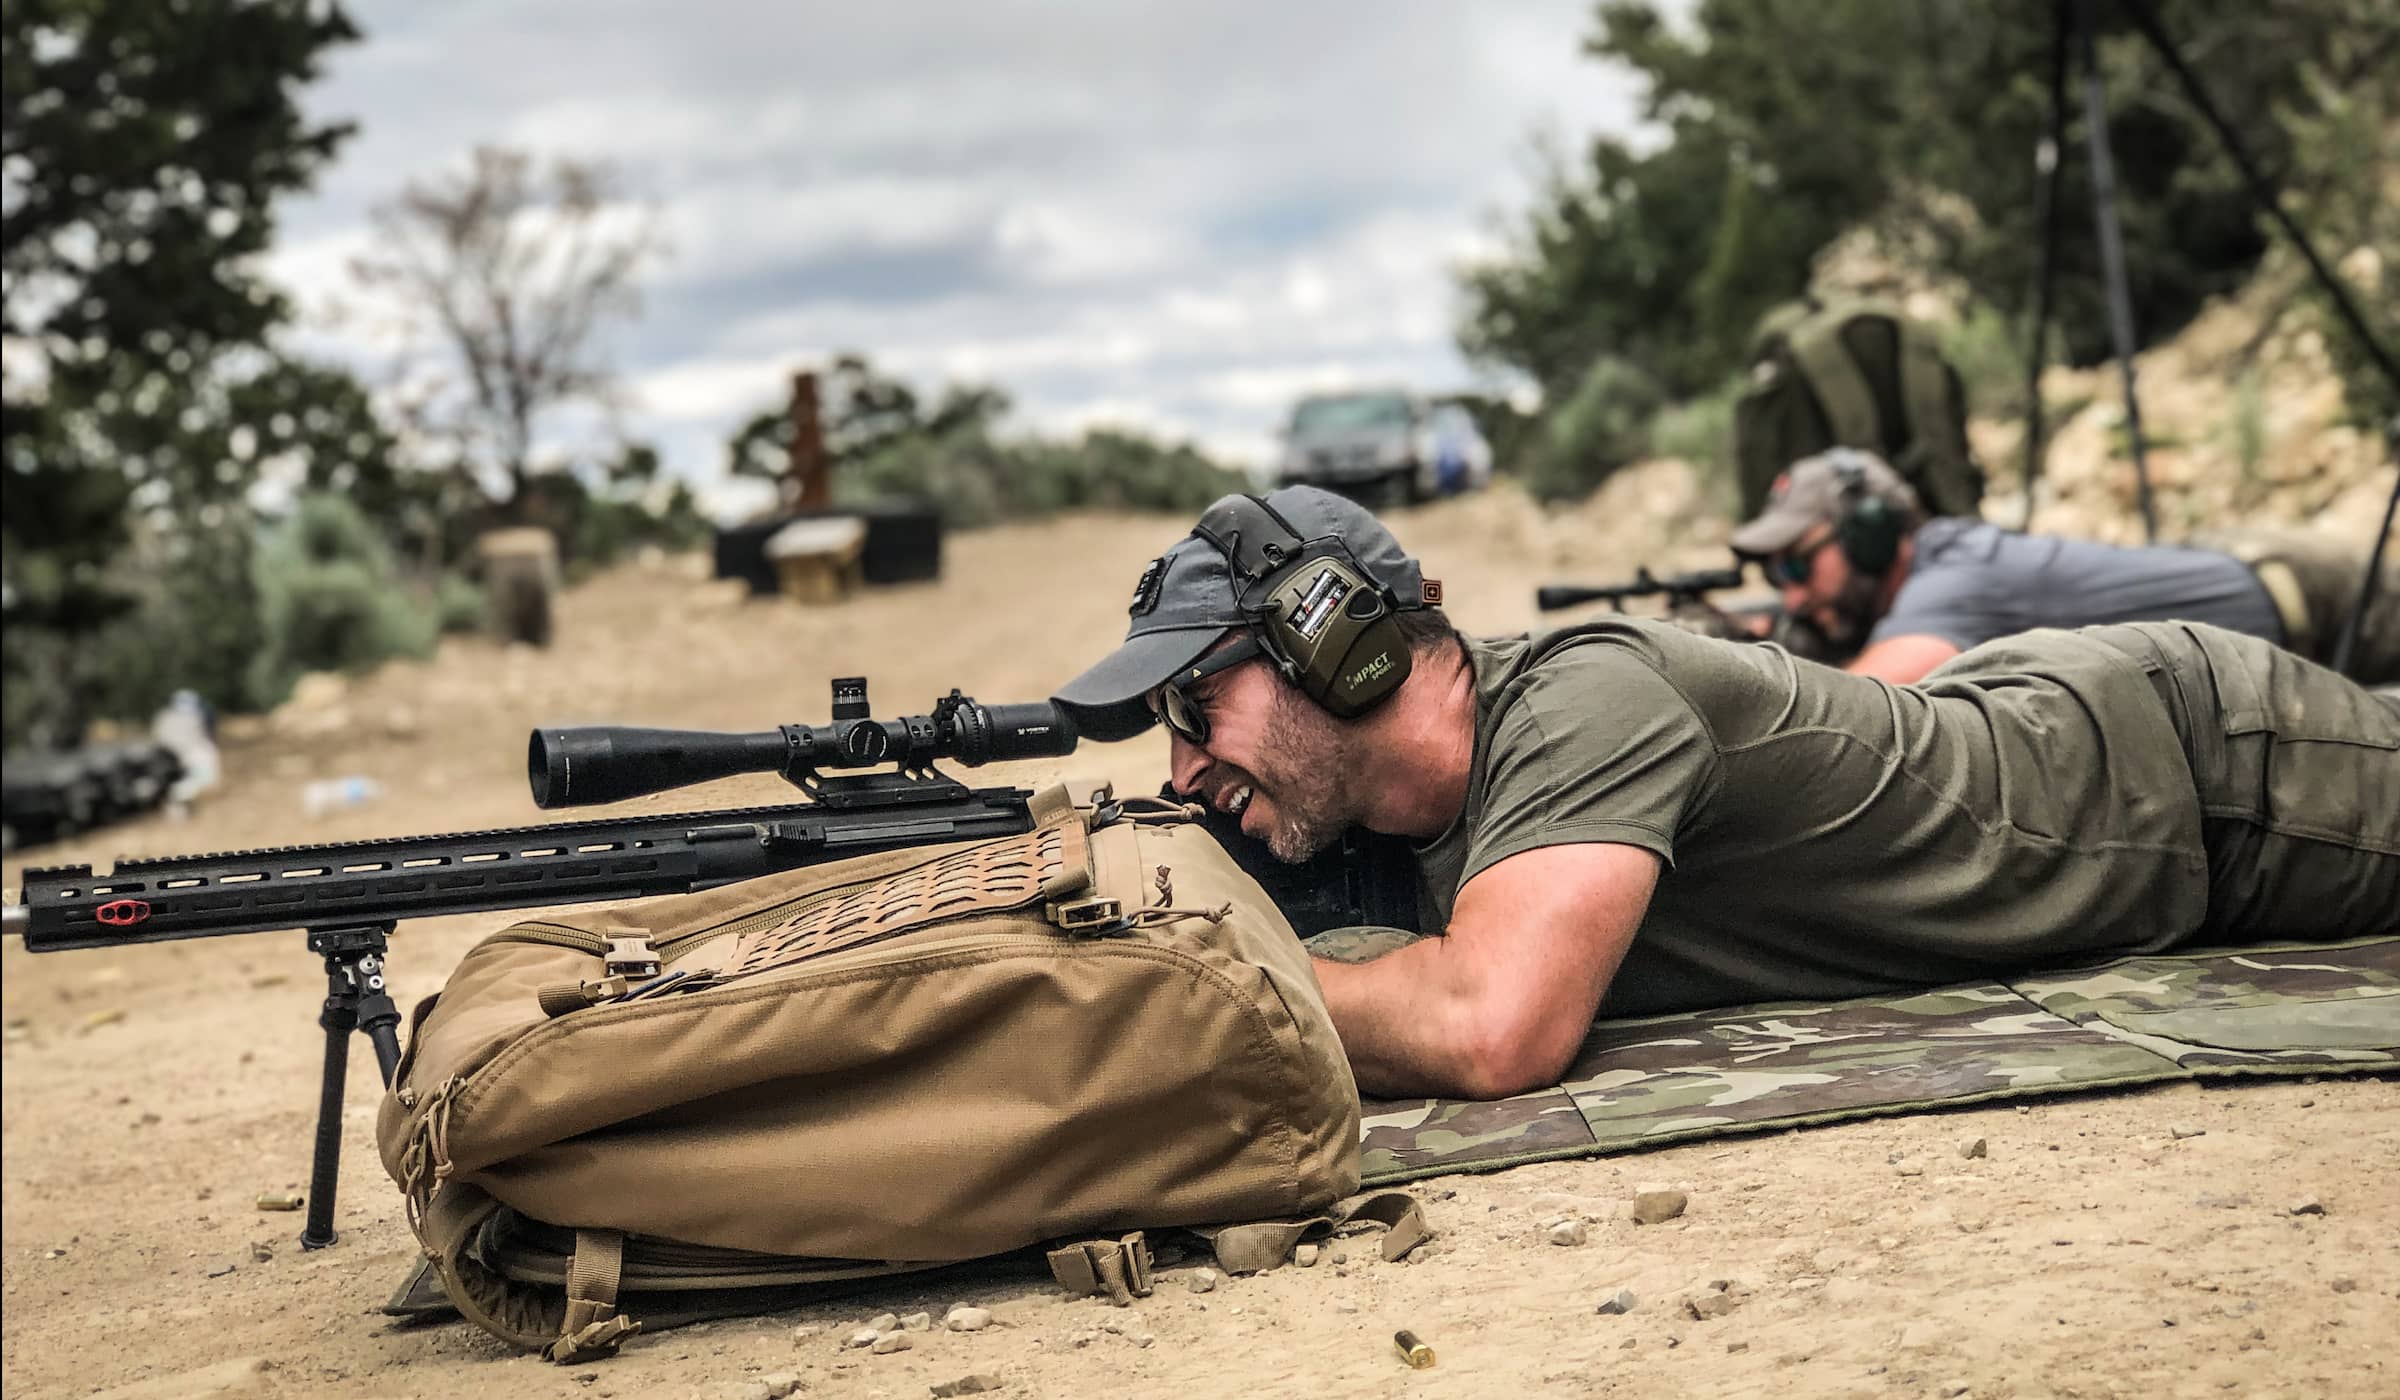
The method we were taught was to get down into a pushup position and slowly ease down behind the rifle. The goal here was to end with our body in a position that would allow for the best possible recoil management. That recoil management is accomplished by having as much of your body behind the gun as possible. After a few times up and down to get a sense of what we should be doing, we moved on to natural point of aim.
With limited experience shooting long range, I had a lot of bad habits to break. Before this course, I felt that the pre-shot drift of my scope was something that I had to compensate for and because of that, I had a very difficult time with my groupings. What I learned, is that any pre-shot drift that I experience can be minimized by finding my natural point of aim.
If you aren’t familiar with natural point of aim, it’s the process where a shooter settles into a comfortable position that minimizes, or ideally eliminates, muscle tension. The idea is to shift away from using your muscles to create a stable shooting platform and rely more on non-muscular support, such as your bones and ligaments.
What I discovered is that when I would establish my natural point of aim, my scope’s reticle would only slightly move up and down with my breath. Having a stable base was eye opening for me. The ability to create a stable shooting position that was repeatable was one of those takeaways that I will have with me for the rest of my life. This also allowed me to reduce pre-shot stress and focus on the next step of the equitation, breath control.
We spent a good amount of time in the first half of day working through our “pre-shot checklist” as Rob called it. After getting into a good shooting position and establishing our natural point of aim, the next item on the list was breath control. Prior to this trip, I had heard about a million sayings and tips regarding the importance of breathing when it came to firearms. While I always tried to slow my breath and be relaxed prior to a shot, it never had the same impact on my shot placements when it was not paired with position and natural point of aim.
What was stressed here was that my shot should be taken at the bottom of my breath and only after all other pre-shot steps had been checked off my list. I really struggled putting all of these pieces together at the beginning of the day. I would get to the last phase before breaking the trigger and I just didn’t feel comfortable. When I wasn’t comfortable, I would rush, and when I would rush something would be off with my shot.
As the morning progressed it really clicked for me. I would get to this final stage of the process and be able to tell where I went wrong in my set up. What I found was that having executed a handful of on target shots throughout the morning, I got a sense of what “good” felt like and I started to be able to recreate it.
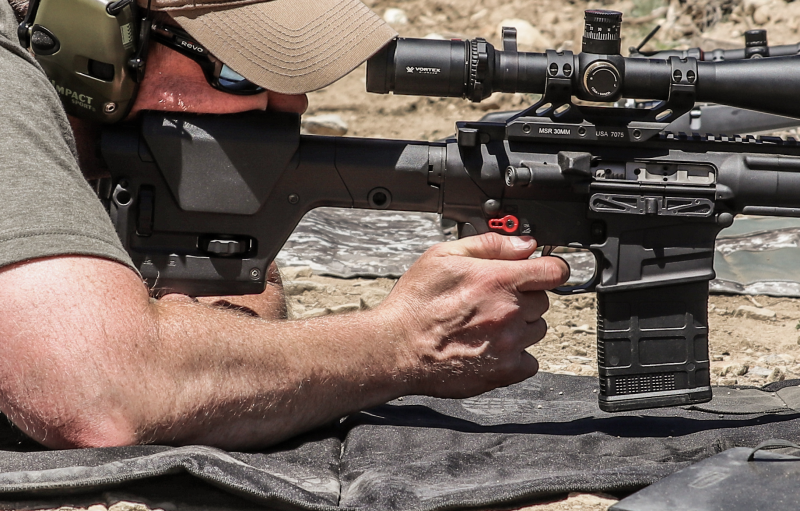
The final step in the process is what I had the most trouble with prior to this course, trigger pull. I started the day with a death grip on the rifle’s pistol grip and ended it with very limited pressure on anything other than the trigger itself. When I shifted my thumb away from the rear of the pistol grip to pointing downrange, something incredible happened. My finger went from having a slight bend at each knuckle to a 90-degree break at the first knuckle, allowing me to cleanly press the trigger in a slow and controlled manner. What I walked away with was a trigger pull that became more of a press.
The result of that simple hand adjustment was dramatic. My groupings shrank and my ability to keep the target in view post-shot increased. The MSR-10 also had a very crisp two-stage trigger and an adjustable TangoDown Battle Flip Grip that allowed me to adjust the grip from 24 degrees of rake to vertical. I found myself using both grip adjustments throughout the weekend depending on if I was shooting prone or in a standing position.
To put the fundamentals, we were learning to use, we practiced shooting at targets 100 yards out. With most of the day spent in the prone, I began to fall in love with the MSR-10’s side charging handle. It’s certainly not impossible to rack a round with the top charging handle on a scoped rifle, but I found that I was consistently defaulting to the side charger because of ease of use.
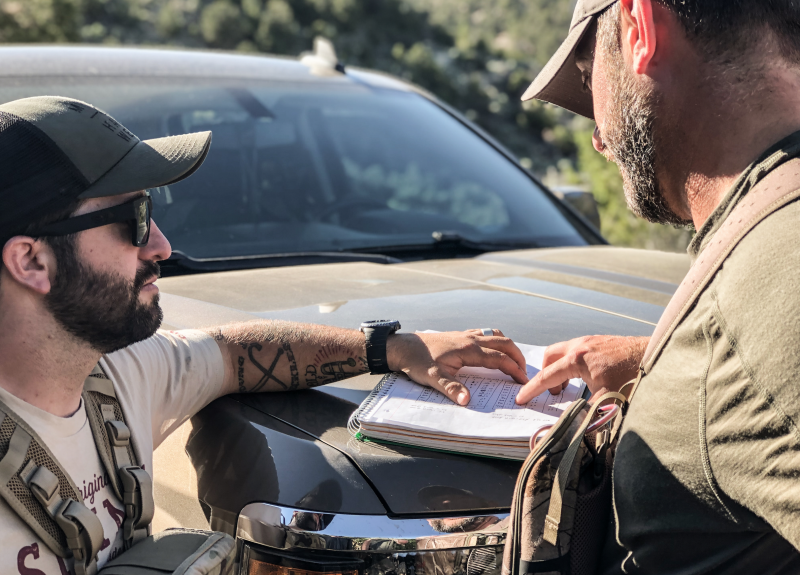
Our last topic of the day was on scope manipulation and ballistics calculation. Before we could push out beyond 100 yards, we needed to understand how to adjust for elevation and windage as well as what a dope sheet is and how to build our own. The core of this lesson was related to how atmospherics will impact your bullet’s flight path en route to your target, whether 100 yards or 1000 yards away. Rob kicked it off by walking us through a dope sheet that he had made for himself prior to our arrival.
For our class purposes, we used an app called Applied Ballistics. The app allowed us to input all of the MSR-10 Precision’s specs as well the ballistics of the 6mm Creedmoor Federal Premium rounds we were using for this course. The result was a directional dope sheet that would allow us to approximate our windage and elevation calls. What we found was that these calls were not dead on, but close enough to get us started and adjust after a couple of shots. The app is a little pricey at $30 but was very easy to use.
We ended the day pushing out beyond 100 yards trying our hand at 300- and 400-yard targets. To find out how we fared, check back for part three of this series where we will talk about what we learned related to positional shooting and also if we were able to hit steel at 1,000 yards using factory Savage rifles.
For more information on the Savage MSR-10 Precision we used in this article, head over to Savages website to see full specs and purchase information.


